Turbocharged

Posts: 48
Joined: Wed Feb 29, 2012 9:30 am
Location: Norway
Cars: Corolla Ae86
Nissan 300ZX
![]() Sun Mar 04, 2012 4:33 pm
Sun Mar 04, 2012 4:33 pm
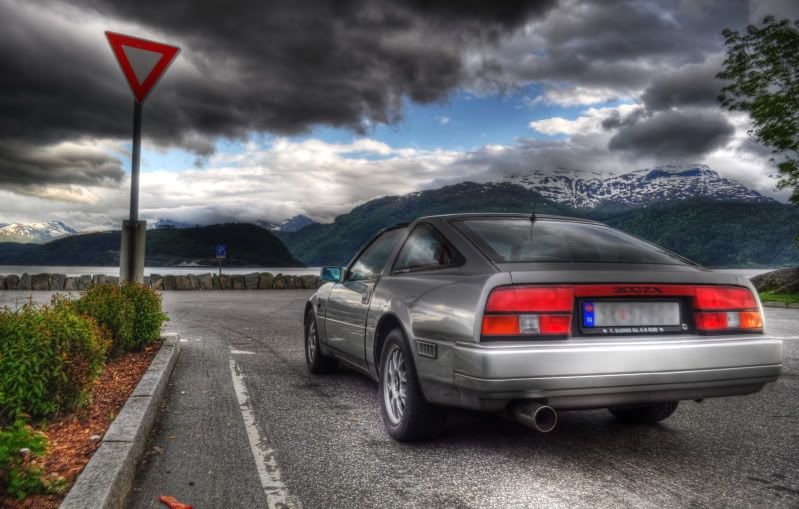
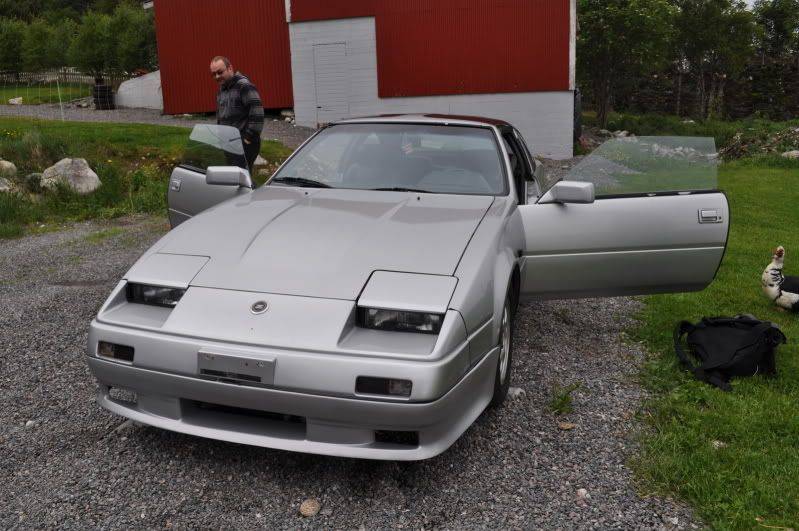
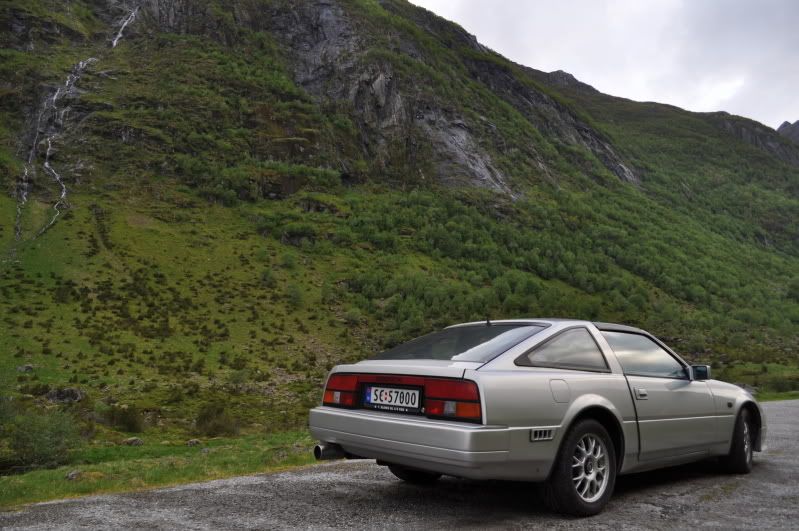
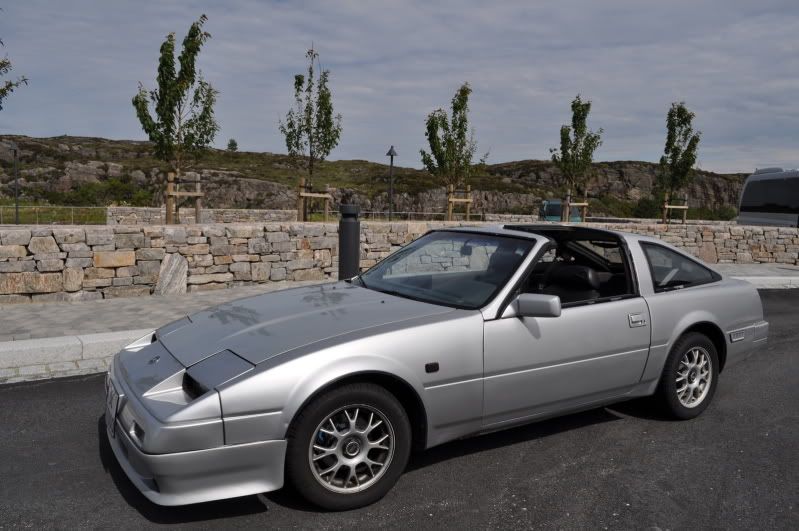
1984 Z31 300zx. (insane amount of pictures)
Bought this Z over a month ago. Got time to bring it back home Thursday 2.6.11.
Some issues, ofcourse. Interiour is screwed together with wooden screws, roof interiour is missing totally.
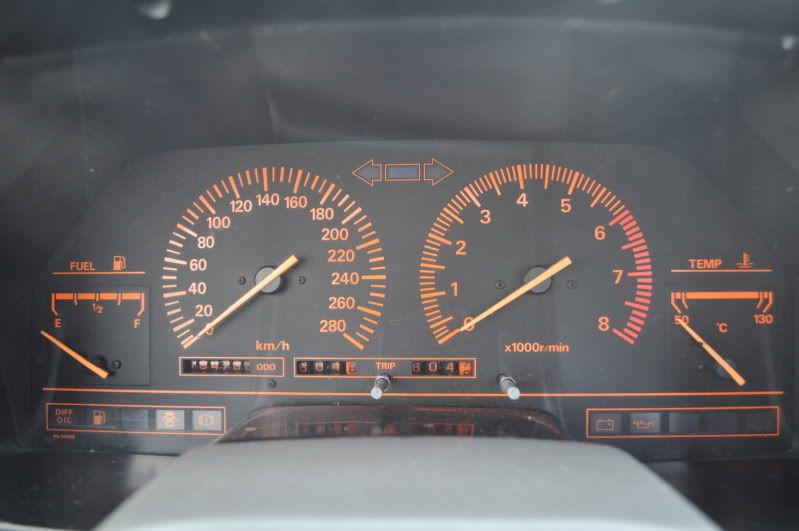
MAF is dead, fuel gauge is not working at all. And some other small issues.
But hey, its chassis was refurbished 12 years ago, and its been stored for 10 years. though, the paintjob seems
to be missing some clear coating. Will have to get it painted once more after this summer.
I will be upgrading some small stuff. Like the exhaust, headers, ignition, bushings, swaybars and maybe dampers. (Theres something unknown mounted now wich actually
works)
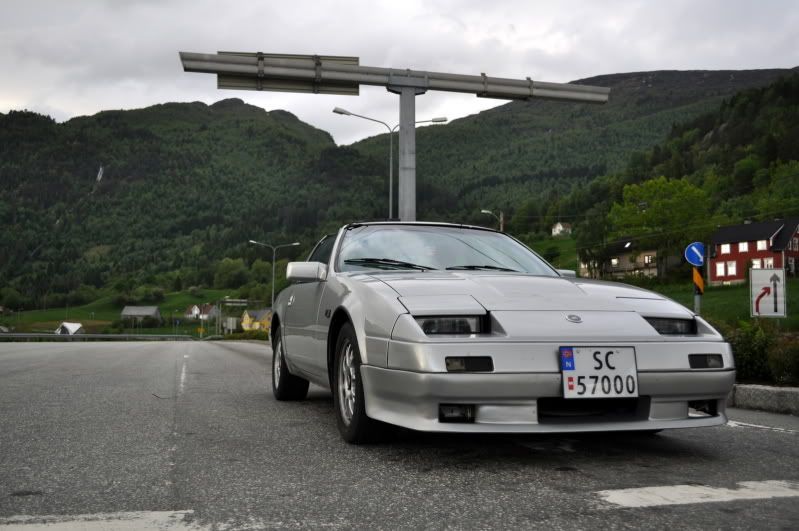
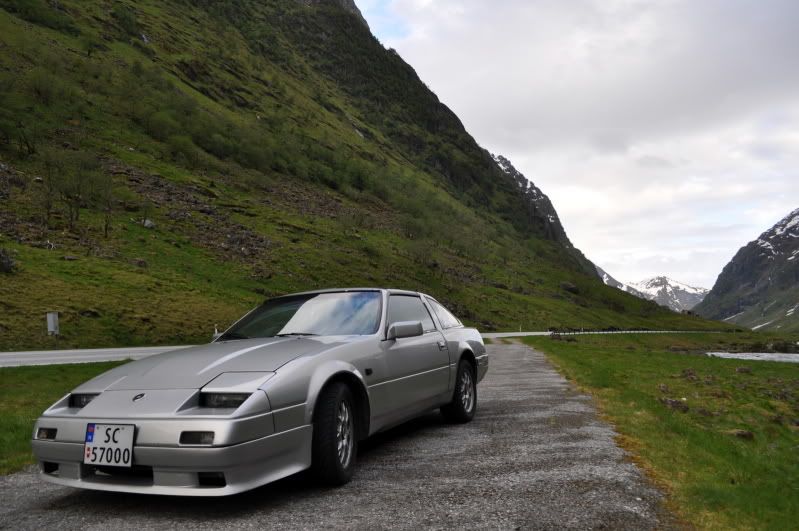
Some pictures.
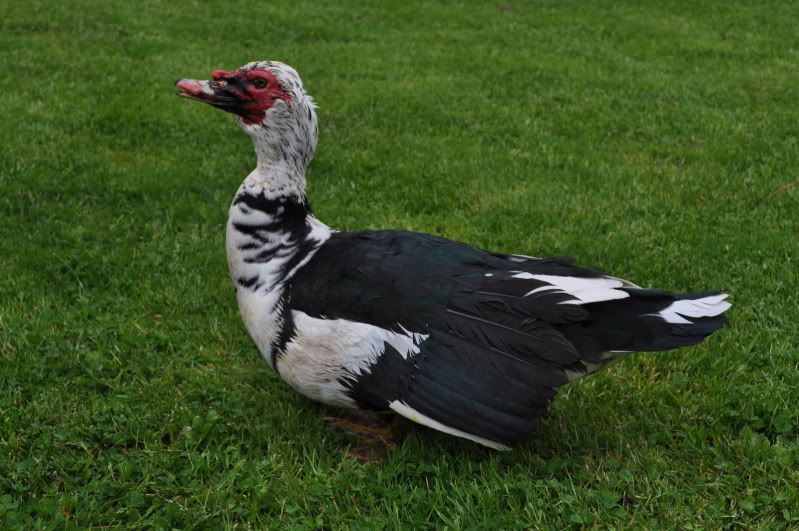
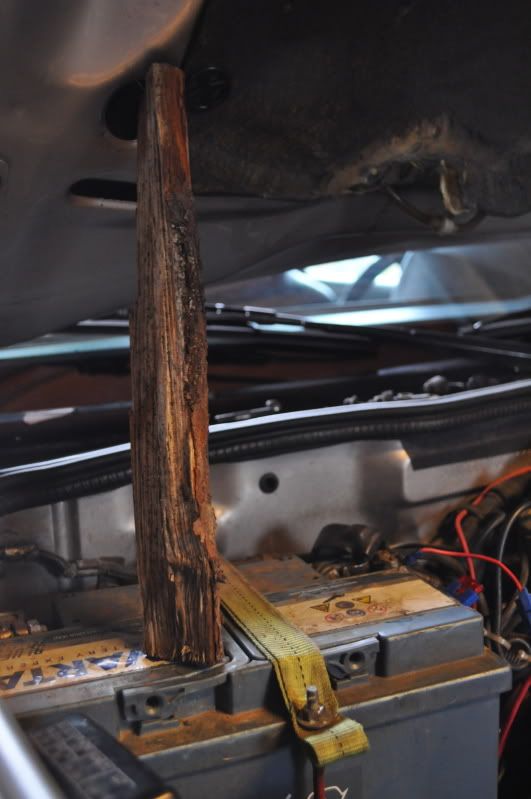
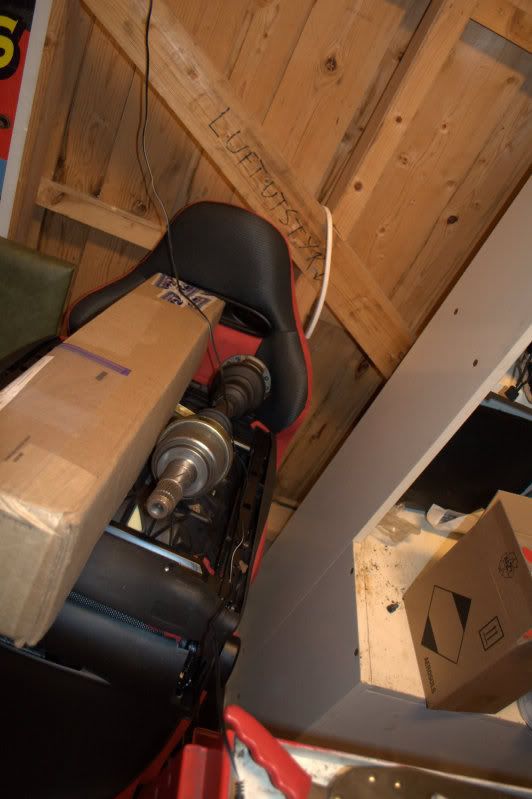
This fella greeted me when i first came to inspect the car.

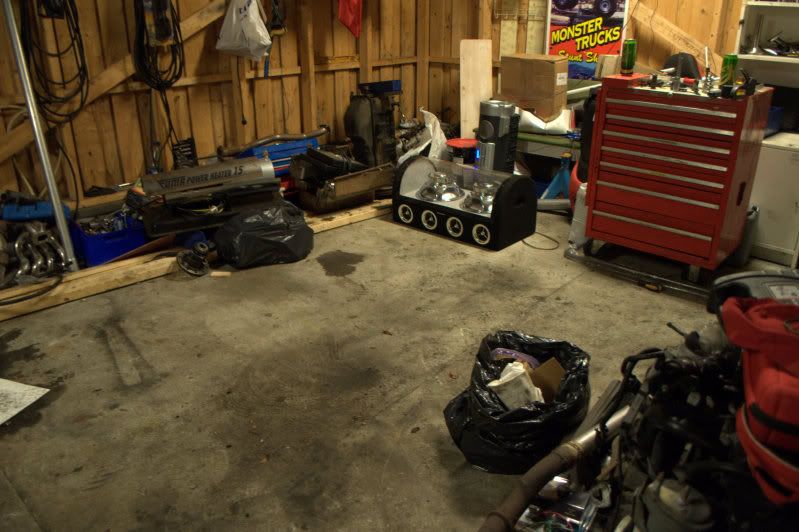
I still havent found out how the previous owner and all of his creativity has wired the stereo.
ergo, No sound yet.
Extra mounted speakers.
More posts will suddenly appear.
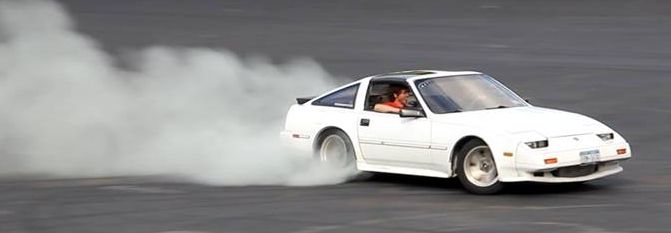
Took the car for a spin today. Video will follow as soon as i've edited out 15 minutes of random driving to provoke the problem.
Went over every contact i could access easily, cleaned them up and adjusted the distributor.
New symptom. If i kill the car when the problem arises. It wont start again for 4-5 minutes afterwards. Flooded sylinders?
If i remove the fuel pump fuse and crank it twice. Then reinstall the fuse, prime the fuelsystem, it will start without any problems.
New MAF
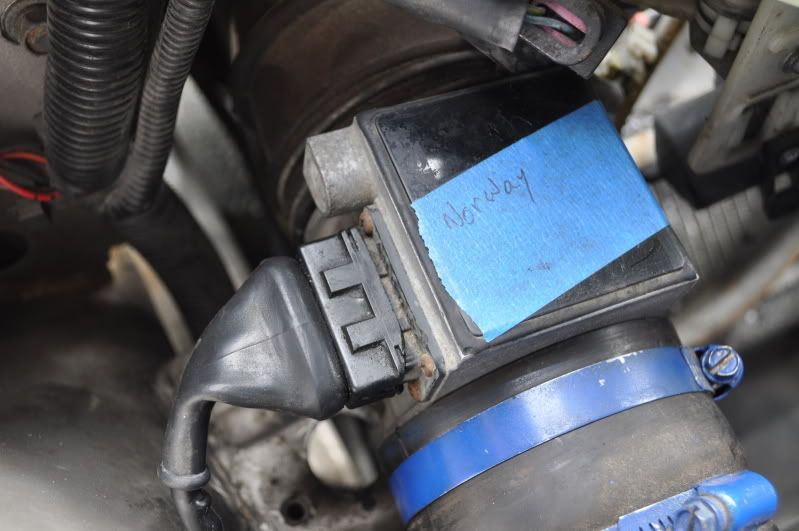
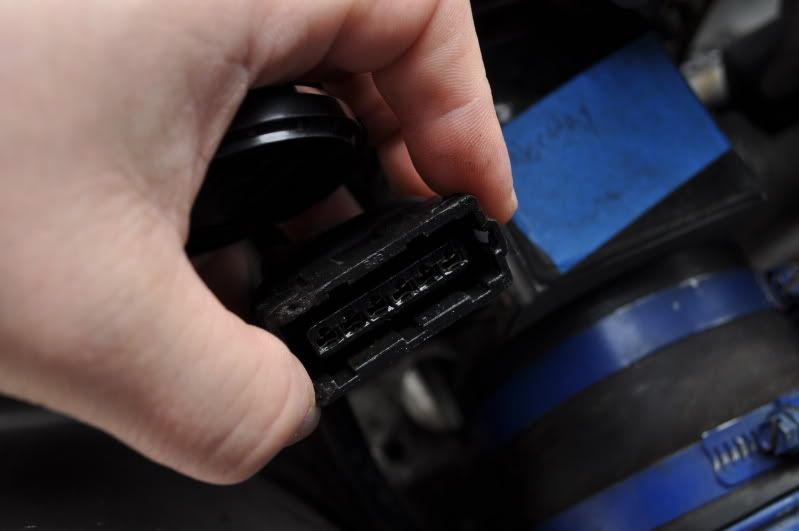
Maf Contact. Alot of the contacts are missing their braces. I need to either get more of them or figure out a substitute.
Some of these clamps were as good as loose. Clamped them better on.
Adjusted the distributor. Problem actually improved abit.
Whats with these loops?
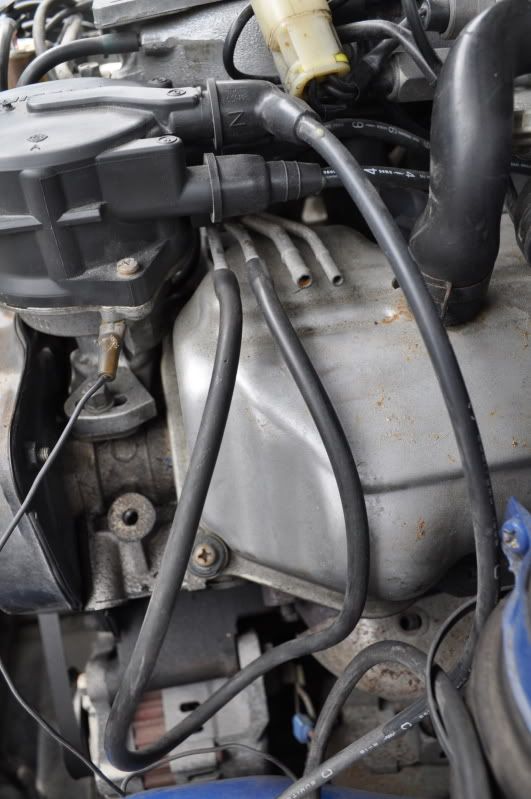
Taped contacts. :S Underneath the tape this contact is as good as broken. Going to solder on another contact i've got lying around from the Laurel projects. Should have something that fits.
This would be the cable for the Head temperature sensor i would guess. Cable is so hot its almost melting. :S Going to try to insulate the exposed cables.
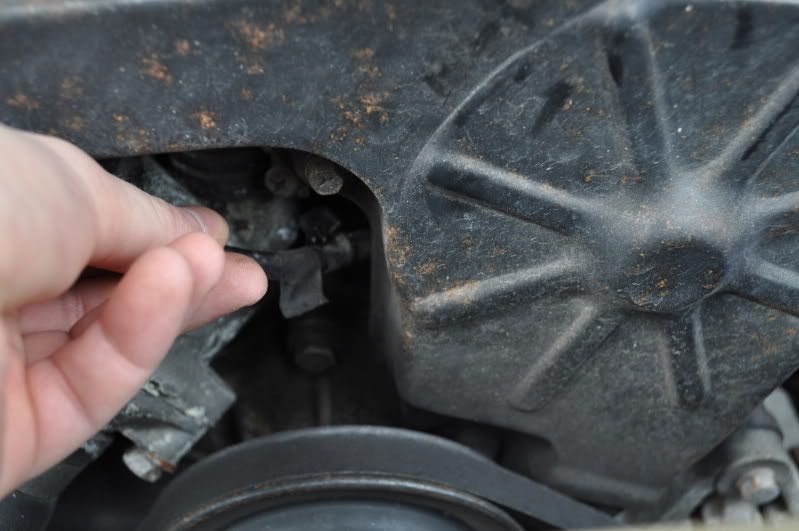
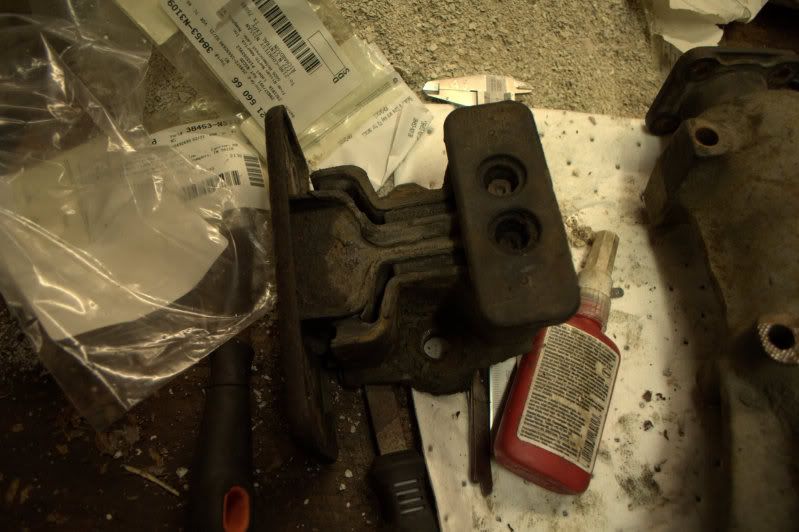
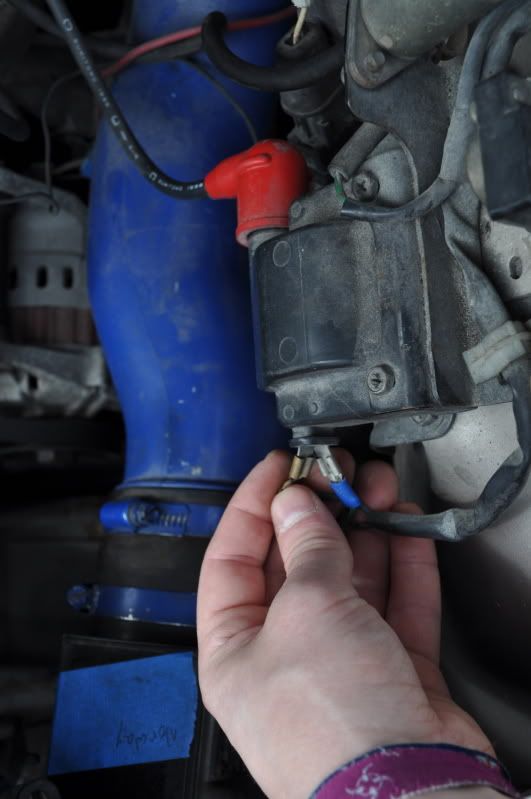
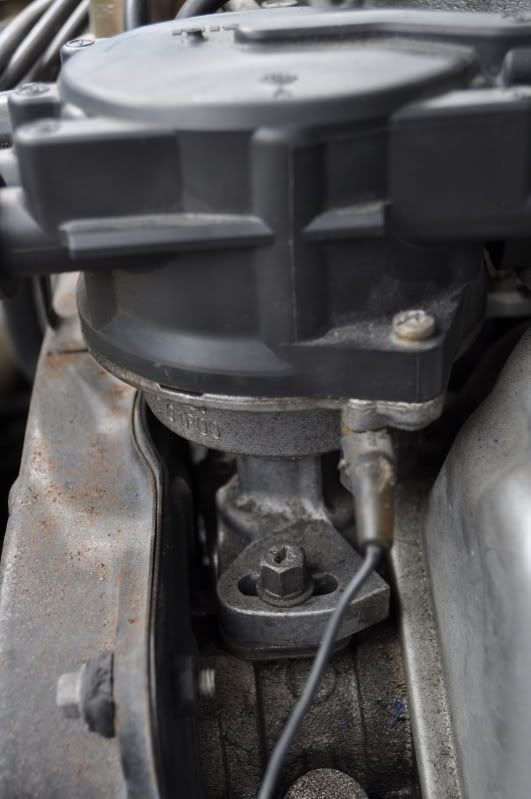
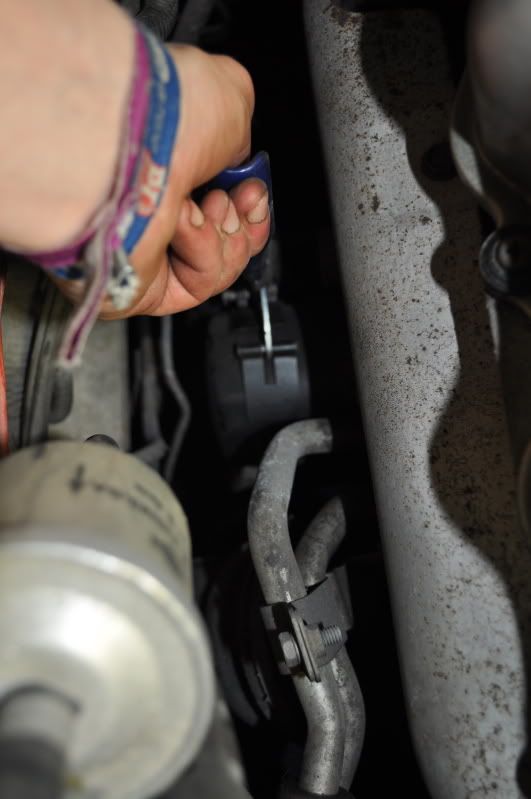
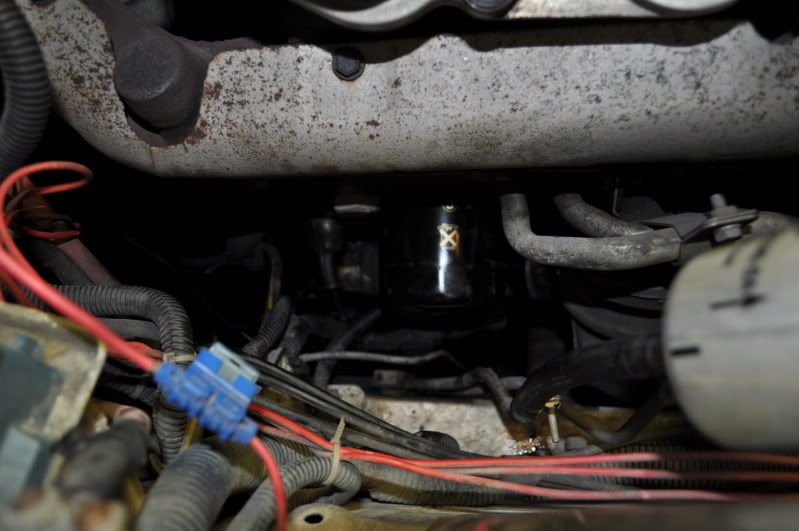
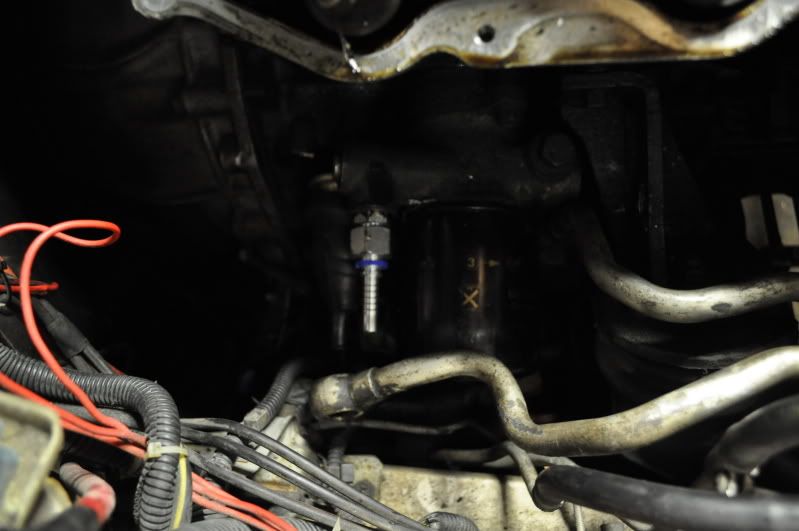
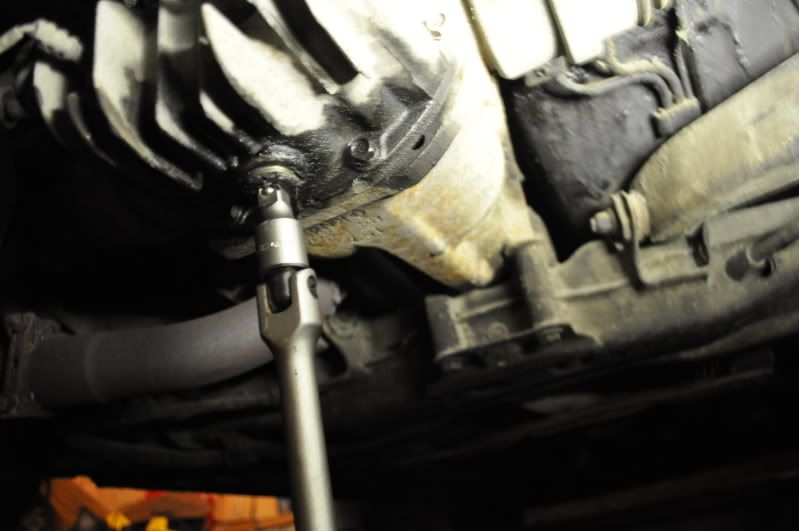
oil pressure sensor? Its leaking no matter. Going to clean it up when i change oil later on today and retighten it with loctite 577.
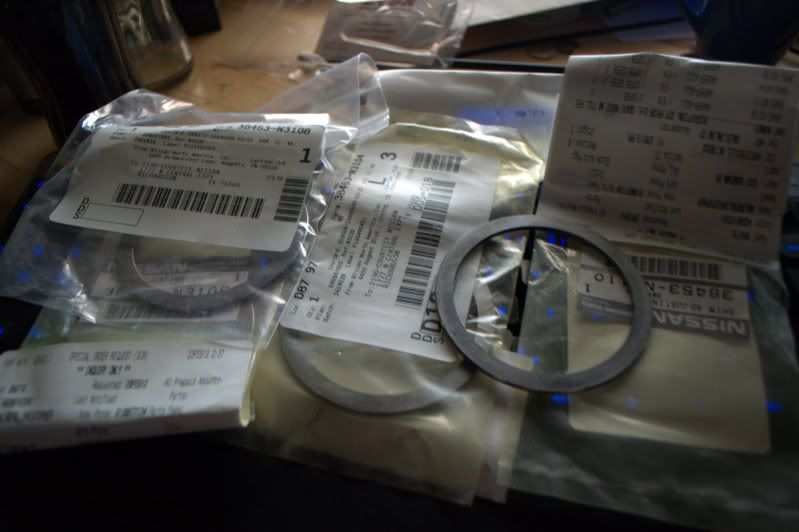
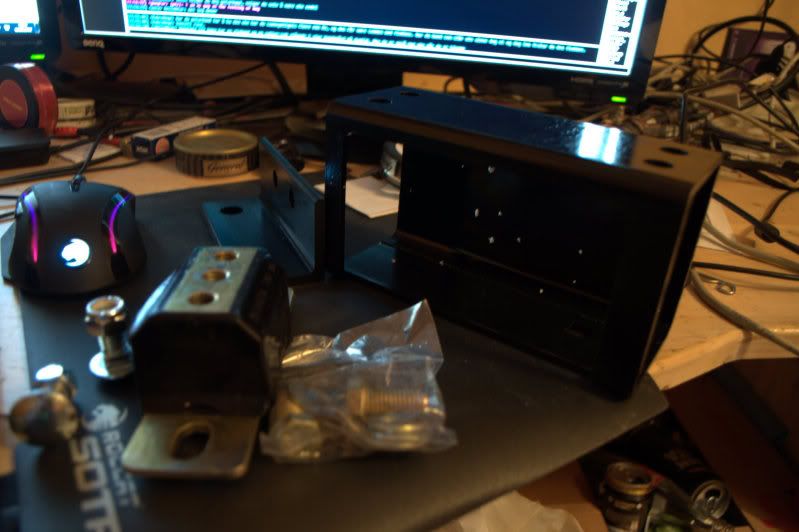
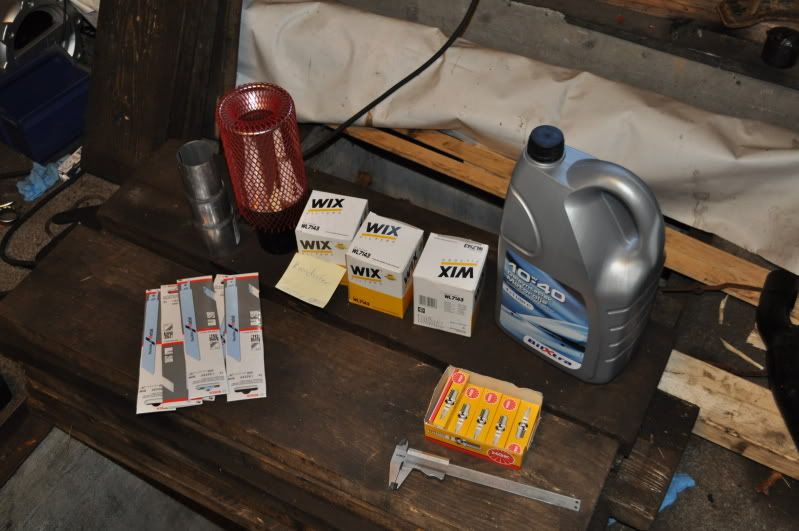
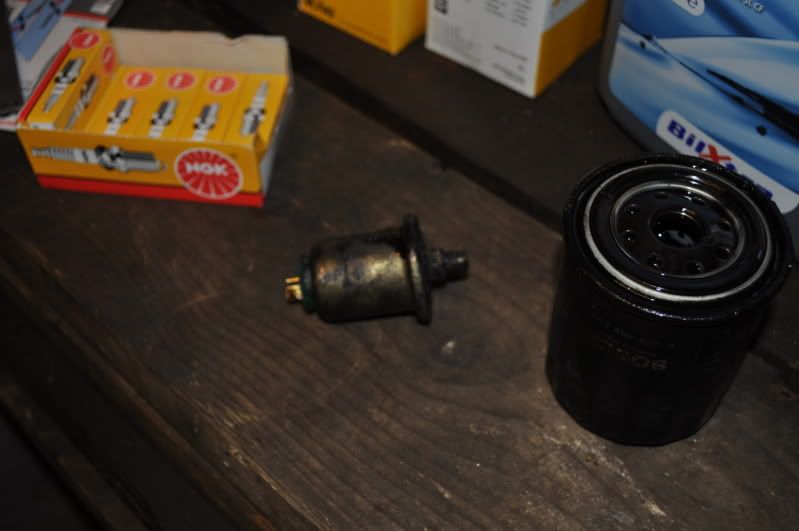
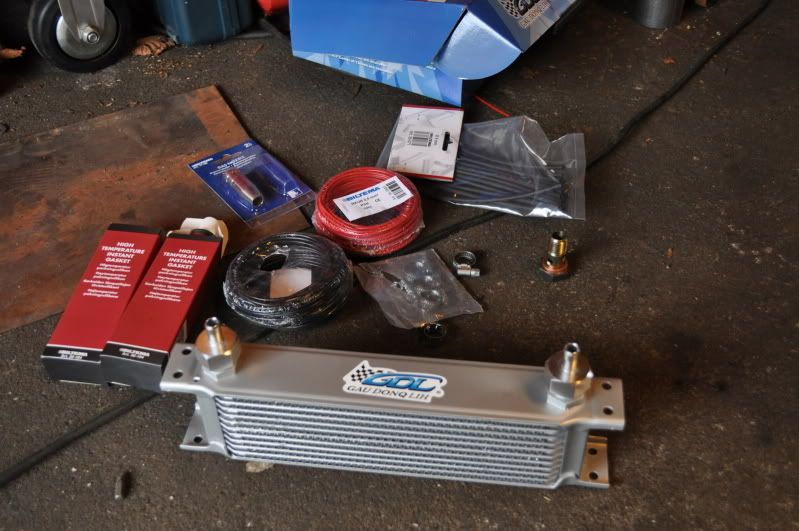
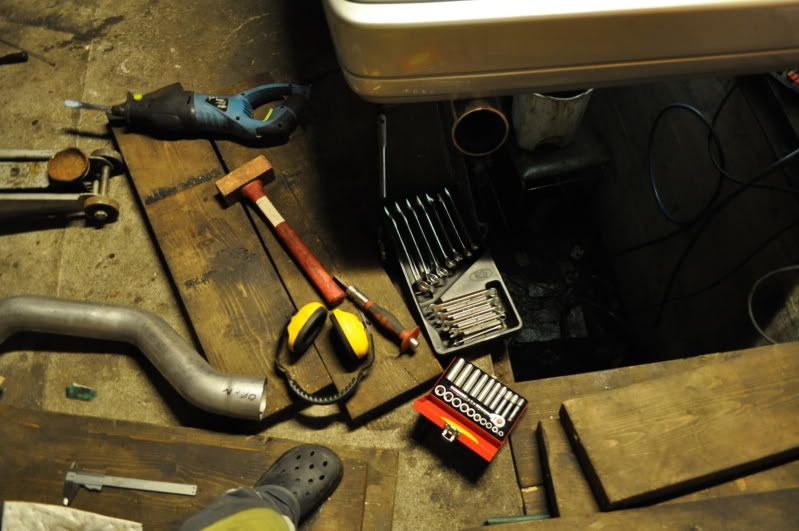
Stuff bought
underneath quickly inspected.
Old oil drained. Old oil filter was clogged. ^_^
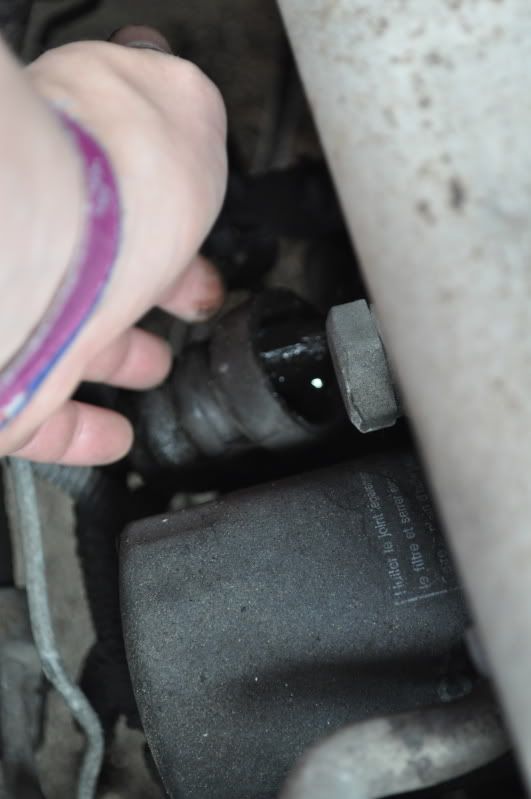
Leaky sensor.
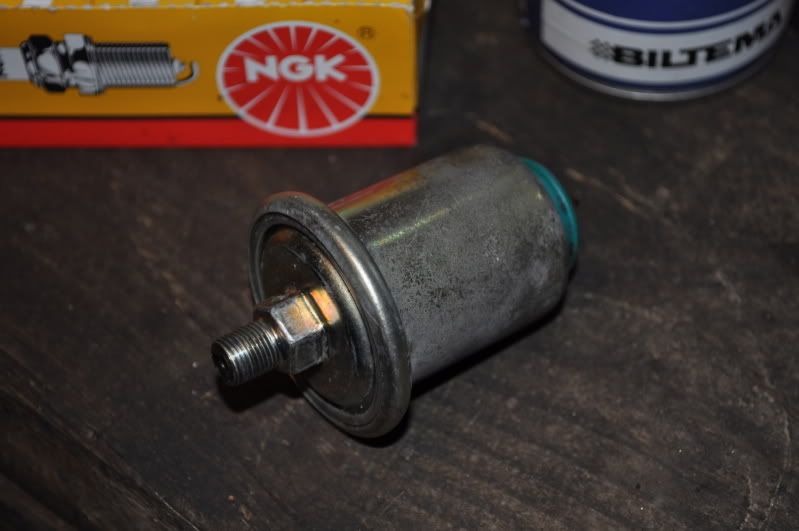
Shiny sensor with loctite 577 on its threads. Will never leak again.
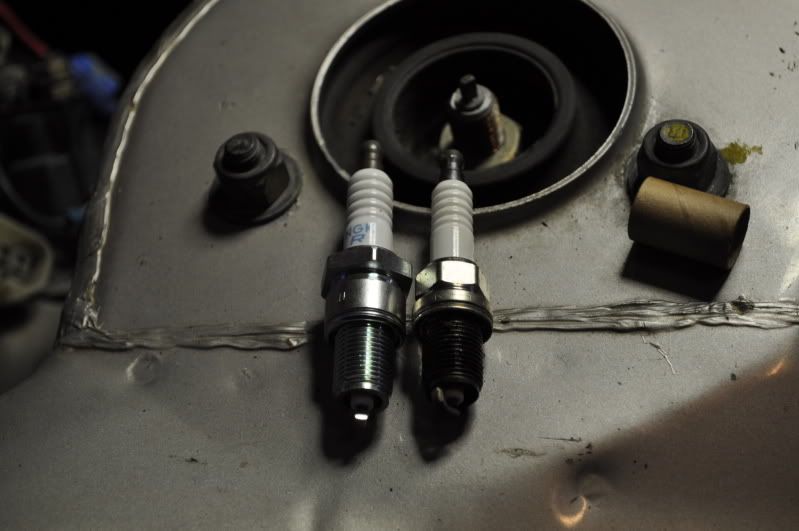
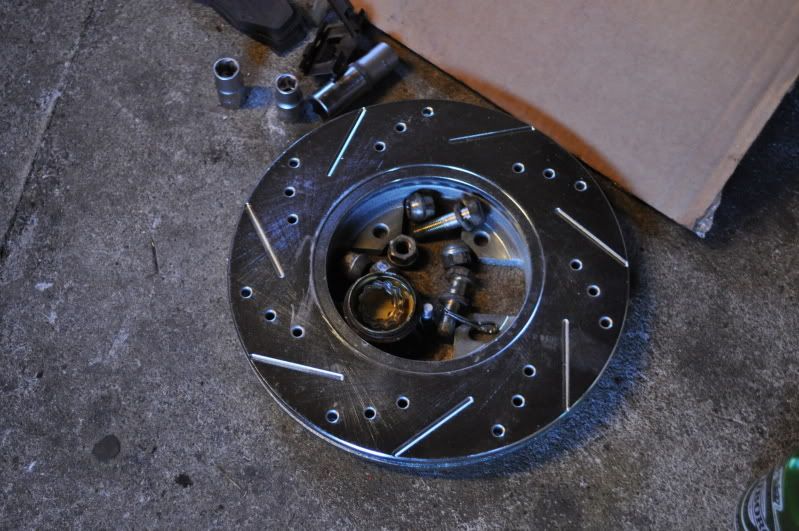
Started to change sparkplugs with NEW NGK's. But i've gotten 21mm nuts instead of the original 16mm nuts. Wich made my tools too large to even fit the sparks. So i fitted the
old NGK's that was mounted when i got the car. After proper cleaning they should work plentyfull. Im tossing the Denso plugs.
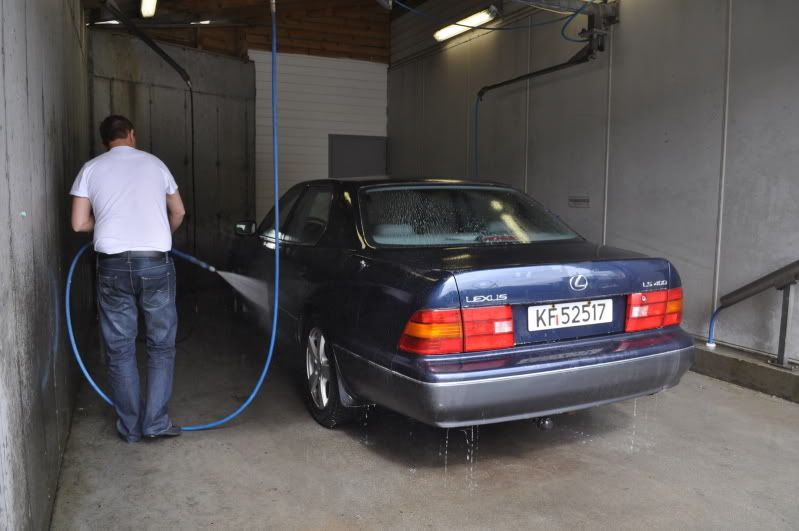
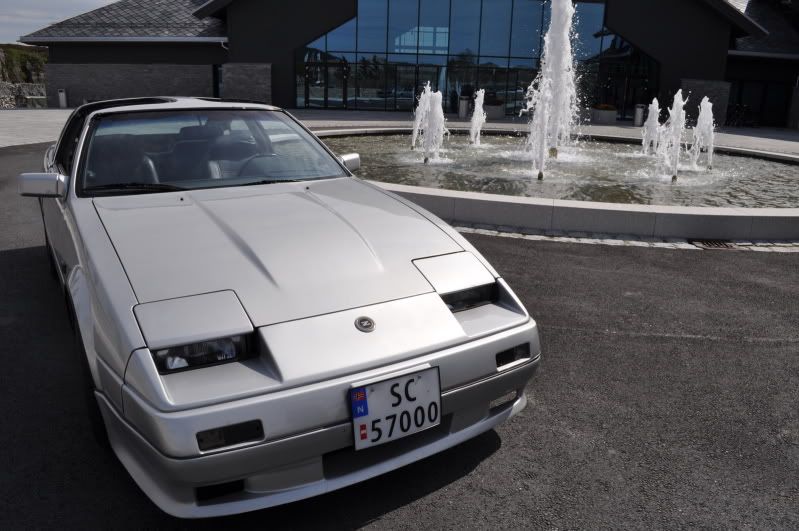
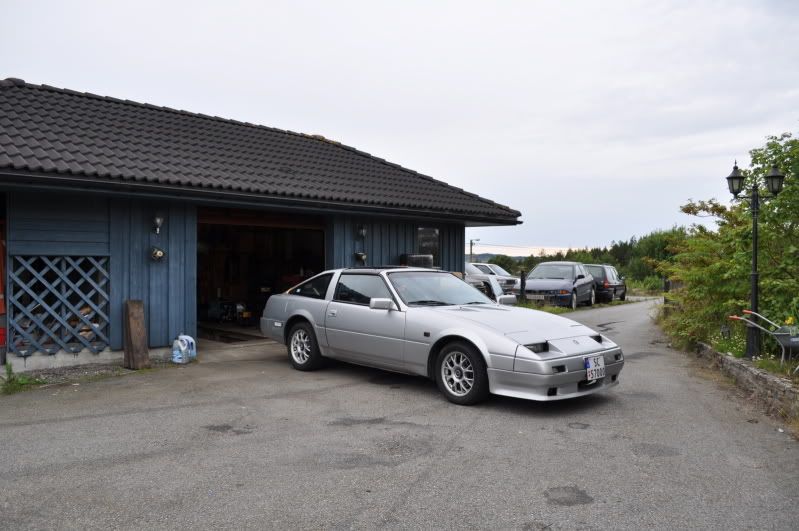
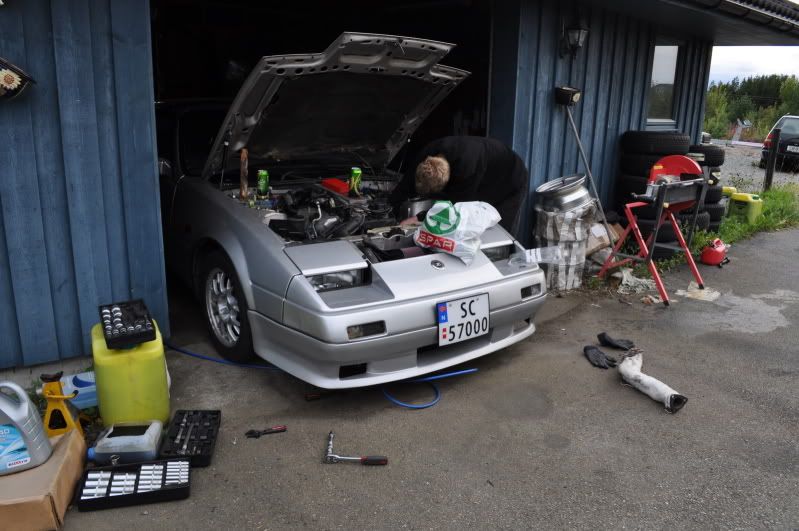
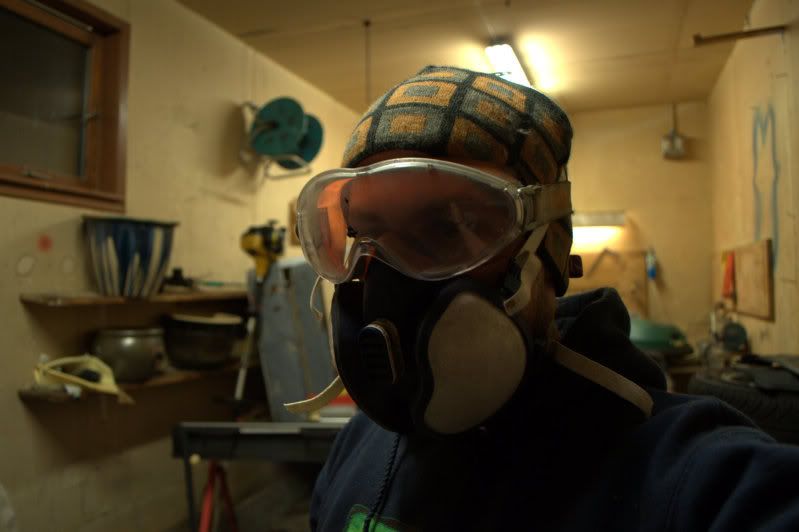
day started with a proper wash and some photoshooting.

Started working on the exhaust today. Only to find out i dont have any sound dampeners lying around.
Anyway. Rear thingy had to go.
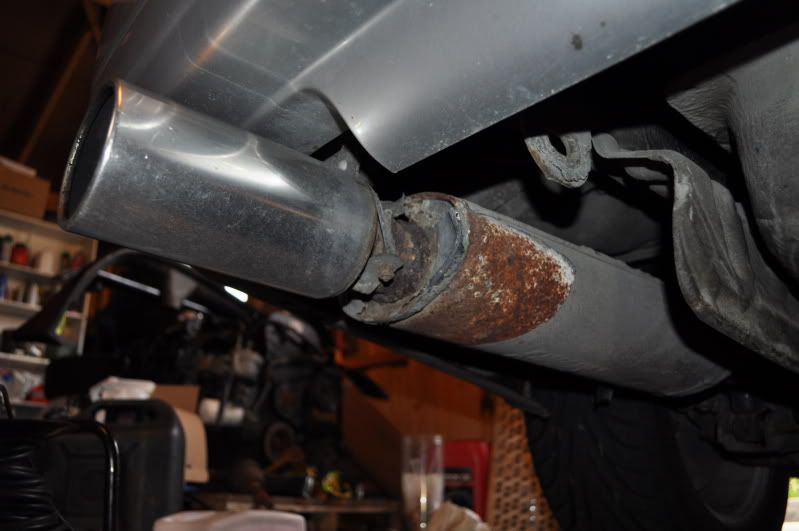
This actually became so loud that i need a sound damper before i can continue on this project.
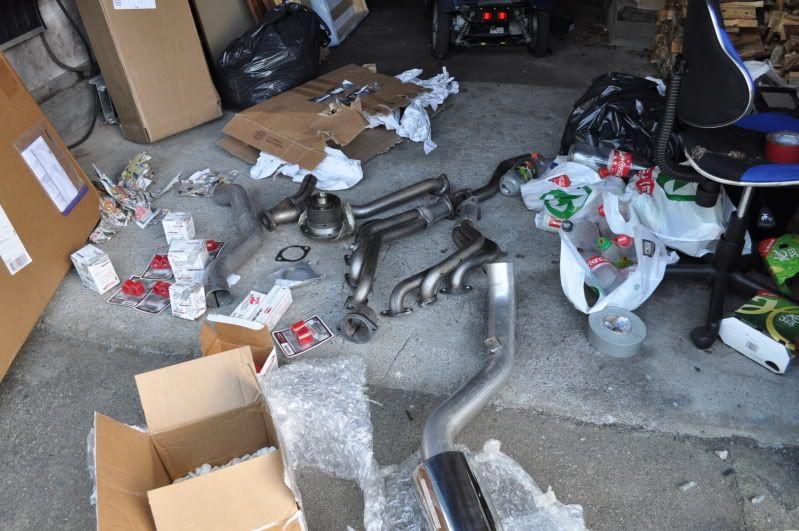
Im most tempted to just let it rest for two weeks until the pacesetter manifolds and MSA exhaust arrives.
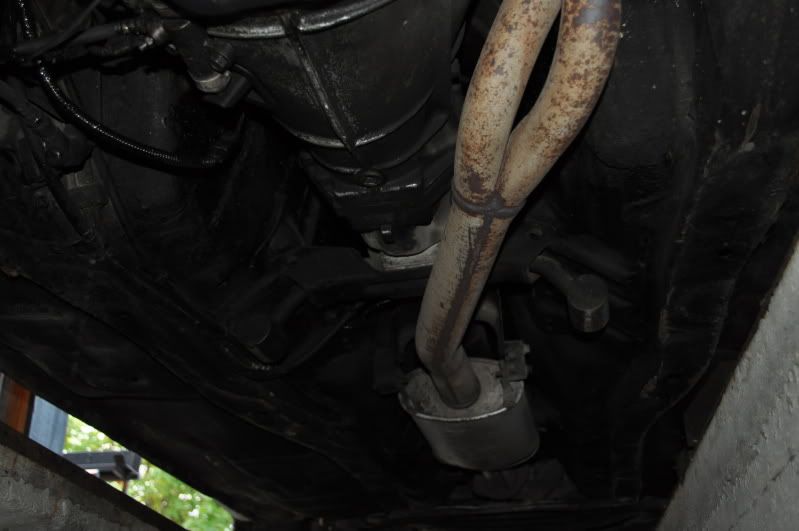
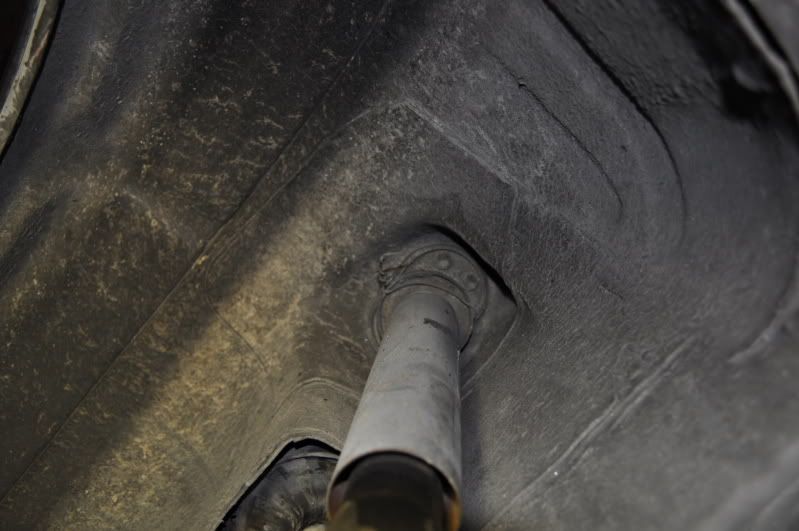
Anyway, found this while under there.
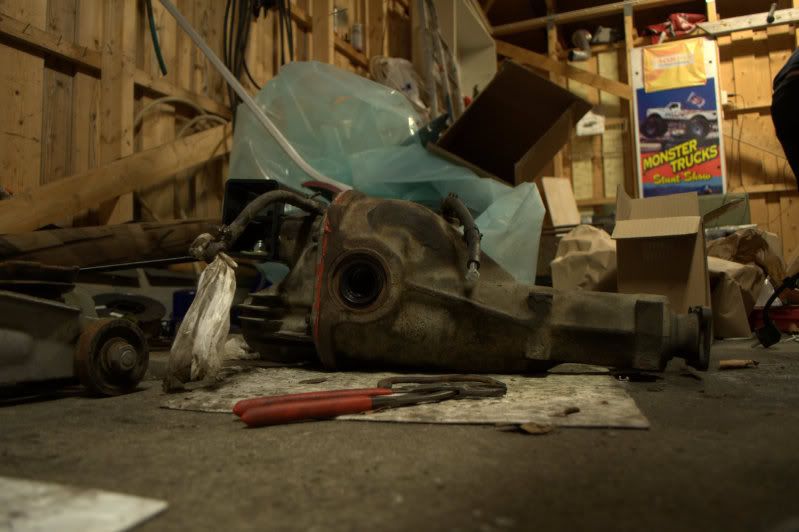
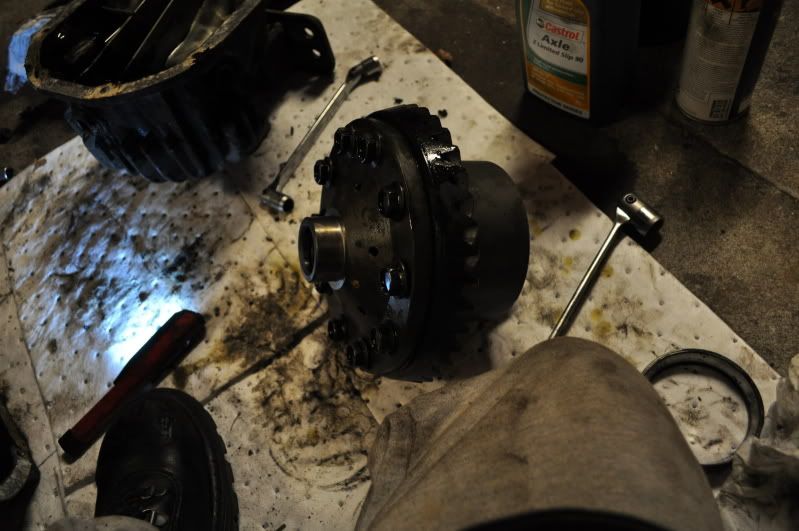
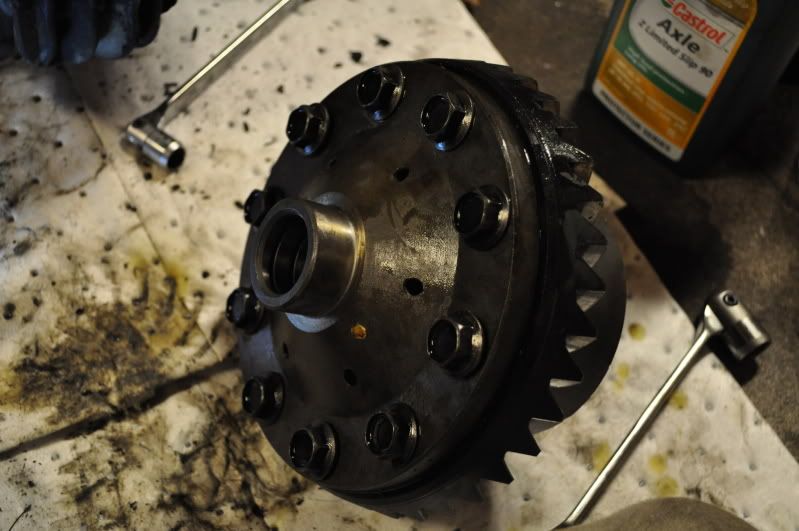
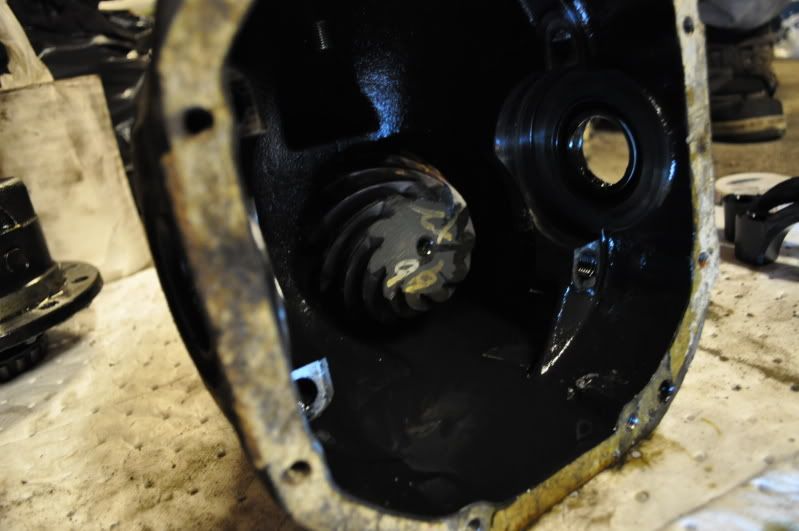
Rear axle is leaking. Awaiting a new LSD. So im going to pluck it out then, refurbish it and make it all good again.
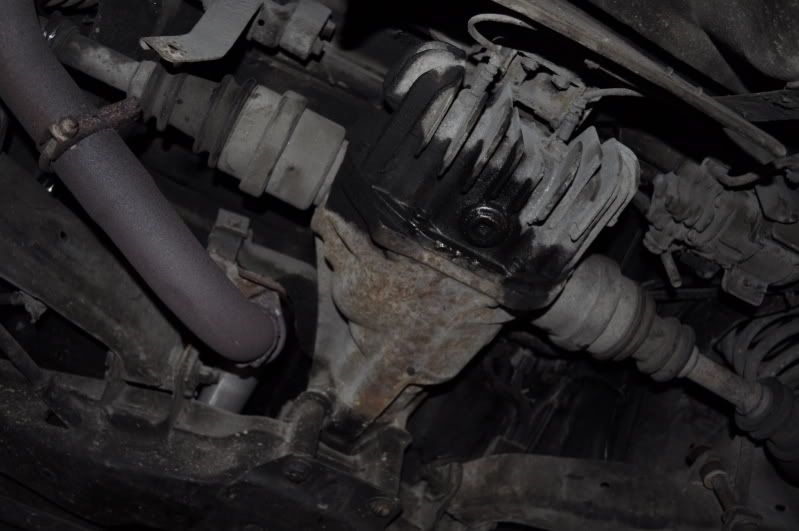
This needs more immediate attention.
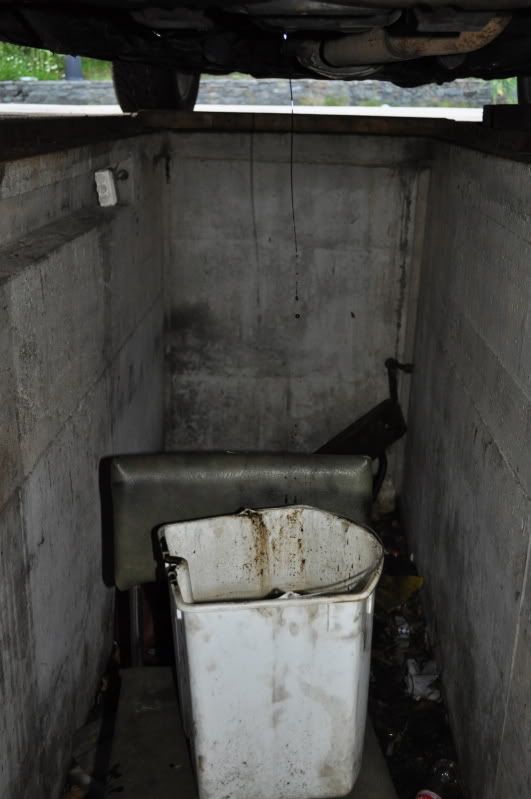
It is quite awesome to come home from two weeks offshore to this sight.
Todays effort
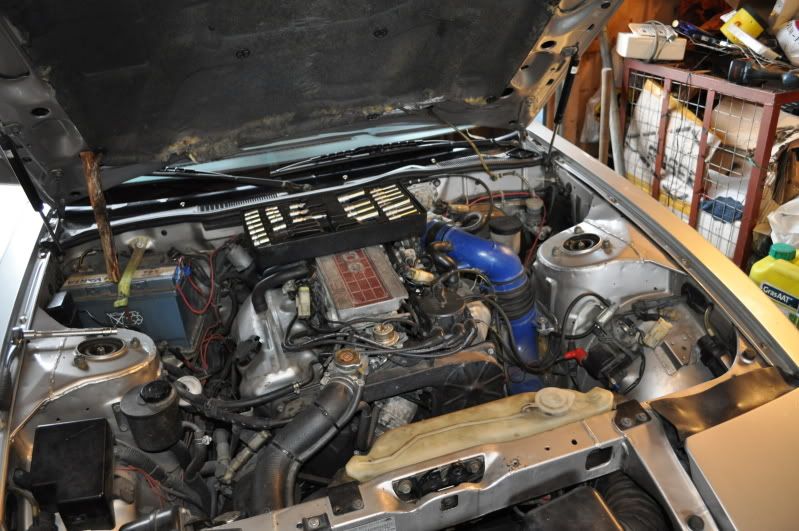
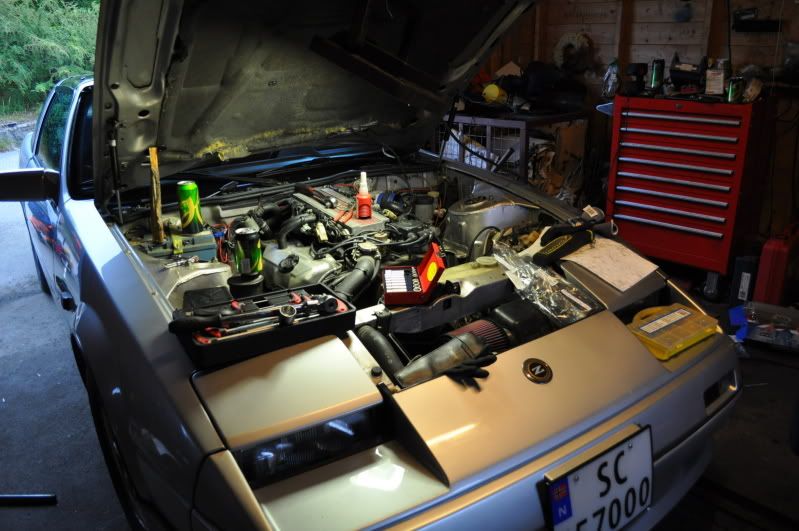
We'll start with a picture of the passenger side of engine bay
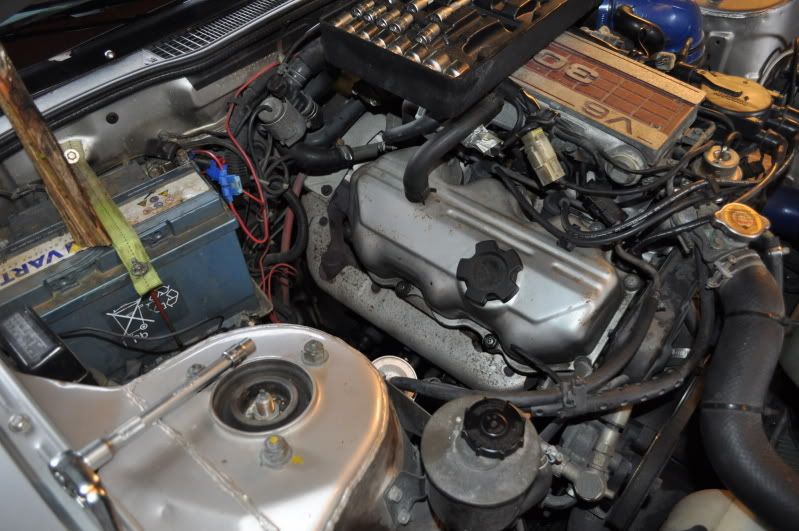
Overview
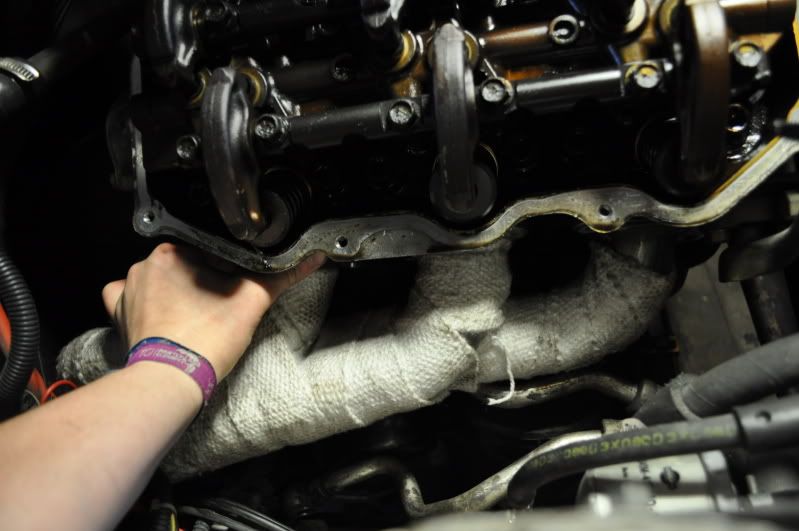
Started, loosening heat shields
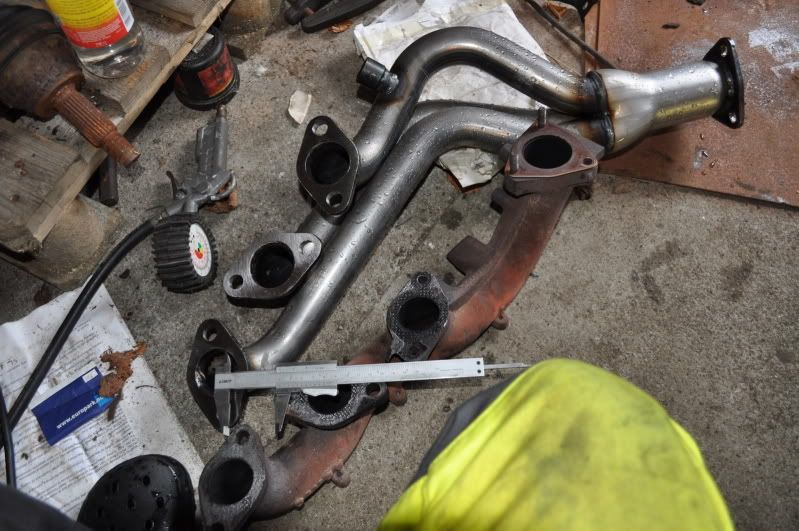
Break some bolts
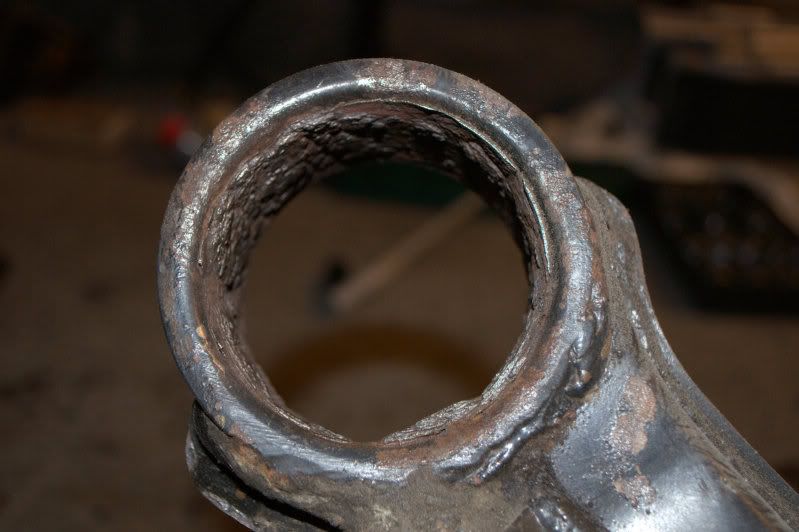
Difference of each port from the original to the new one is 4mm for each port. And im rid of the riddiculous crossover.
Trial mount. Oil cooler lines are in the way of the manifold. Im going to get new hoses made tomorrow and move the entire setup.
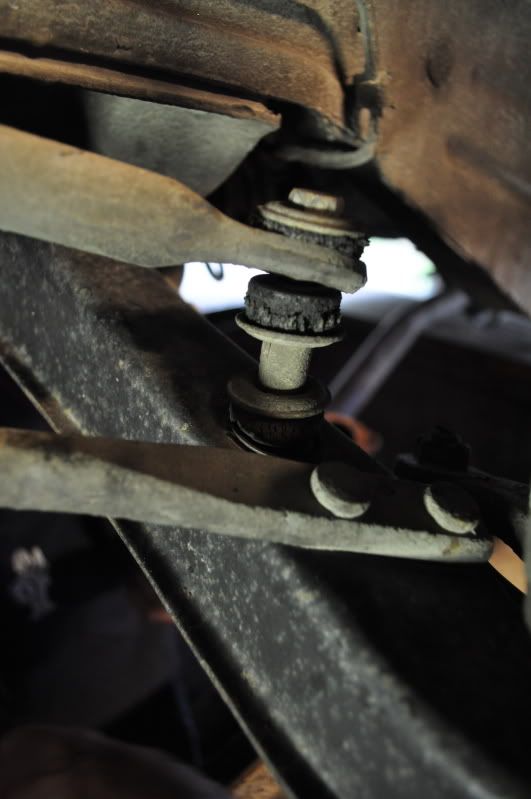
When the manifold halted. We started working on bushings instead.
Fucking aluminium lids.
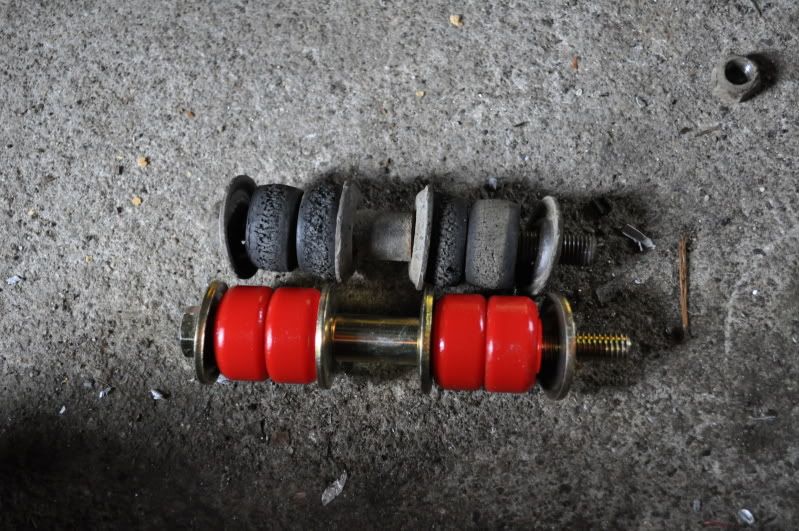
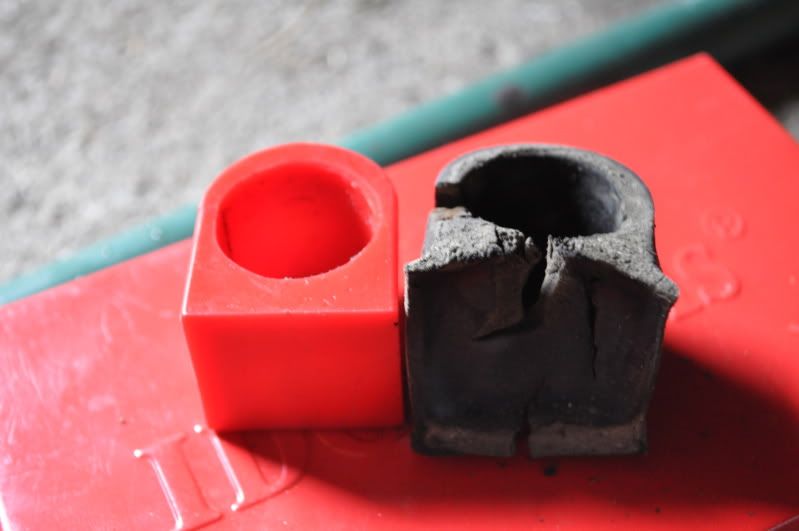
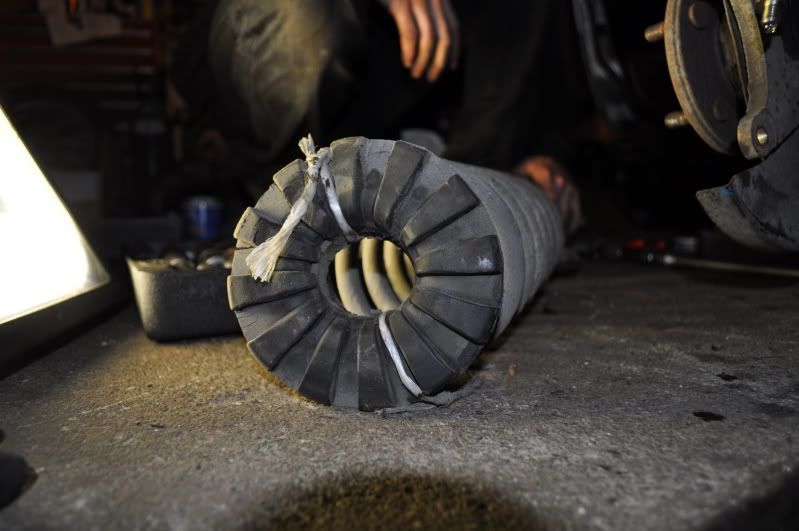
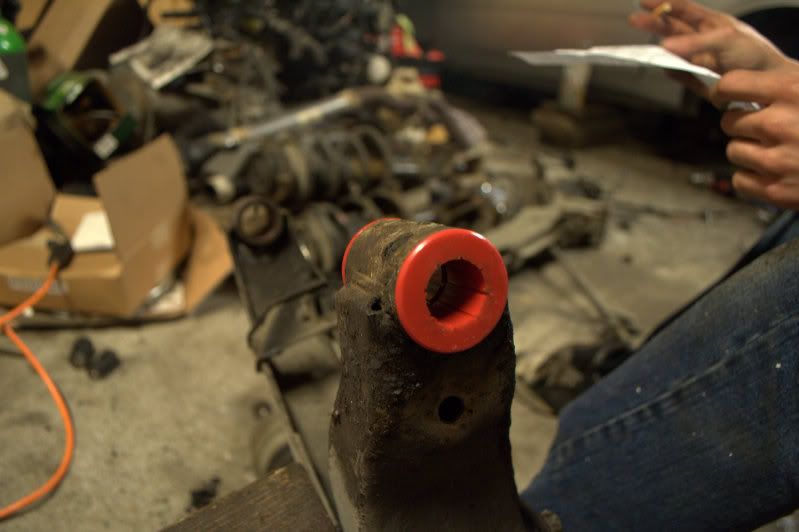
Old swaybar bushings vs new.
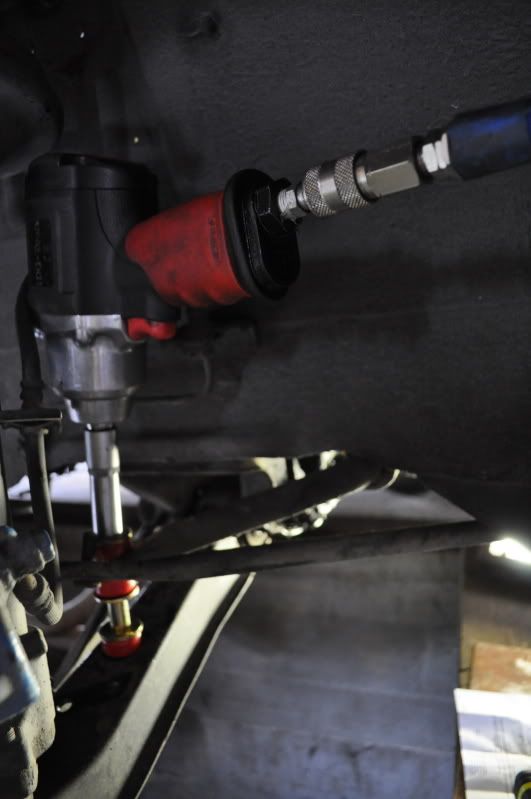
Right tools for the job. ^_^
Caster bushings
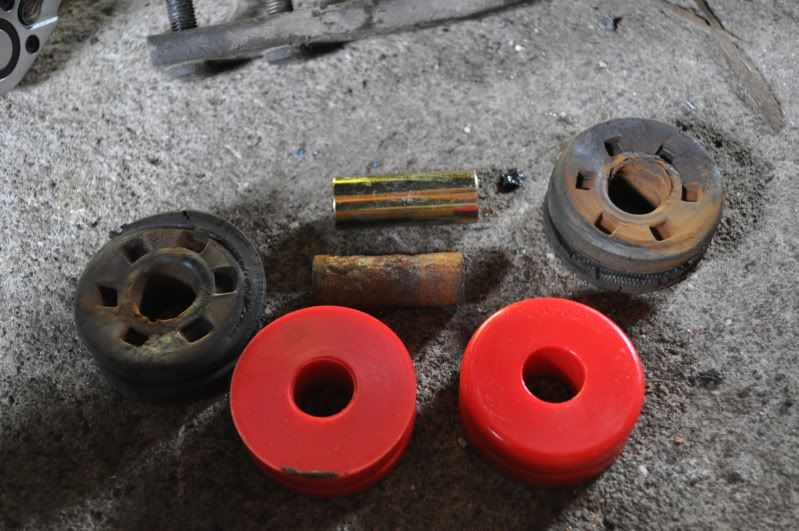
swaybar bushings
Georg is removing old oil residue so that new leaks would be more visible.
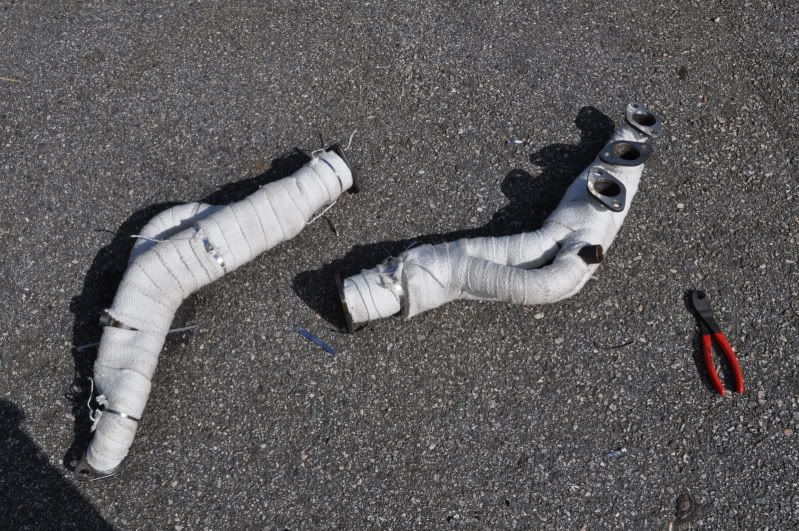
New exhaust. Some of it. ^_^ hirr
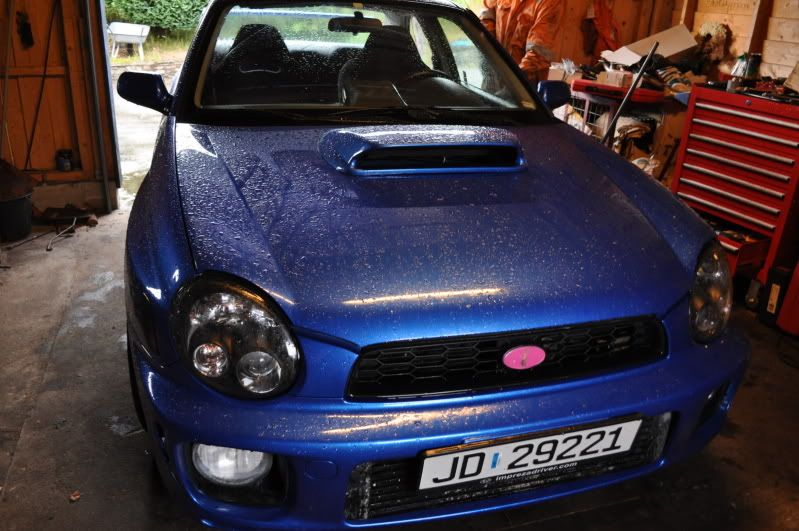
When bushings were complete up front. A buddy appeared with his impreza and wanted to change his front dampers with his newly refurbished coilovers.
Then we went mad on a turbodiesel vectra.
A nice impreza image.
And a tired Robert. (me)
Thats it for today. ^_^
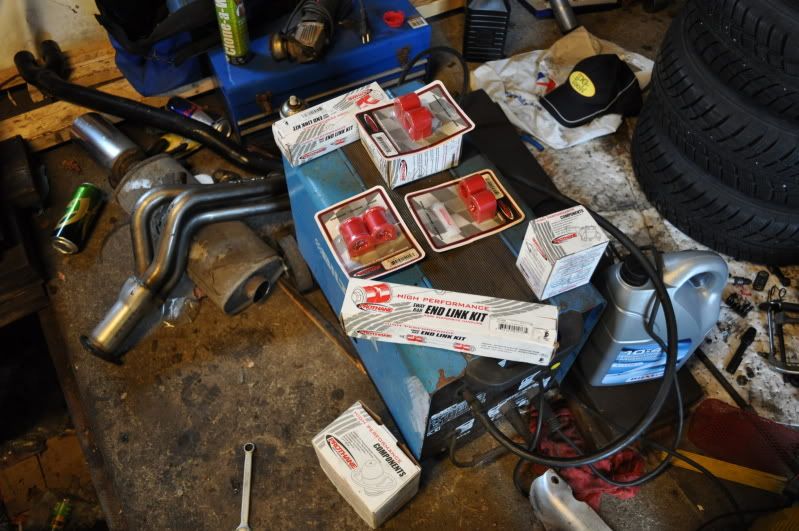
Went shopping today.

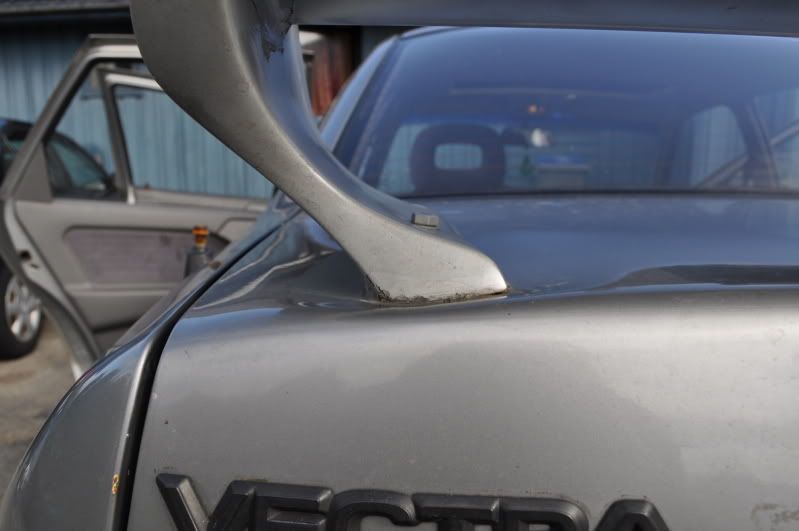
Inspected the Vectra wing alittle closer
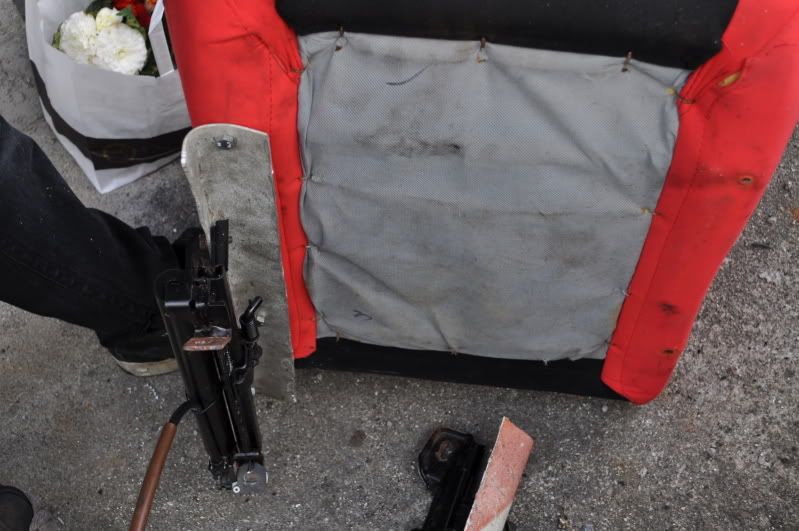
And he's making a new frame for the chairs i sold him out of aluminium.
Thats it
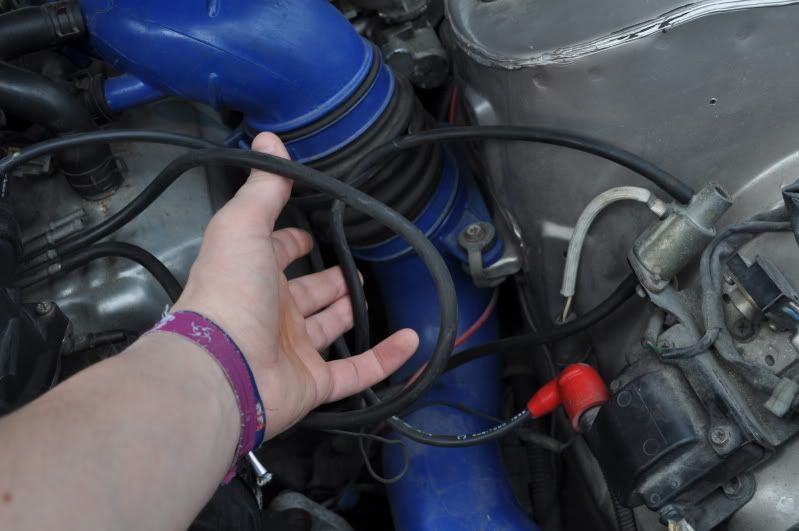
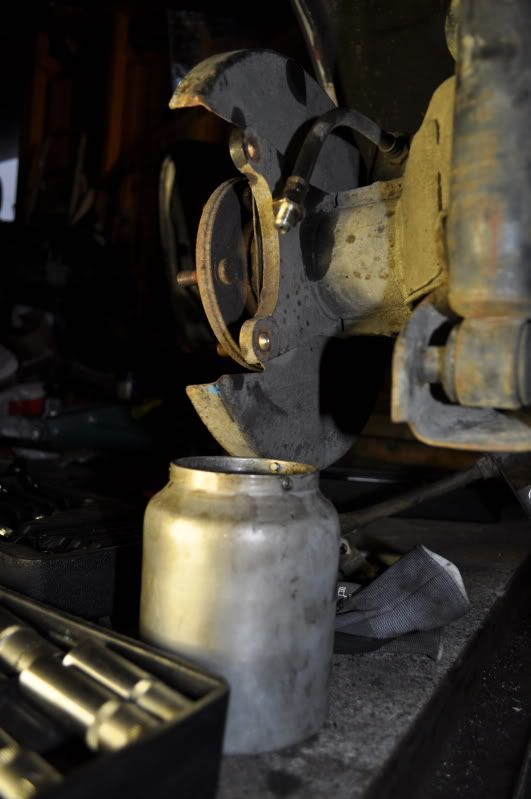
Im unplugging the oil cooler until i can find a hosefitting that goes STRAIGHT out.
Here's the bio prop Sir is so fond of.
What was bought today.
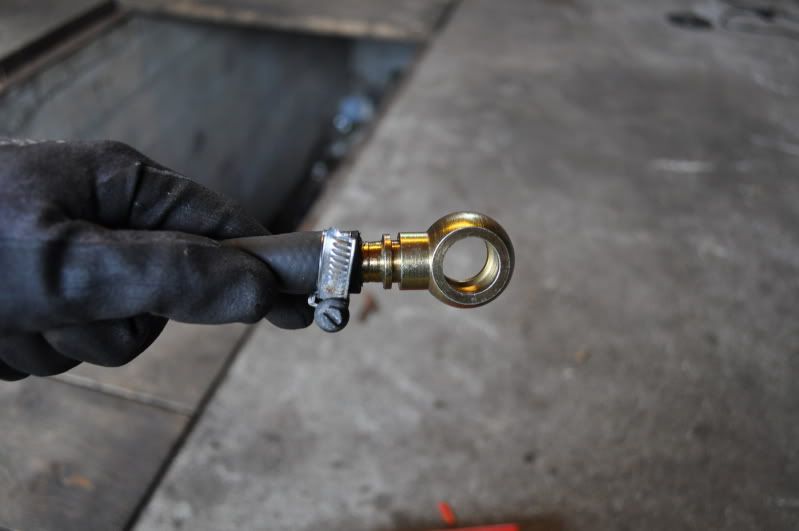
Made myself a non steel connection
Trial mounted it.
But its still in the way of the header.
SO.
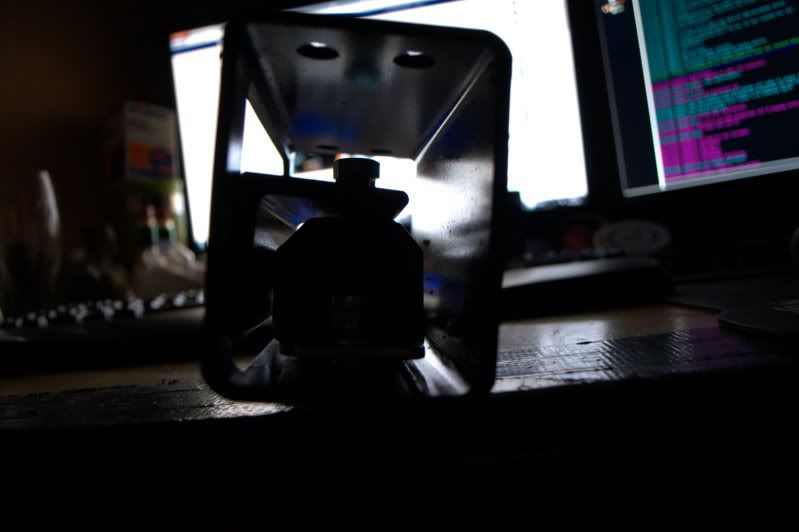
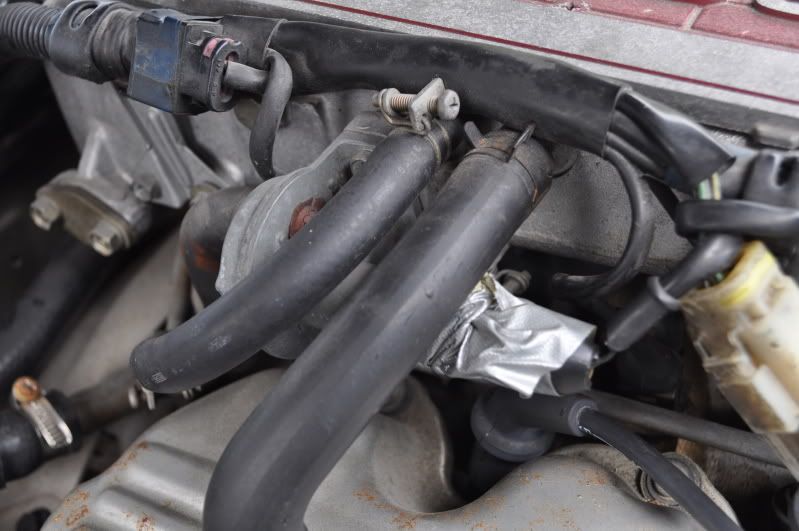
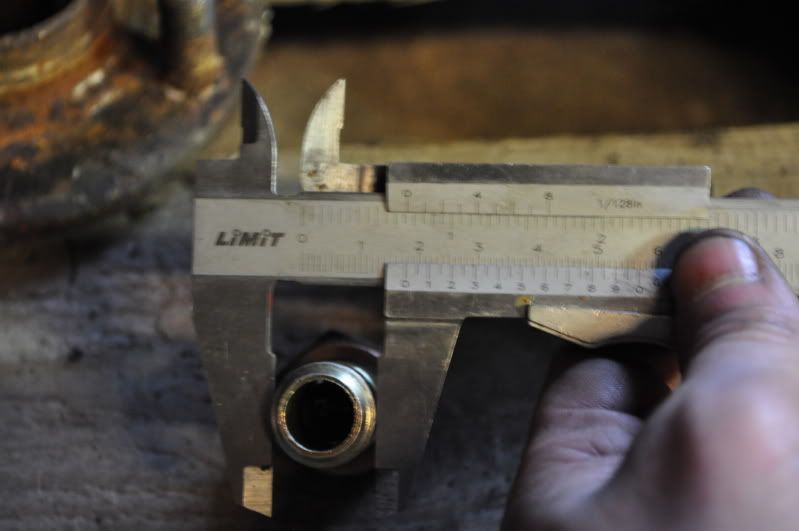
Measurements of the "banjo plug"

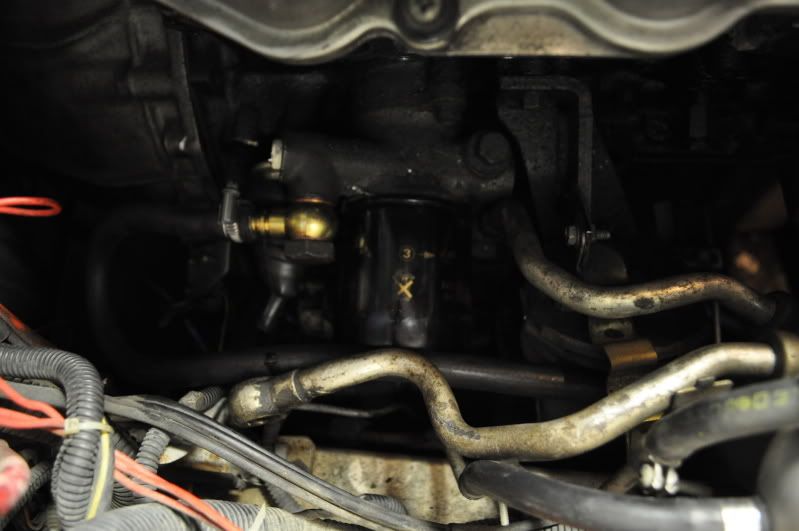
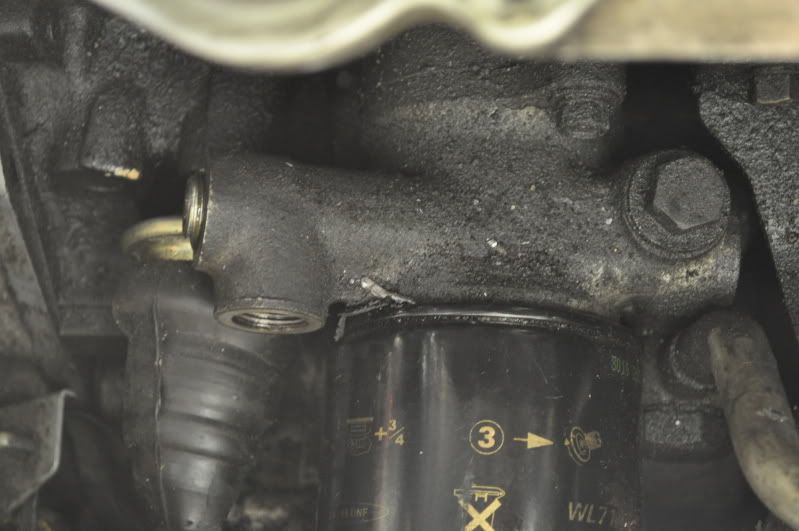
The dumbshit placement of the oilfeed.
Does anyone have a slightest idea of what i should do here? im all out of ideas.
Here and there. Wich parts in particular are you thinking of?
First
I wanted 5 bolts.
This is what i got.
4 bolts piss.
A trip to a local partsdealer fixed this.
Stupid as i am, i forgot to check the cooler side.
Will have to get more fittings like this one. I've already bought the new cooler. So i might
as well change it all.
BUT, the manifoil finally fits as it should.
Rejoice everyone! Just have to solve the oilcooler problem now. And everything should be
just awesome.
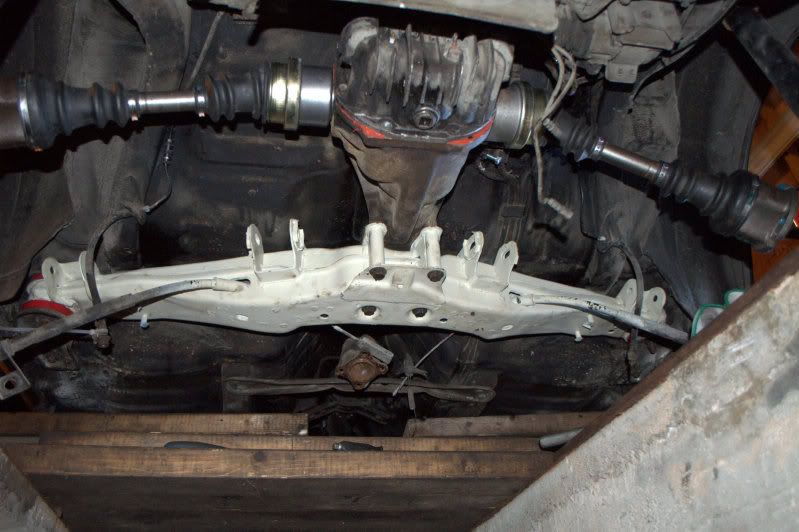
With the manifold and oilcooler postponed atleast three days. I went over to other stuff.
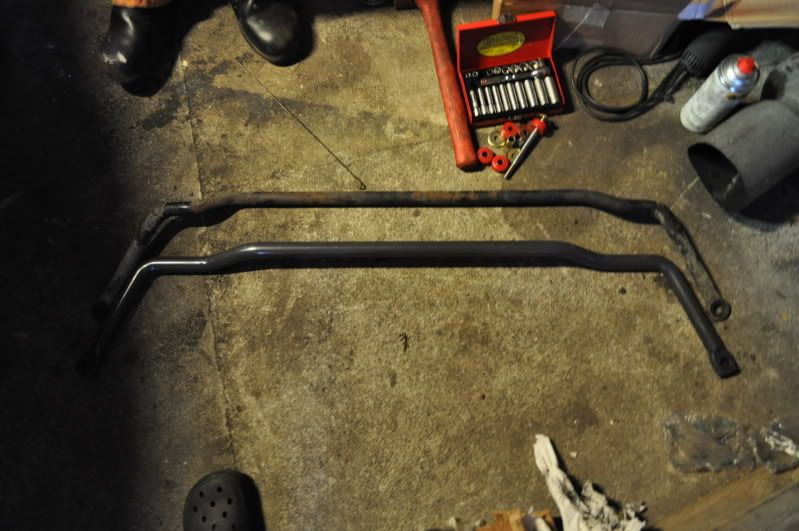
Swaybars were changed up front from the original 24mm to 26mm. From Hollow to not so hollow anymore.
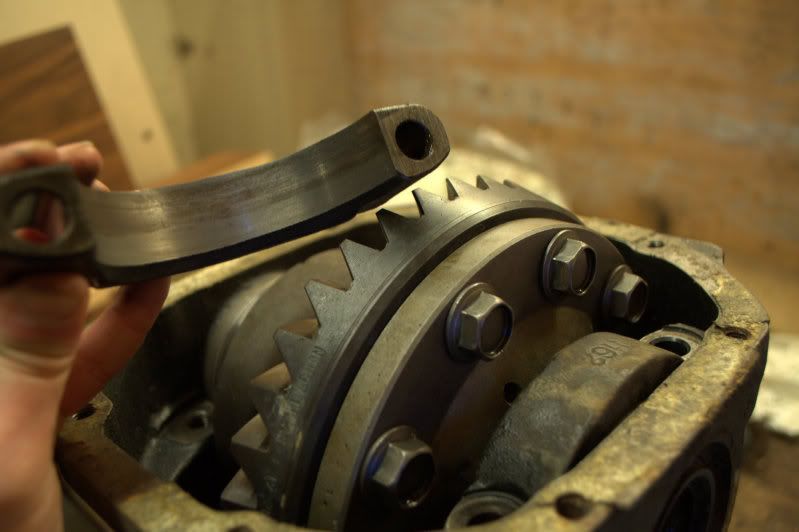
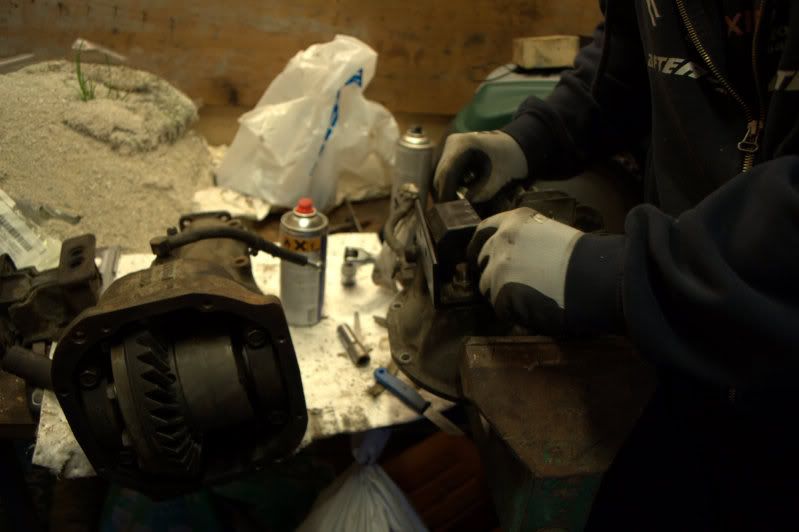
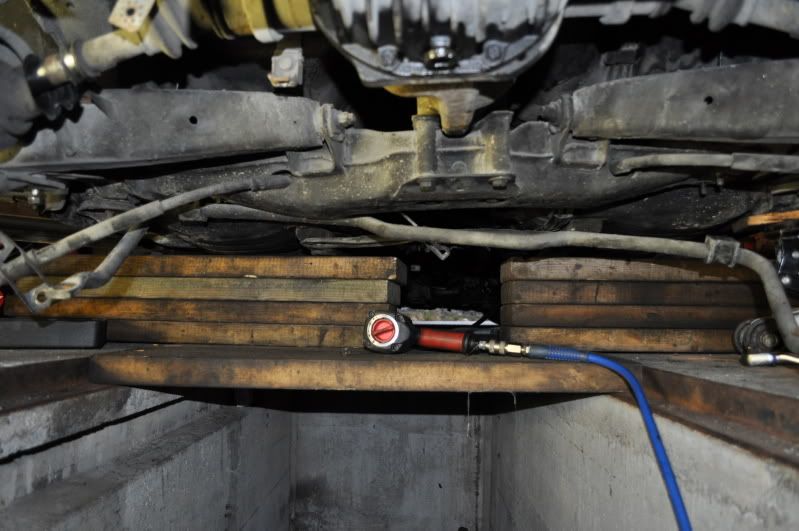
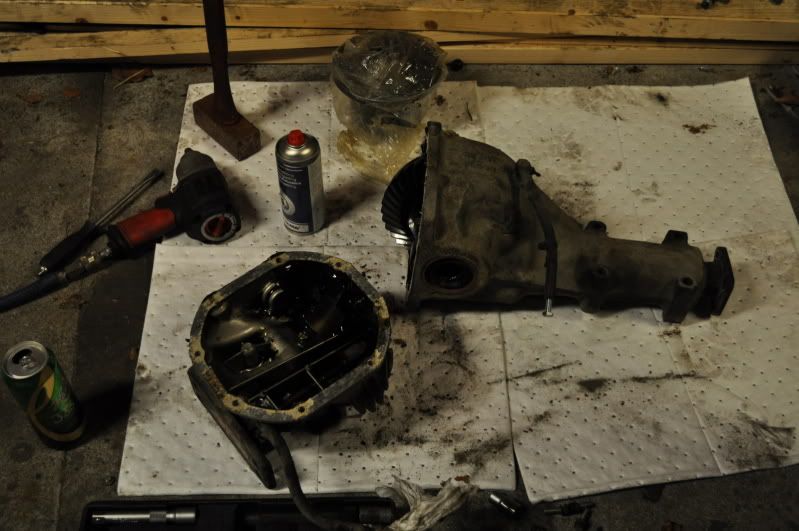
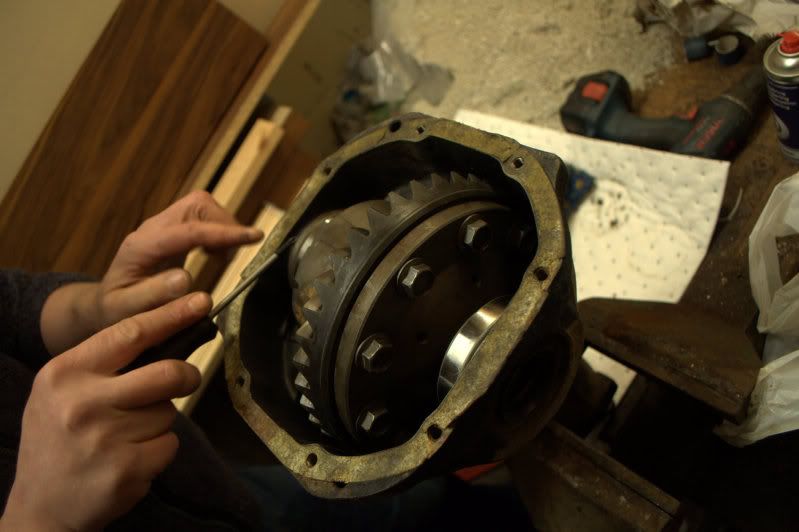
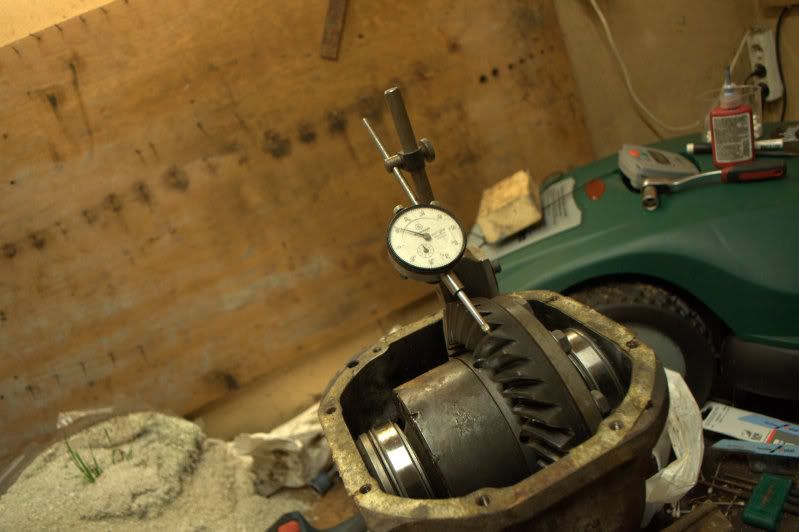
Drained the rear differential to exchange its internals.
Gonna leave you here for now. More will follow tomorrow.
Finally got some days off work and enough time to work on my own car.
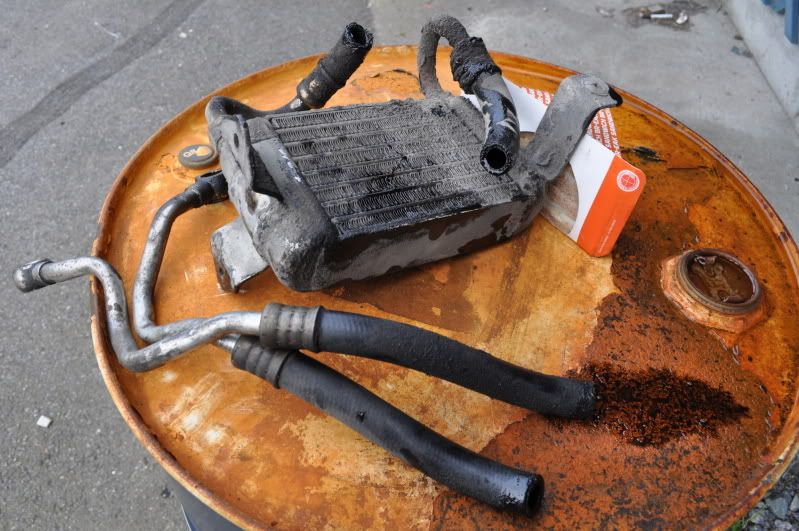
old cooler
Header on one side. <3
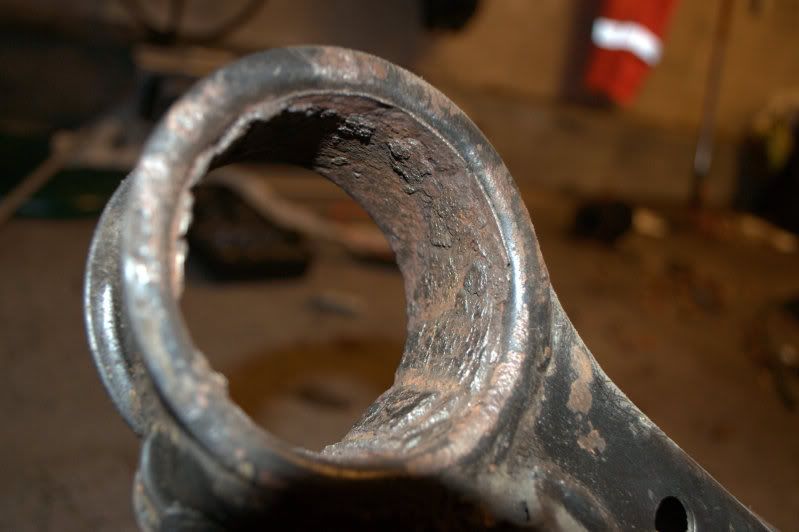
Old vs new. Old leaks, ergo got replaced.
Hoses mounted up. 30 bar clamped ones.
Like a boss.
Gonna let the juice i put on the connectors harden, make a bracket for the new cooler in
front of radiator and change to the LSD. Then i might fire it up tomorrow.
Bracket didnt get finished. (Damn you georg. I need that bracket)
So i went mad on the rear wagon instead.
hate that bluecolor. Gonna paint it some other color while its off.
Swaybar on its way off.
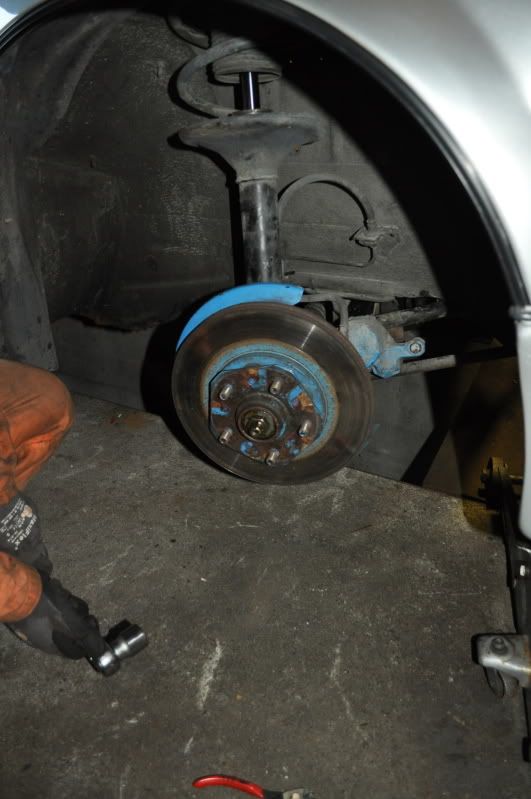
Drain brakefluid.
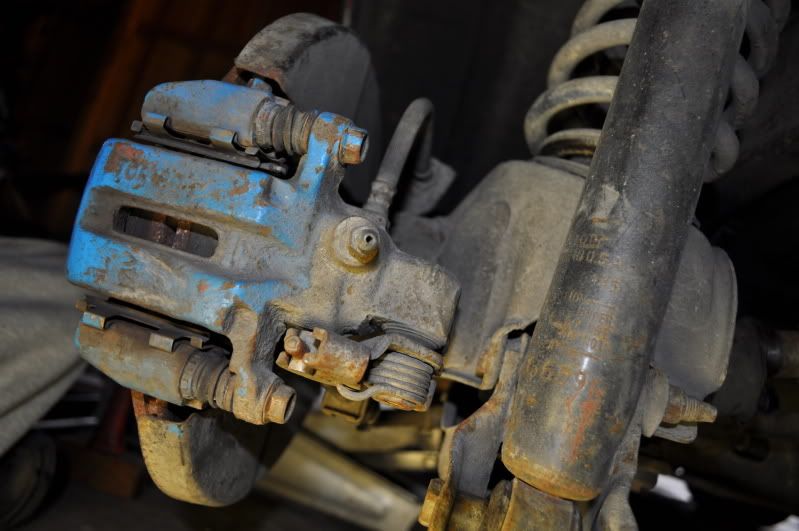
Removing caliper
Rubber strapped on for some reason. XD
Some wire on top of damper as well.
jacking out axle.
one of the sides completely removed.
Found some rust i really dont like at all. Gonna have to weld it up and repair it.
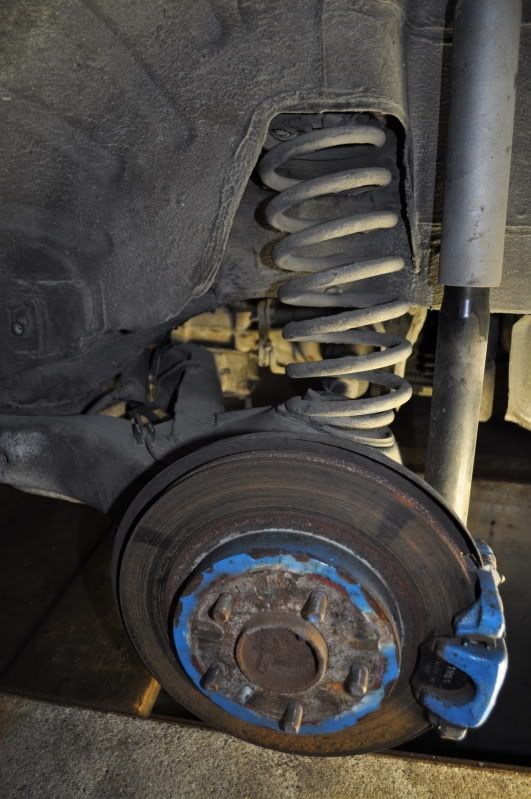
This is what it looks like now.
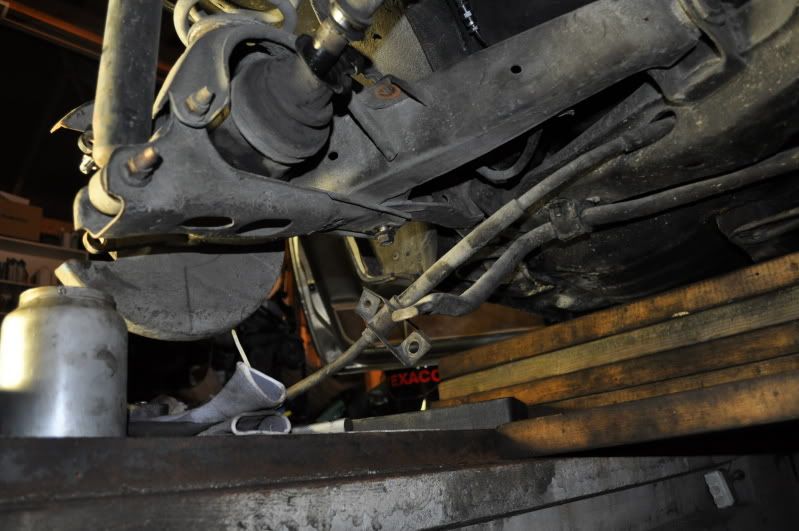
These bolts on the other side gave me some headache. I need the bolts. But i dont care about the bushings. Its near fuel lines so i dont want to
use too much heat nearby there. Any suggestions to get the bolts to loosen from bushing?
really wanna have both sides with me to burn out old bushings, blast everything and repaint it.
If you got tips to get the bushing to loose from the bolt. Post it!
Im seconds from just cutting out the damn bolt.
Gonna pull down the entire crossover tomorrow and see if i have more luck then. I'll also be able to use alot more heat that way. Without risking setting the car on fire.
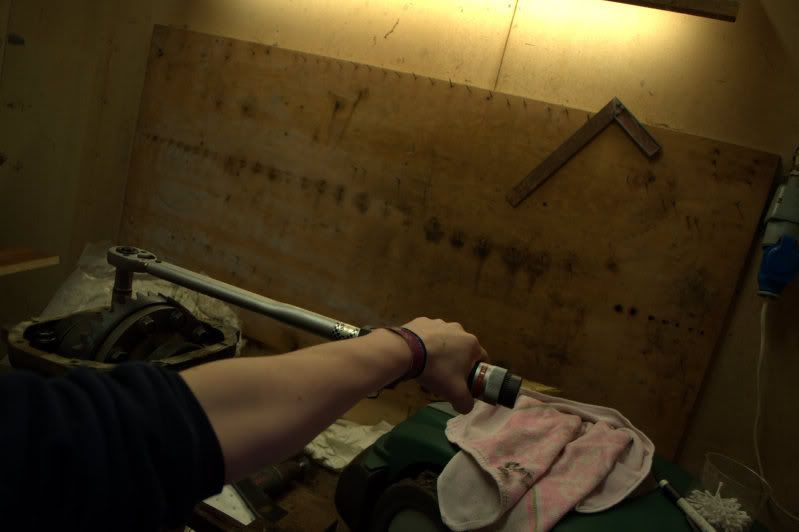
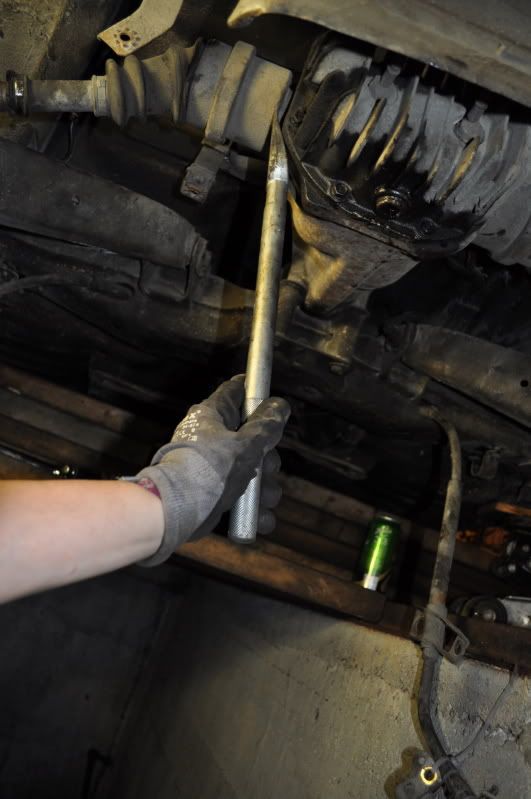
Took down the Diff to get more room to bang on the frackin bolt.
Some observers came.
Finally got sparetime and the health to work on my car again.
Tried putting a heatshield over the bushing to protect the fuellines.
Didnt help.
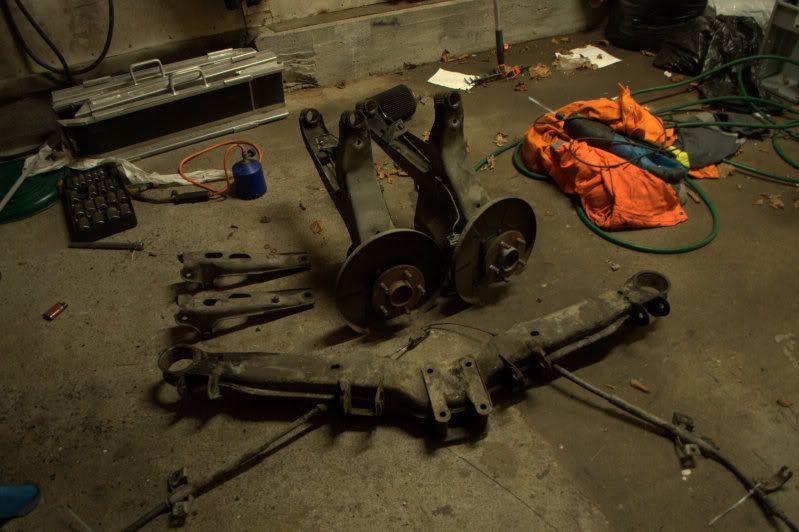
Got pissed and took out the entire crossmember.
Burn mofo, burn!
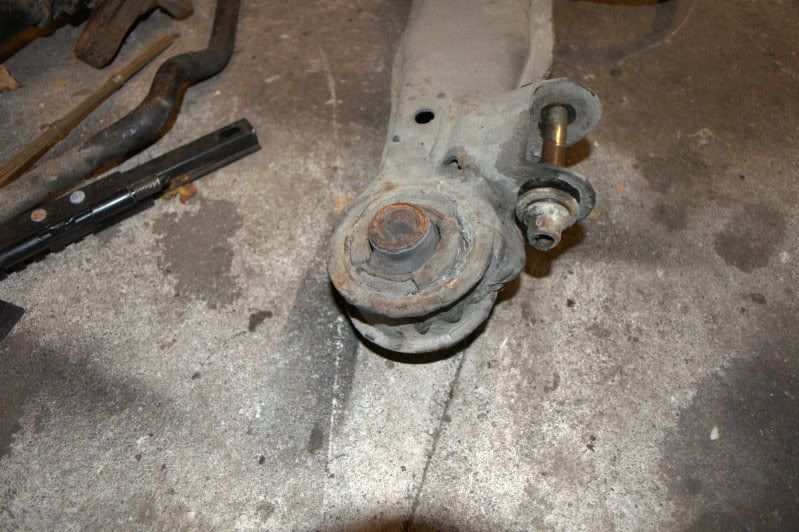
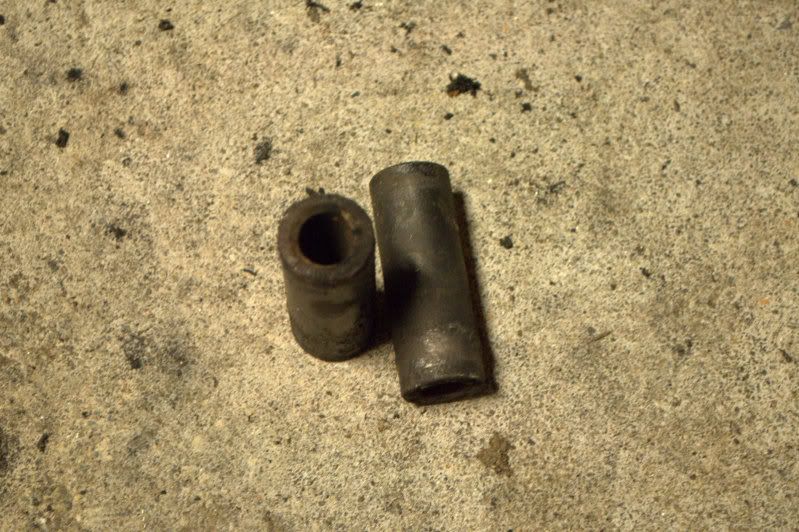
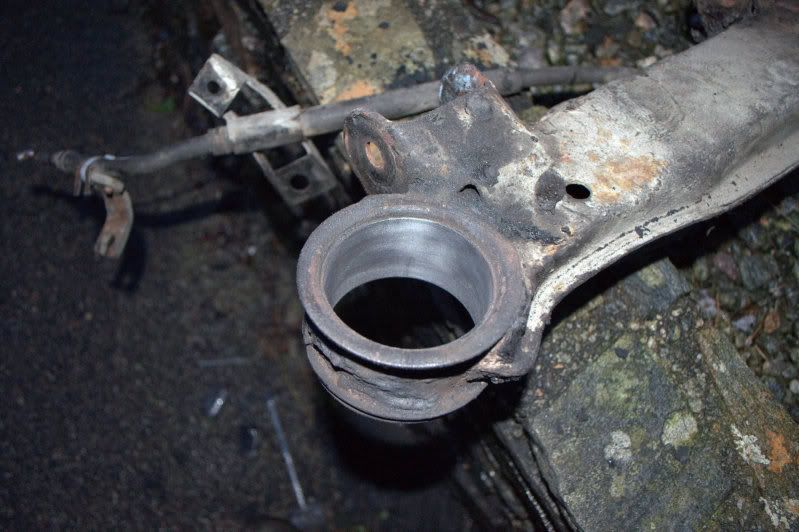
Bushing looks like it needs to be replaced.
Had to cut some of the bolts.

problem bolt.
Got it off and burned out old bushings.
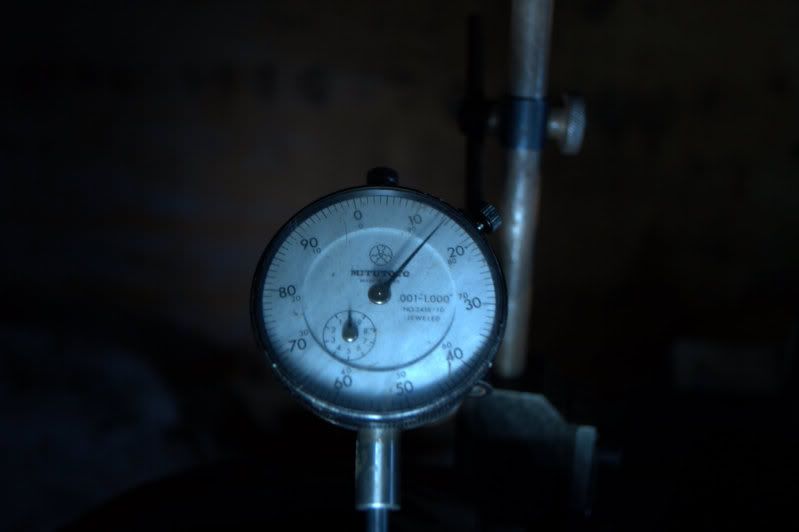
Properly grinded and measured.
New bushings.

Trial fitted just for fun.
Sendt old sleeves and a set of bushings to get new ones made out of titanium. Making some for Sir420 as well.
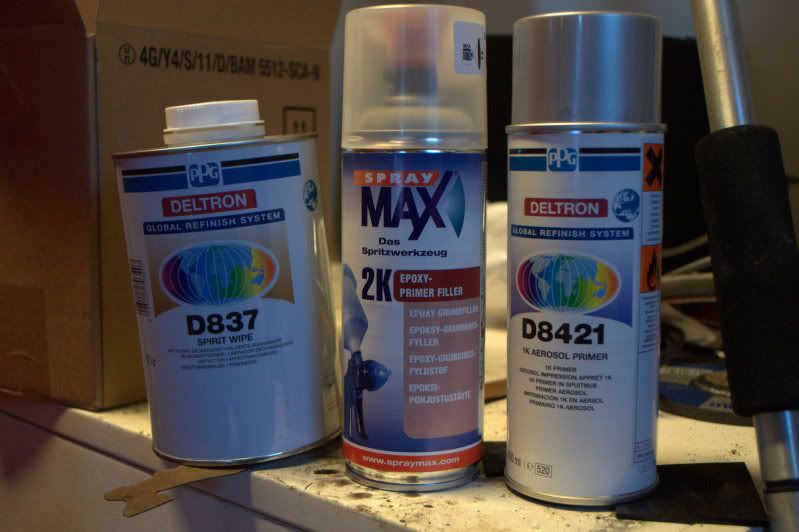
Bought some stash for respraying the crossmembers and arms. Two Component epoxy paint. Since its already off.
Since one of the bushings were bad here. Im burning out both and replacing them with PolyWhoreIThan
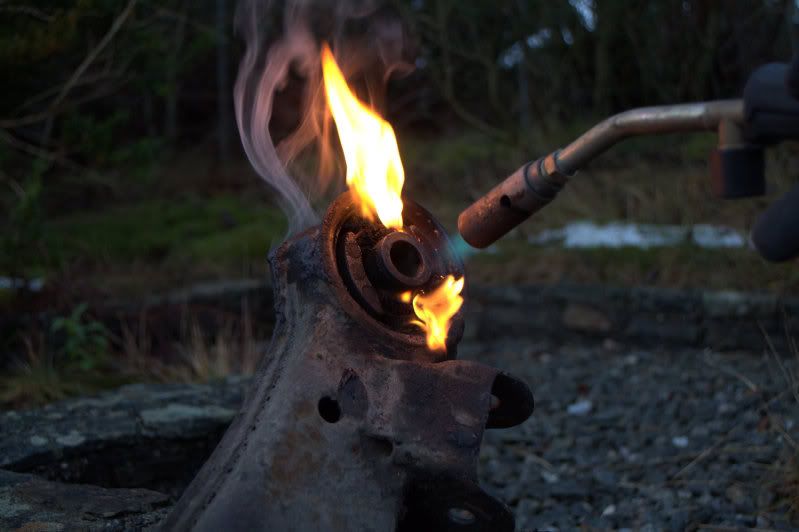
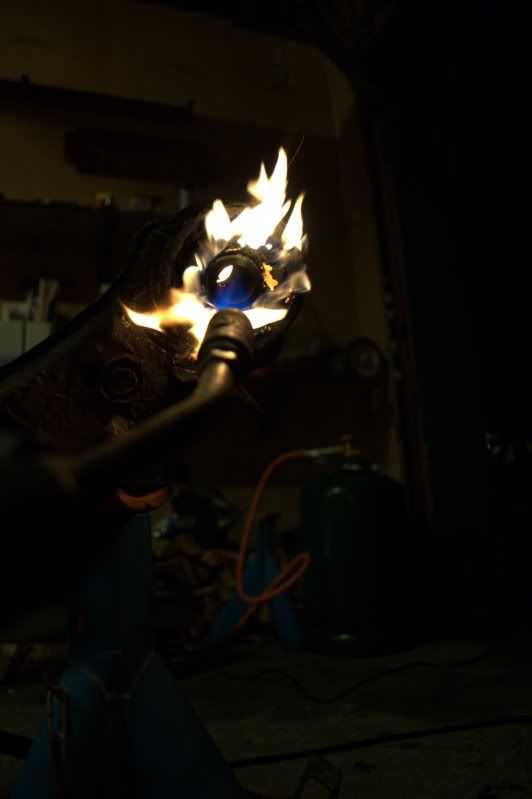
Surprisingly good result with a propane burner
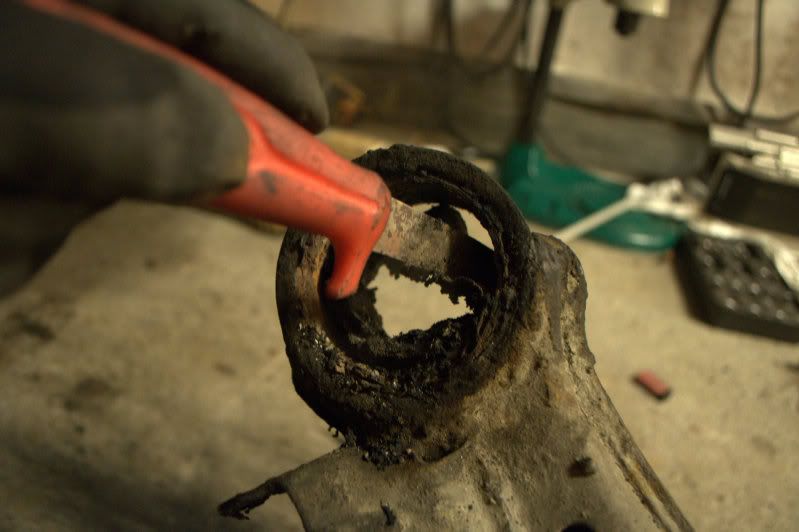
Pulverise!!!
Some grinding, and voila.
Then the other side. KILL IT WITH FIRE!!!!

Moved into the garage.

This one on the other hand looks like shit. Im guessing i need to buy a new bushing, install it, burn it out and then
install a polywhorithan.
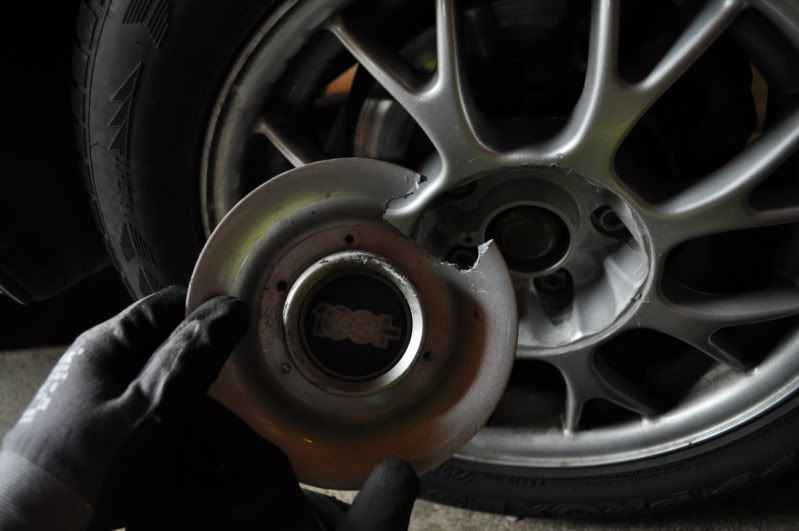
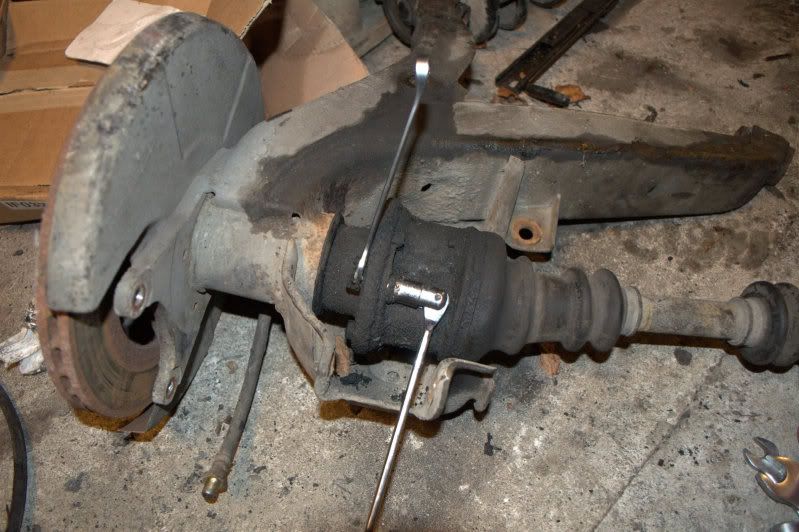
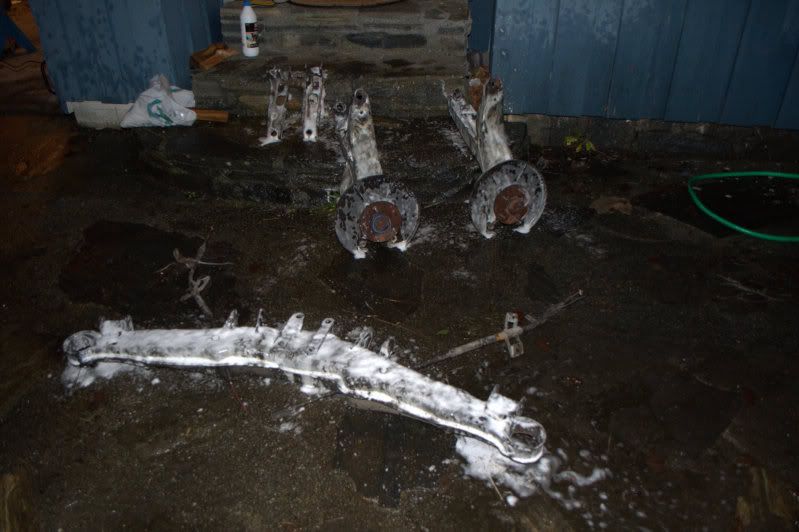
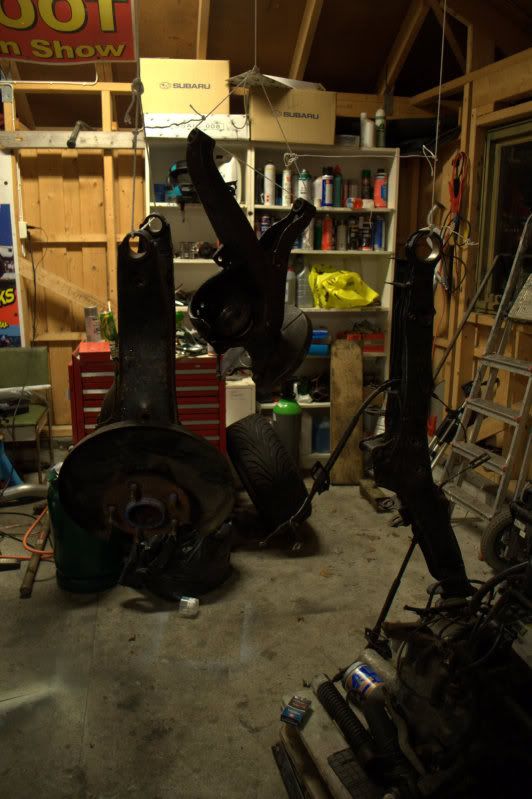
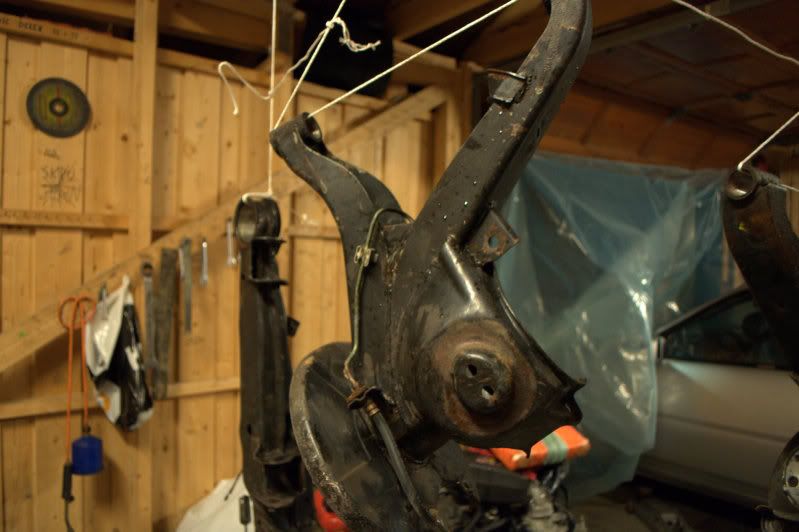
Started working on the "finished" arms. taking off brakediscs and axles.
Got new axles lying around.
Lots of music, beer and good spirits.
Sprayed the arms with some light acid solution to loosen up the old crap and get it ready for epoxy.
A friend of mines imprez rims

Cleaned out one of the garages today. This is in the middle of the cleanout
Since its -10 outside. We kept this guy working
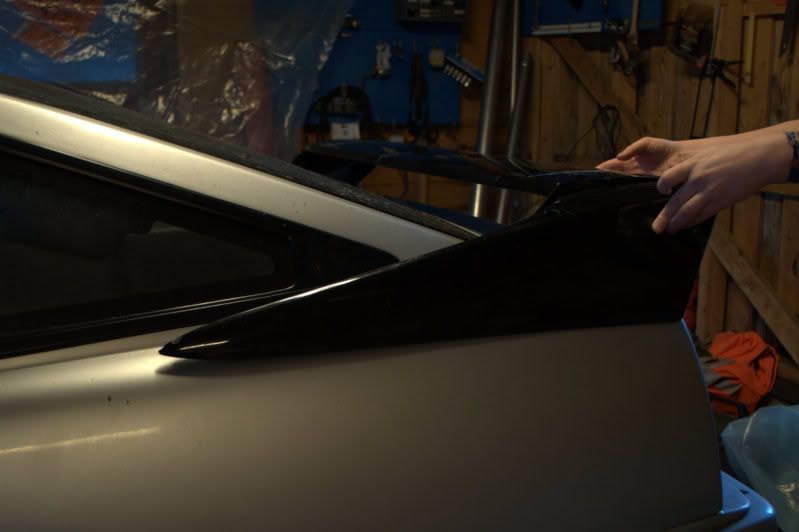
Tried scoop on the Z.
Does not approve.
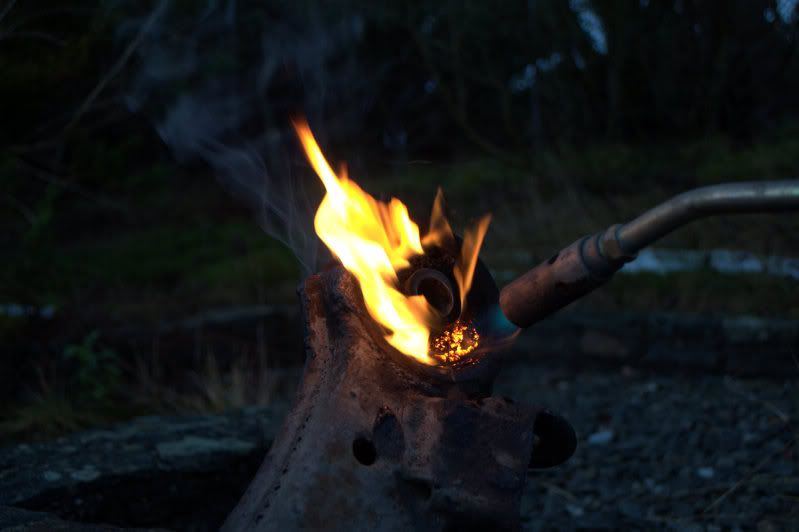
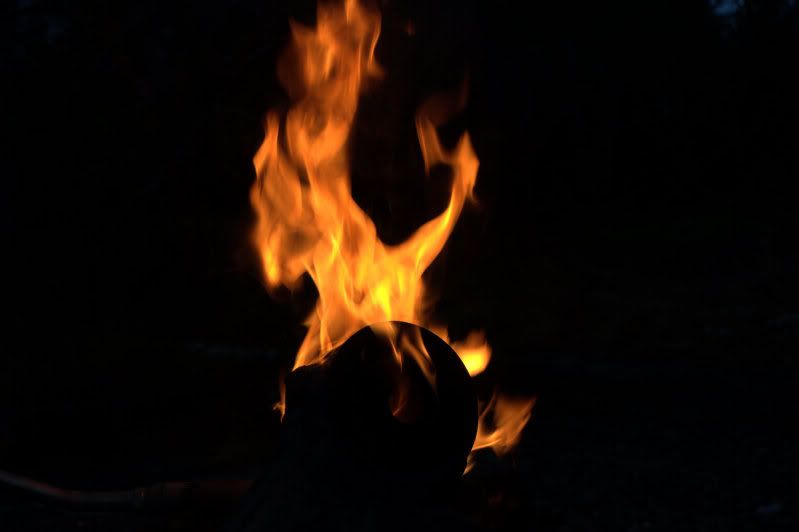
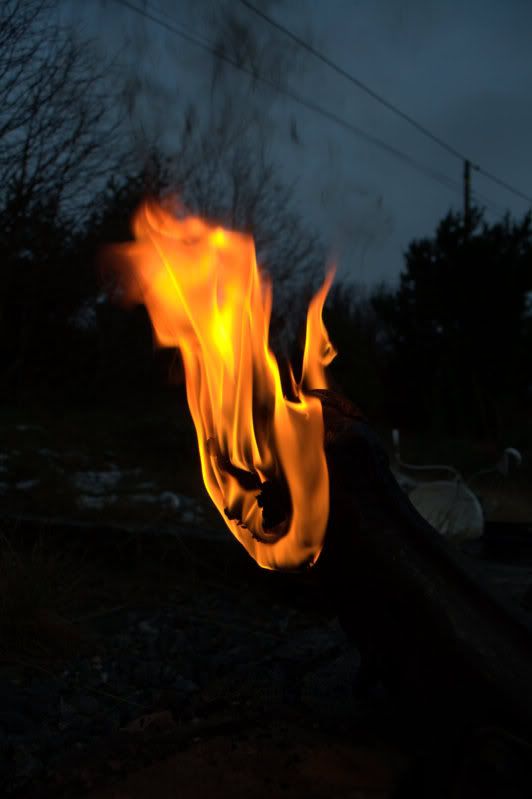
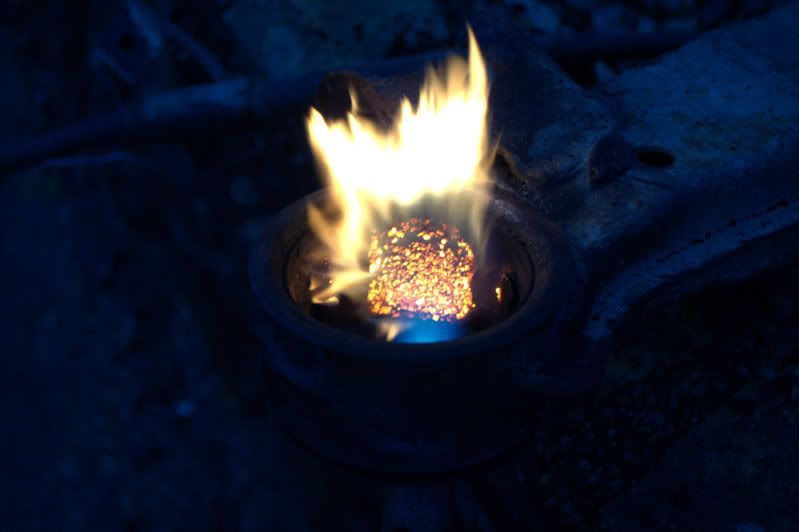
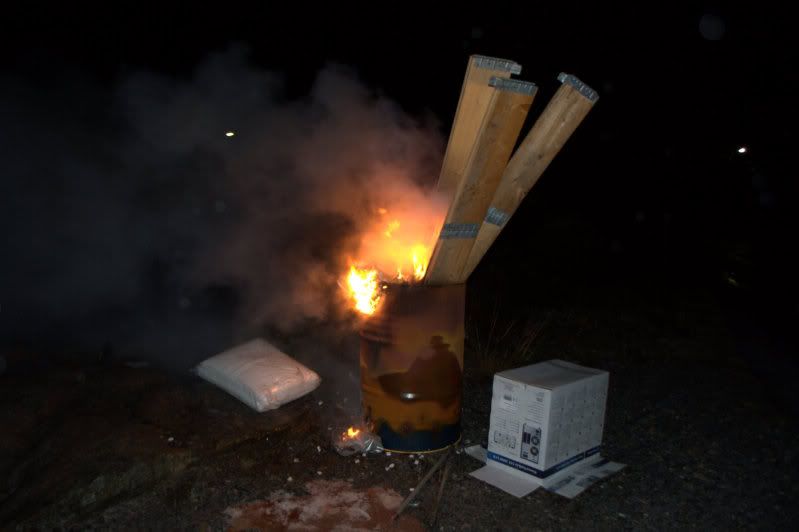
Burned some stuff
Im gonna boil this stuff tomorrow to get it prepped for epoxy paint
And we started a project.
Me and my buddy started arguing about wich substance prehibits rust the most. Im all for prepping down the metal and painting it with twocomponent epoxy.
He's more about just painting over it with tectyl and let it be.
So we started project RUST
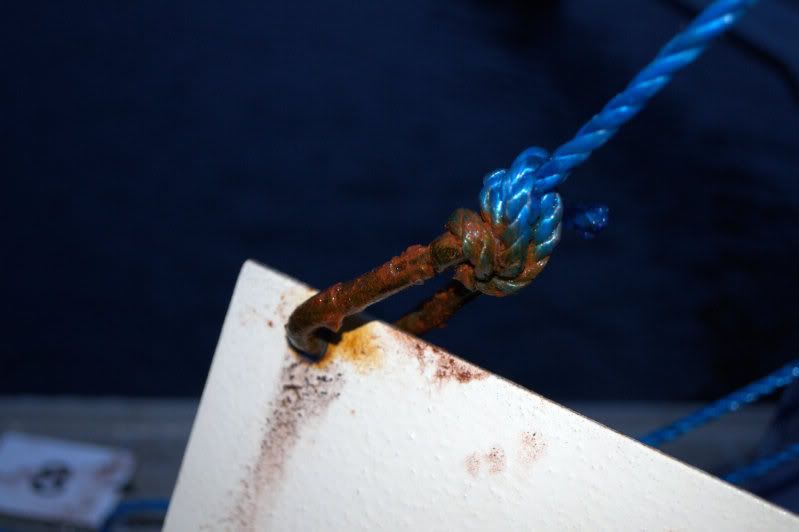
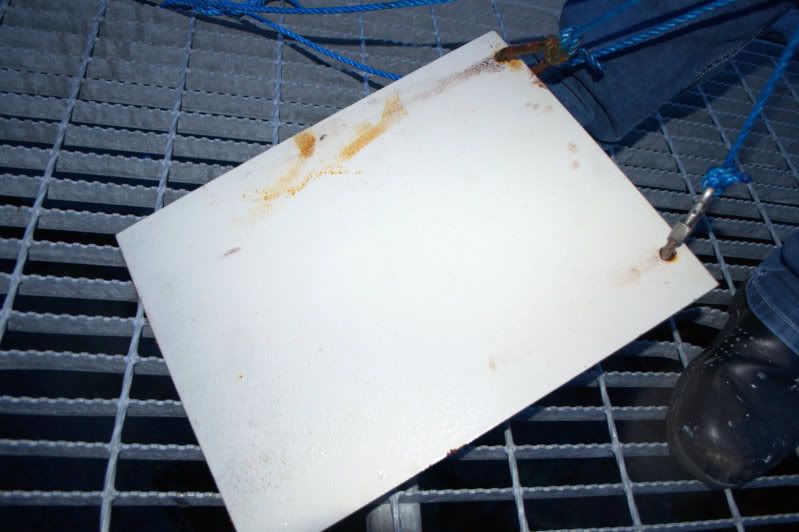
This is a steel plate.
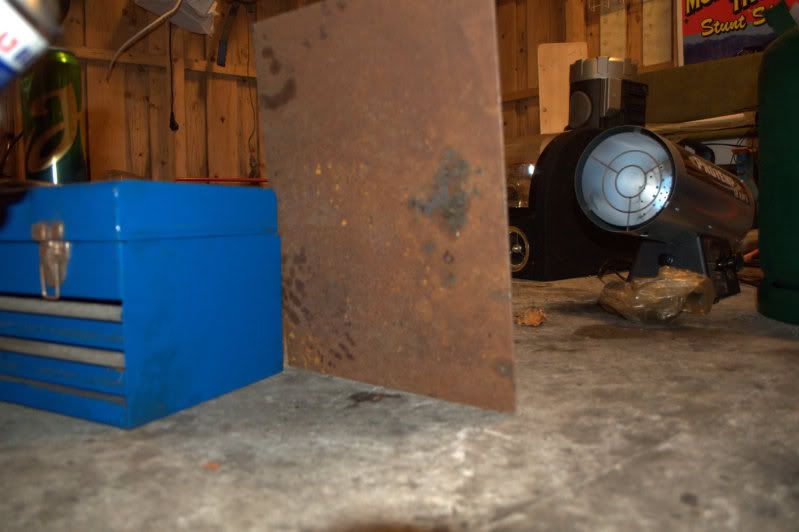
We painted one side with tectyl
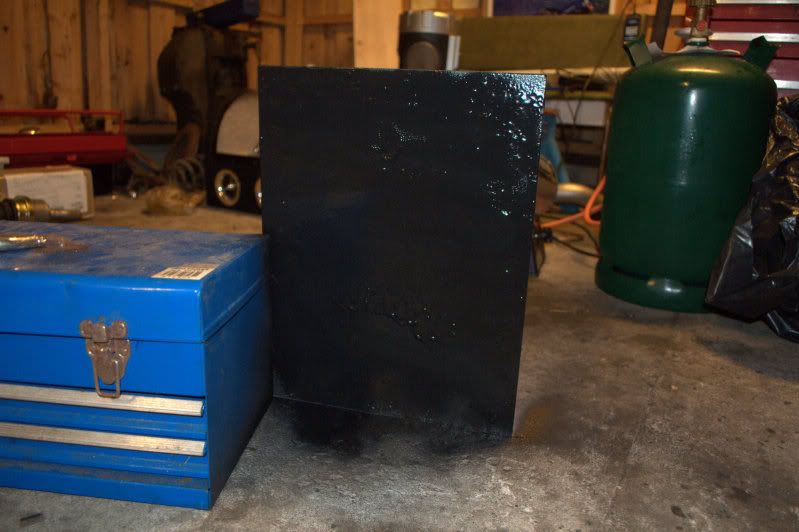
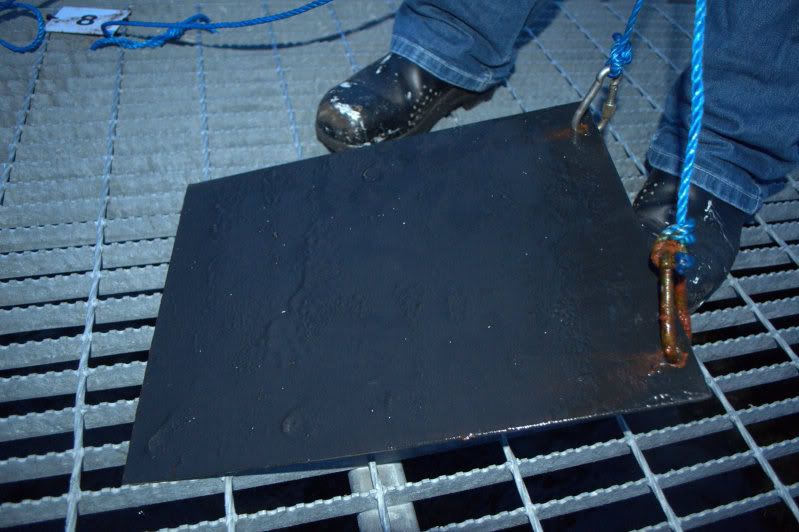
And the other side first with acid primer and then epoxy primer. Three layers.
Cheated a bit on the hardening period.
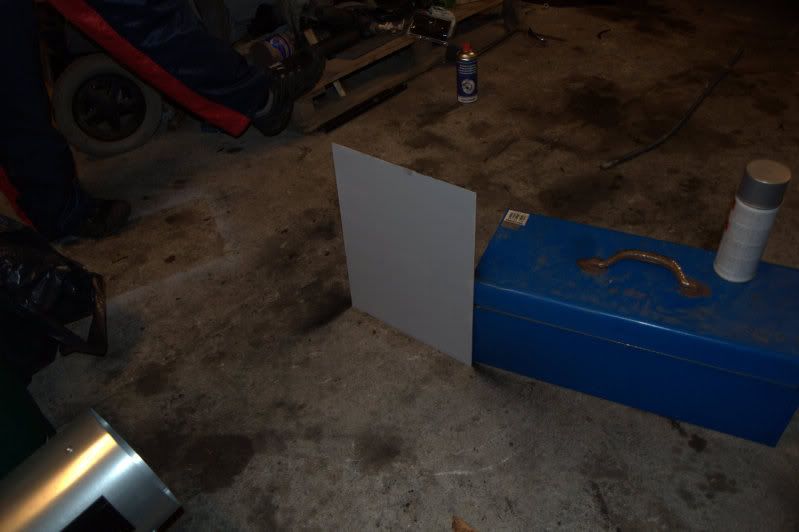
And we painted a transmission like this to eventually after its hardened, check wich is most scratch proof.
The idea behind this test is to submerge the plate into sea water to see wich side rusts first.
Should be interesting enough.
We are giving it 5 days to harden properly.
Done this so far.
Some shit left. This has been buffed off and cleaned properly.
This is what it looks like now. 6 layers of epoxy paint. Gonna leave it for 5 days to harden properly.
Frontfanger fjernet
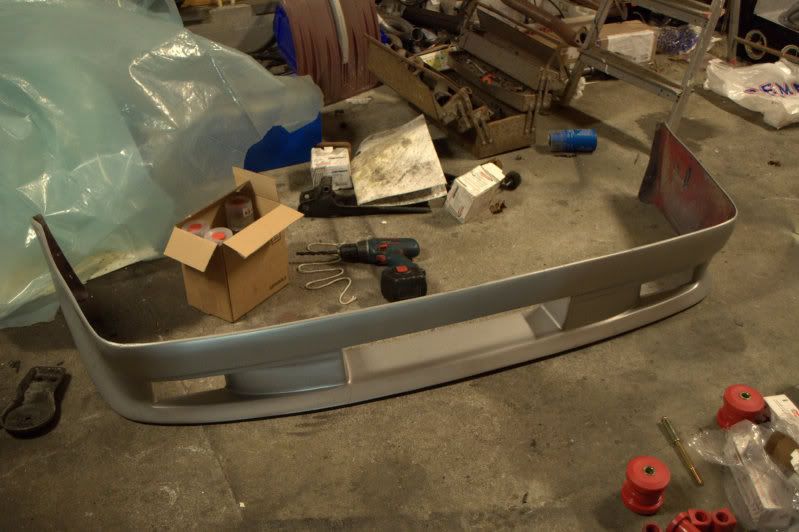
I hate the big regplate
Holes marked
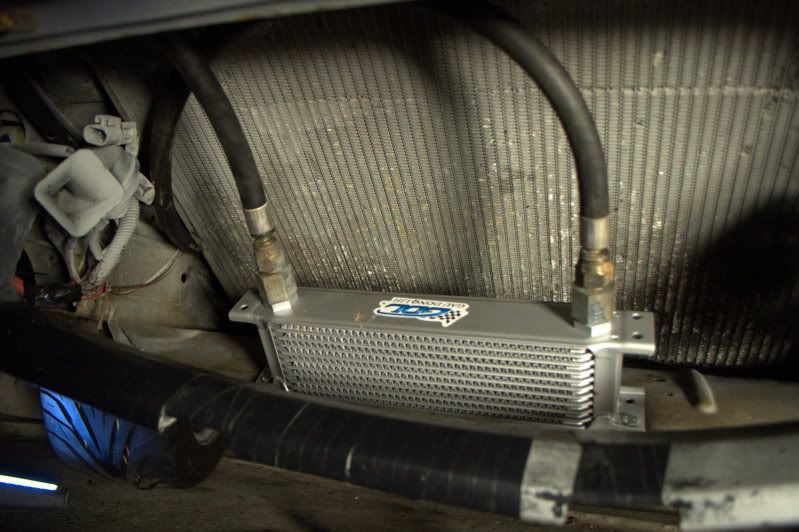
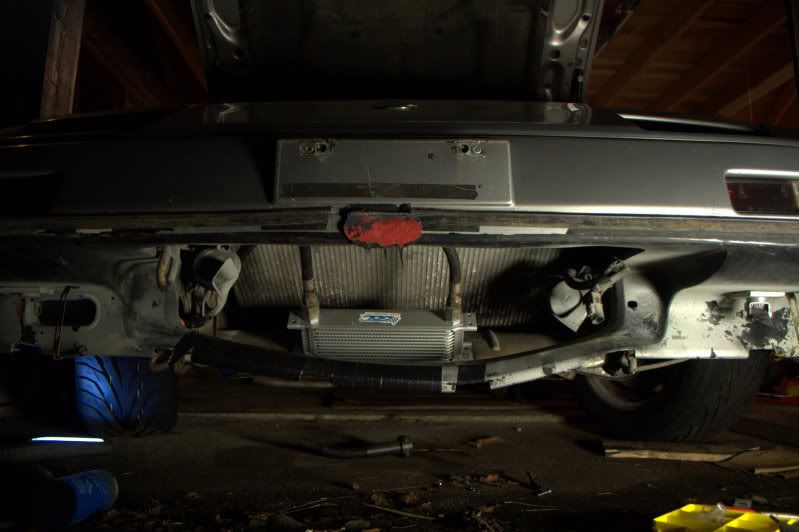
Cooler mounted
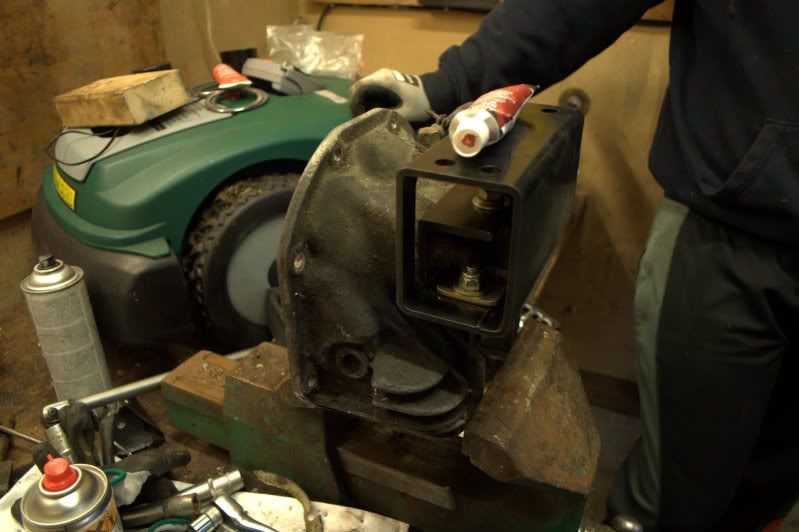
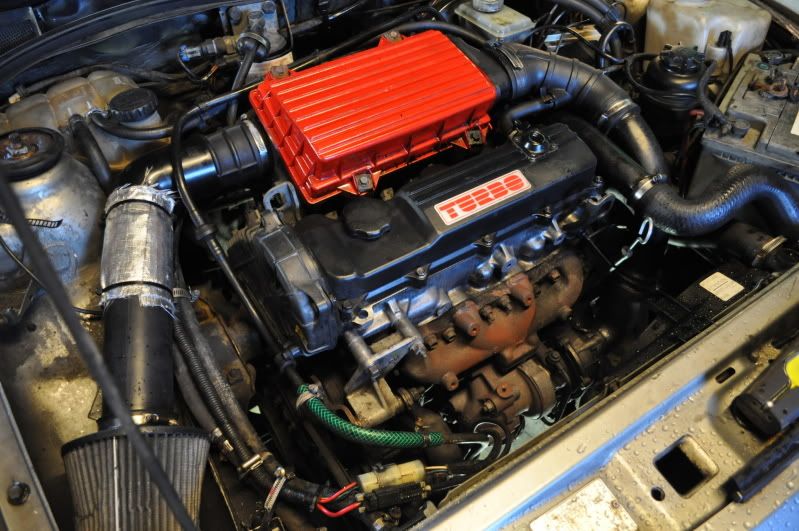
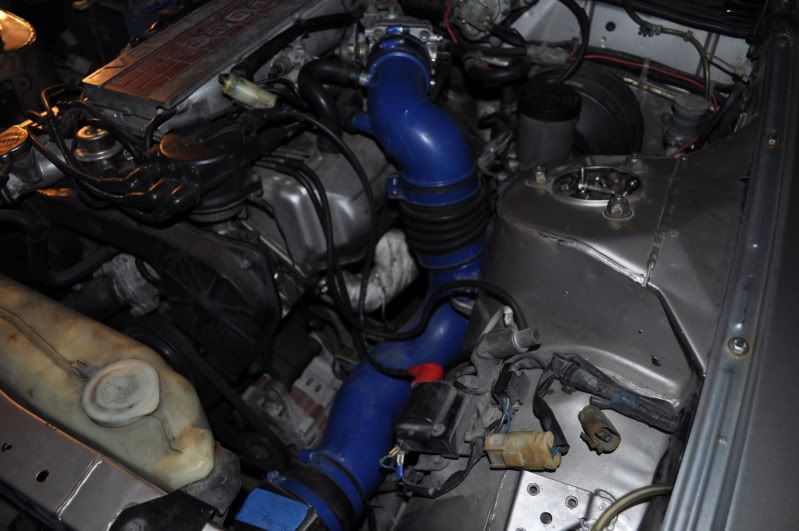
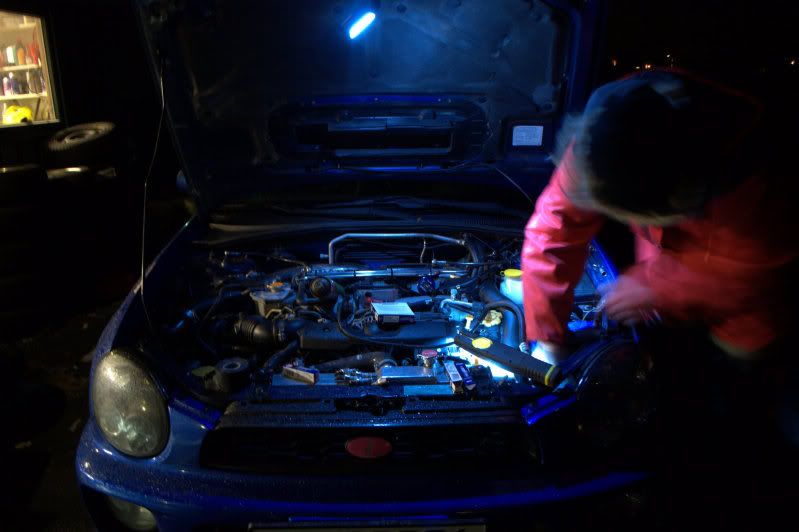
Engine is now all done. A buddy dropped by.
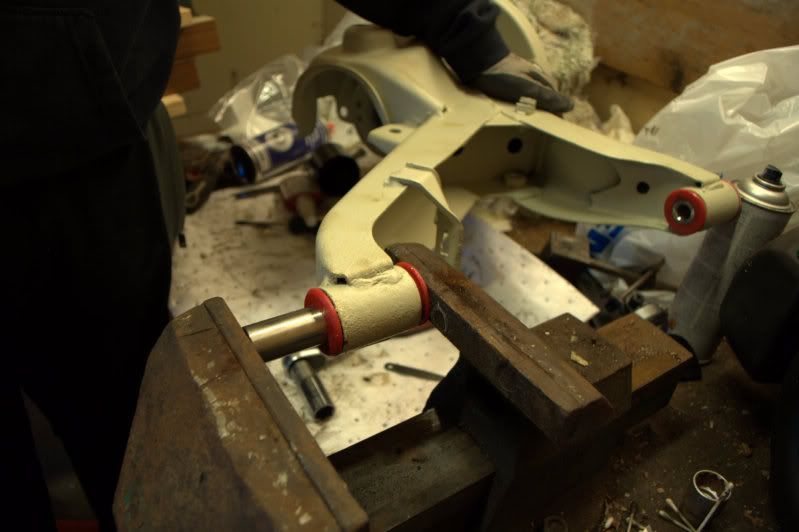
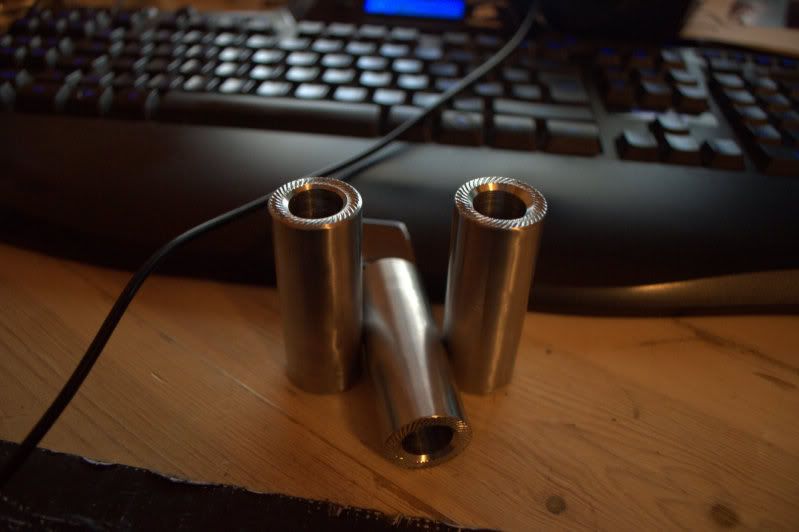
Got new inner sleeves made for trail arm bushings.
This is what i got done today.
Some issues, ofcourse. Interiour is screwed together with wooden screws, roof interiour is missing totally.
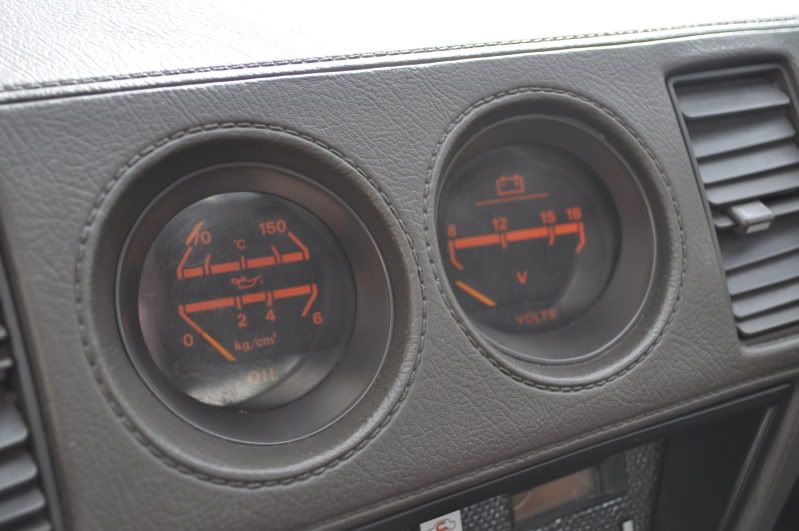
MAF is dead, fuel gauge is not working at all. And some other small issues.
But hey, its chassis was refurbished 12 years ago, and its been stored for 10 years. though, the paintjob seems
to be missing some clear coating. Will have to get it painted once more after this summer.
I will be upgrading some small stuff. Like the exhaust, headers, ignition, bushings, swaybars and maybe dampers. (Theres something unknown mounted now wich actually
works)
Some pictures.
This fella greeted me when i first came to inspect the car.
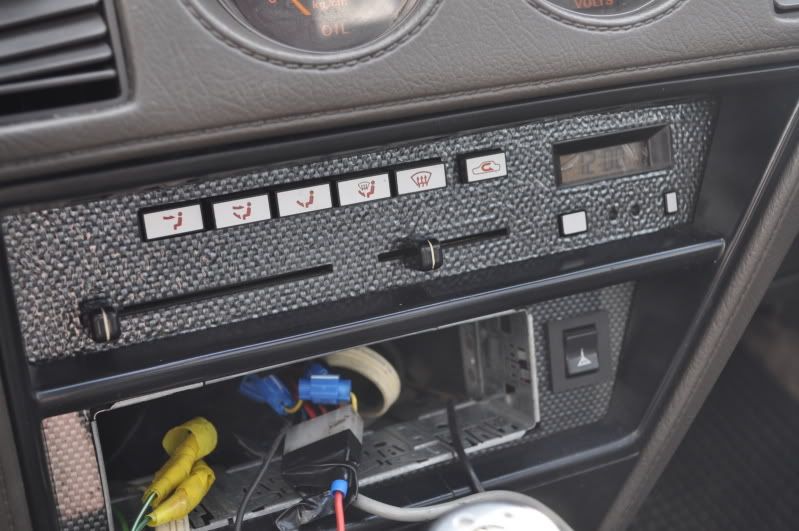
I still havent found out how the previous owner and all of his creativity has wired the stereo.
ergo, No sound yet.
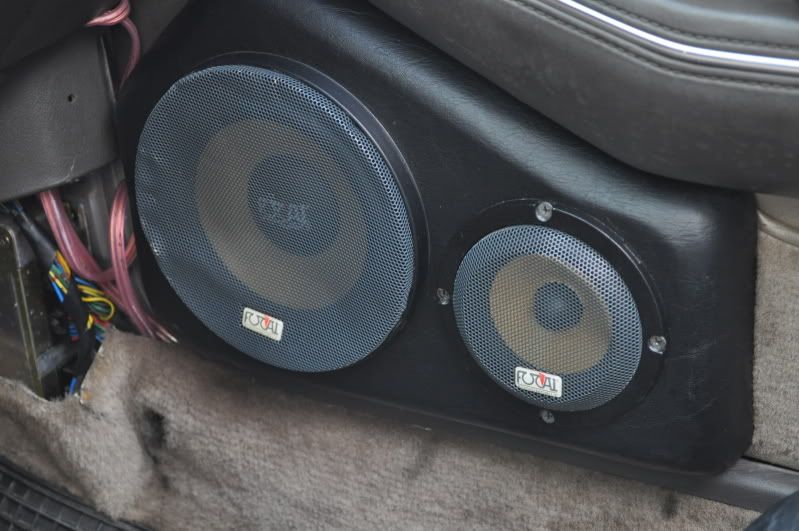
Extra mounted speakers.
More posts will suddenly appear.
Took the car for a spin today. Video will follow as soon as i've edited out 15 minutes of random driving to provoke the problem.
Went over every contact i could access easily, cleaned them up and adjusted the distributor.
New symptom. If i kill the car when the problem arises. It wont start again for 4-5 minutes afterwards. Flooded sylinders?
If i remove the fuel pump fuse and crank it twice. Then reinstall the fuse, prime the fuelsystem, it will start without any problems.
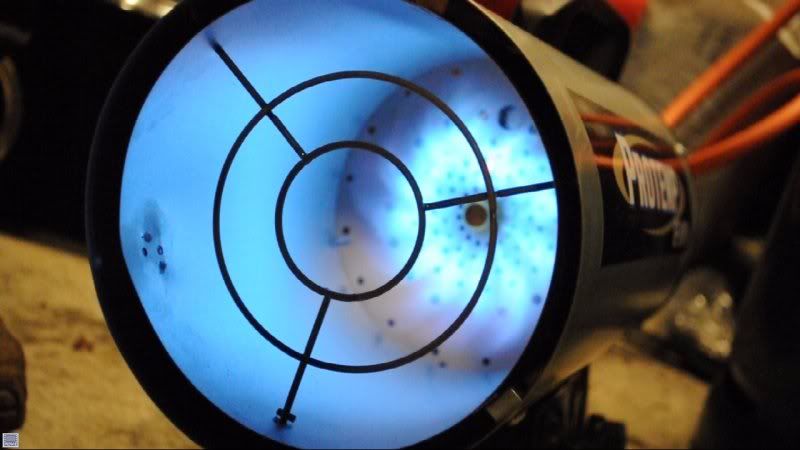
New MAF
Maf Contact. Alot of the contacts are missing their braces. I need to either get more of them or figure out a substitute.
Some of these clamps were as good as loose. Clamped them better on.
Adjusted the distributor. Problem actually improved abit.
Whats with these loops?
Taped contacts. :S Underneath the tape this contact is as good as broken. Going to solder on another contact i've got lying around from the Laurel projects. Should have something that fits.
This would be the cable for the Head temperature sensor i would guess. Cable is so hot its almost melting. :S Going to try to insulate the exposed cables.
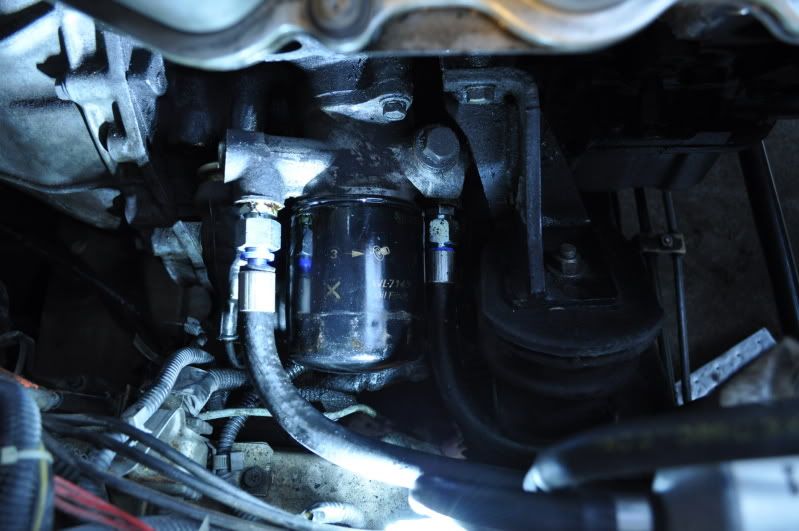
oil pressure sensor? Its leaking no matter. Going to clean it up when i change oil later on today and retighten it with loctite 577.
Stuff bought
underneath quickly inspected.
Old oil drained. Old oil filter was clogged. ^_^
Leaky sensor.
Shiny sensor with loctite 577 on its threads. Will never leak again.
Started to change sparkplugs with NEW NGK's. But i've gotten 21mm nuts instead of the original 16mm nuts. Wich made my tools too large to even fit the sparks.
old NGK's that was mounted when i got the car. After proper cleaning they should work plentyfull. Im tossing the Denso plugs.
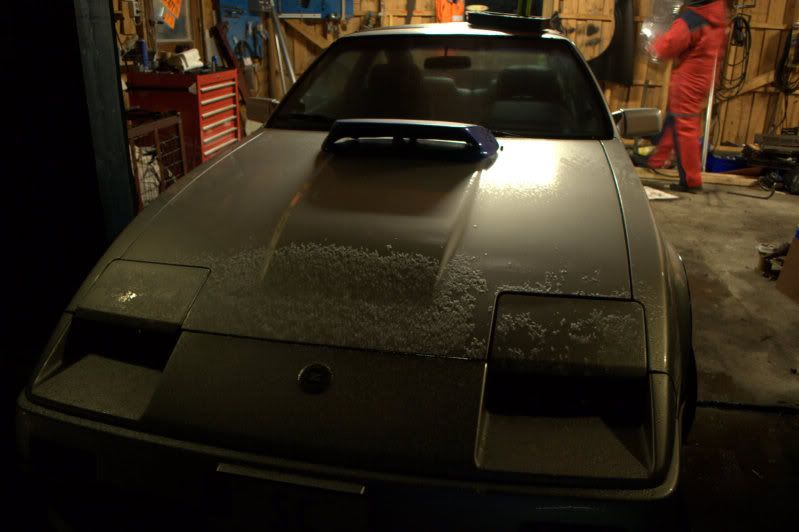
day started with a proper wash and some photoshooting.
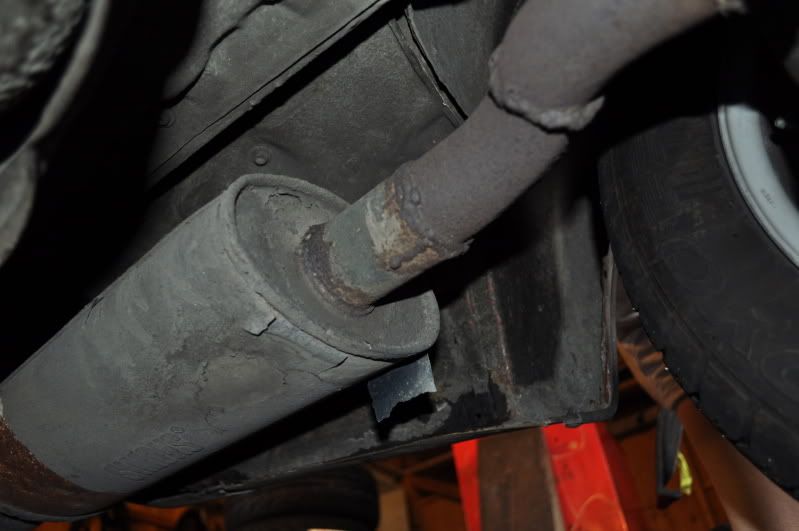
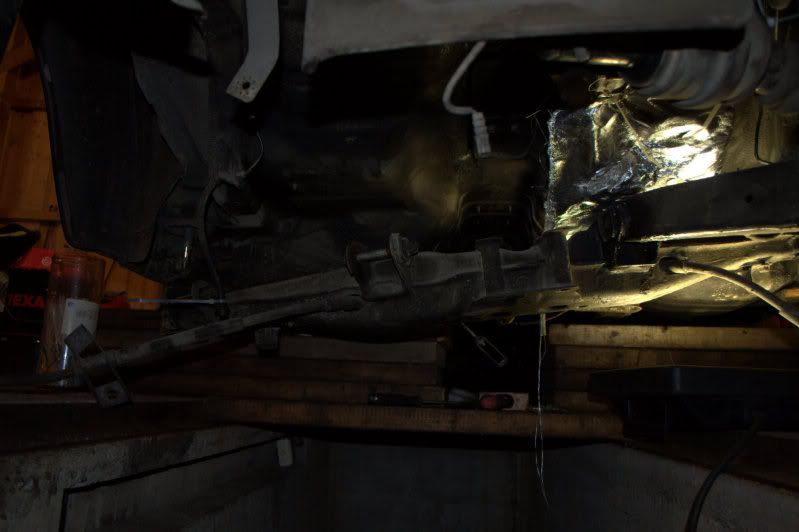
Started working on the exhaust today. Only to find out i dont have any sound dampeners lying around.
Anyway. Rear thingy had to go.
This actually became so loud that i need a sound damper before i can continue on this project.
Im most tempted to just let it rest for two weeks until the pacesetter manifolds and MSA exhaust arrives.
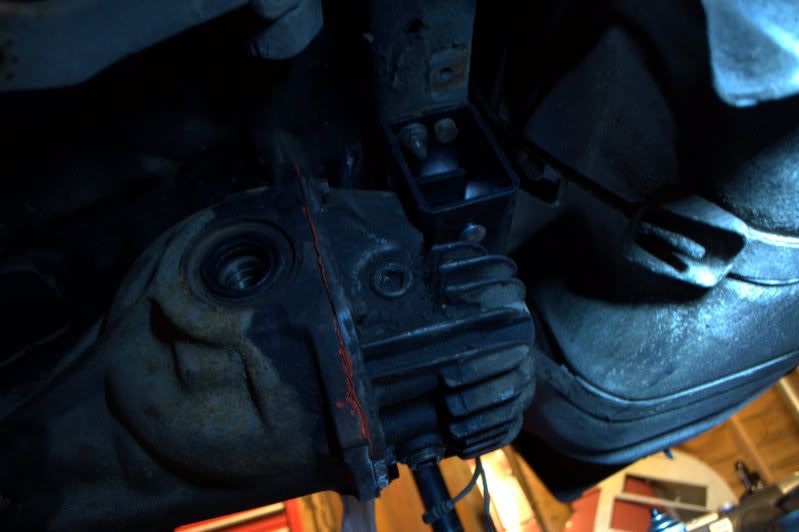
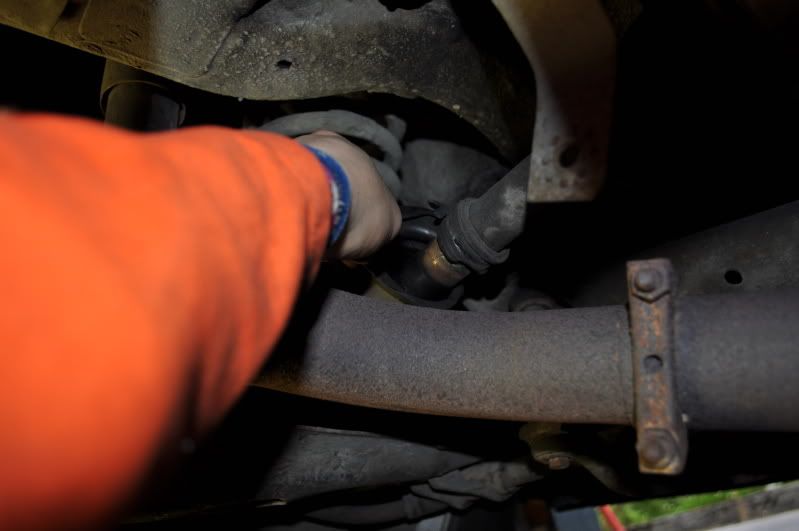
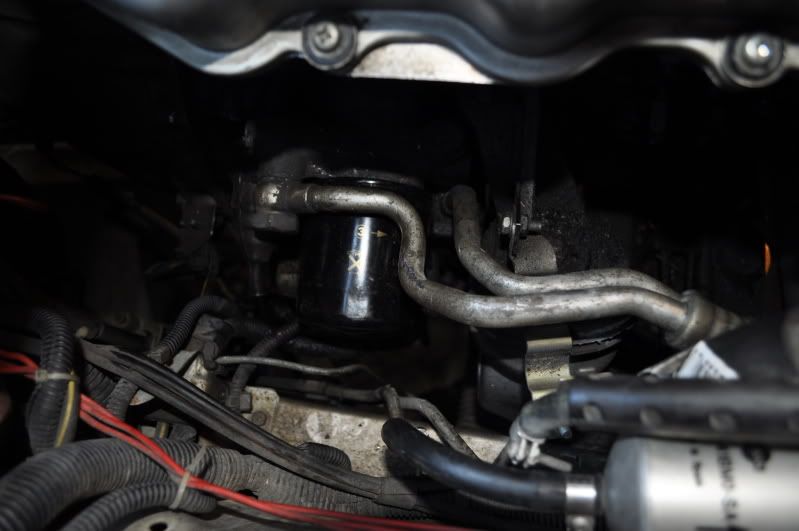
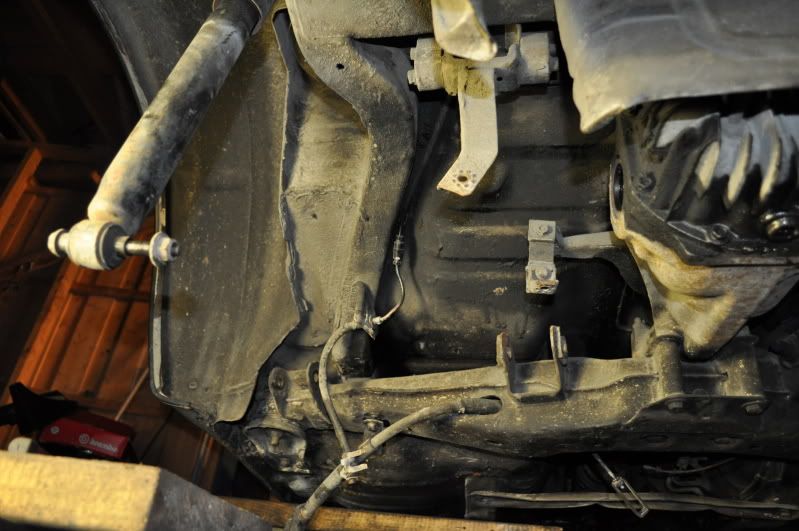
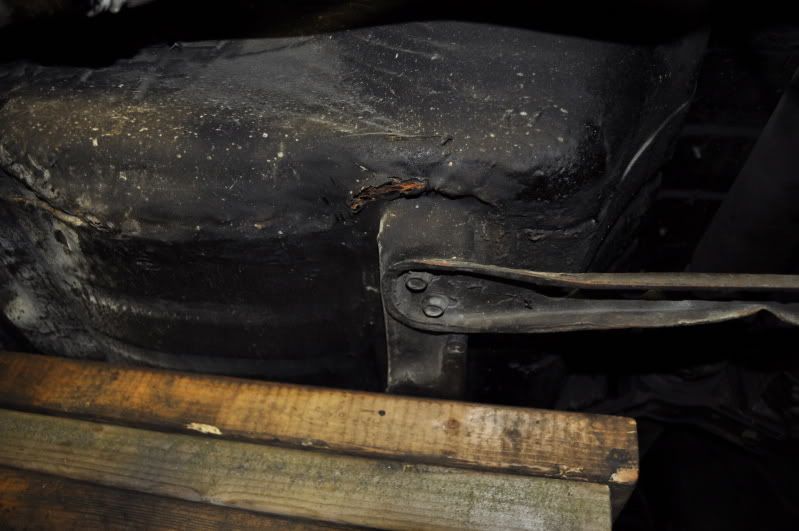
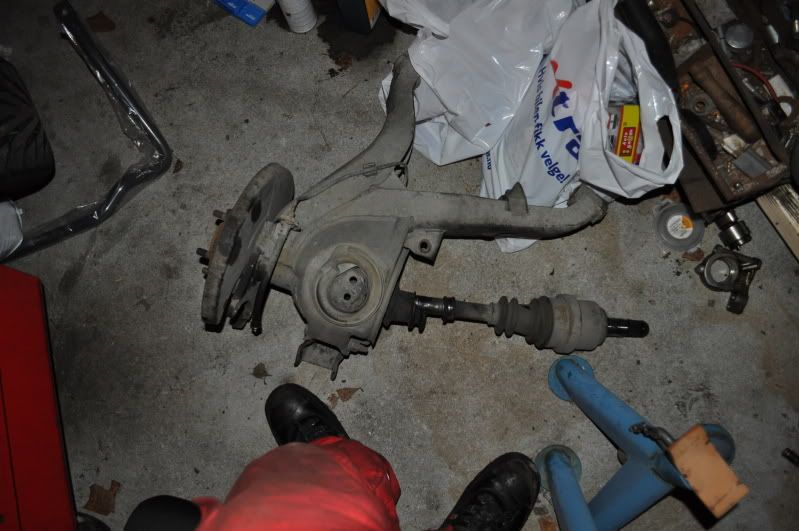
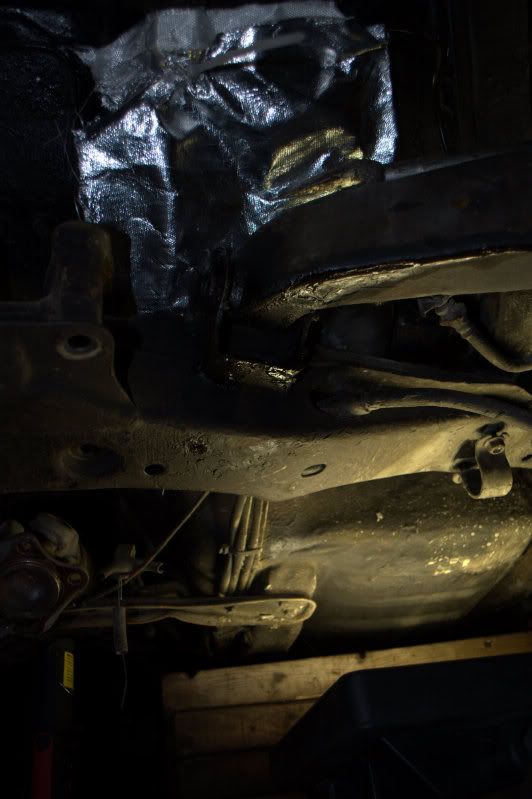
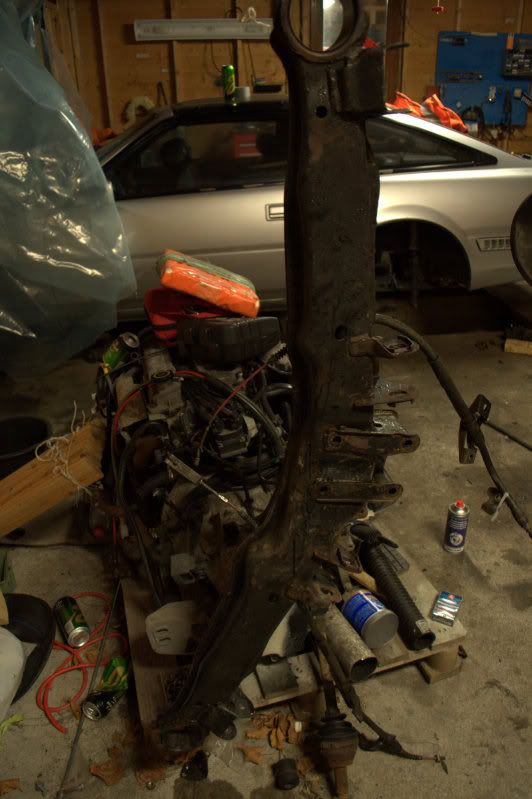
Anyway, found this while under there.
Rear axle is leaking. Awaiting a new LSD. So im going to pluck it out then, refurbish it and make it all good again.
This needs more immediate attention.
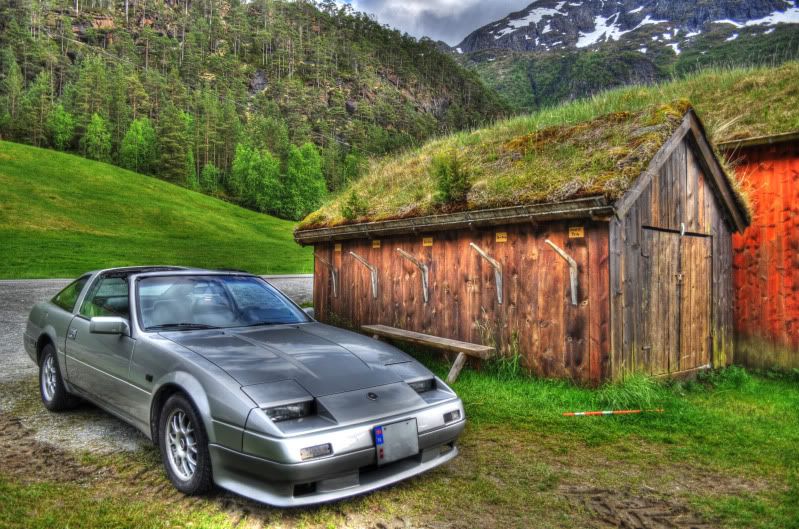
It is quite awesome to come home from two weeks offshore to this sight.
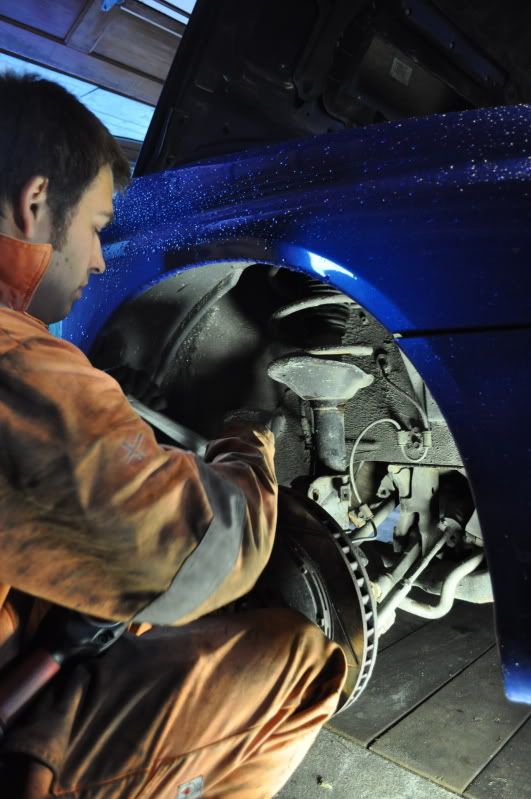
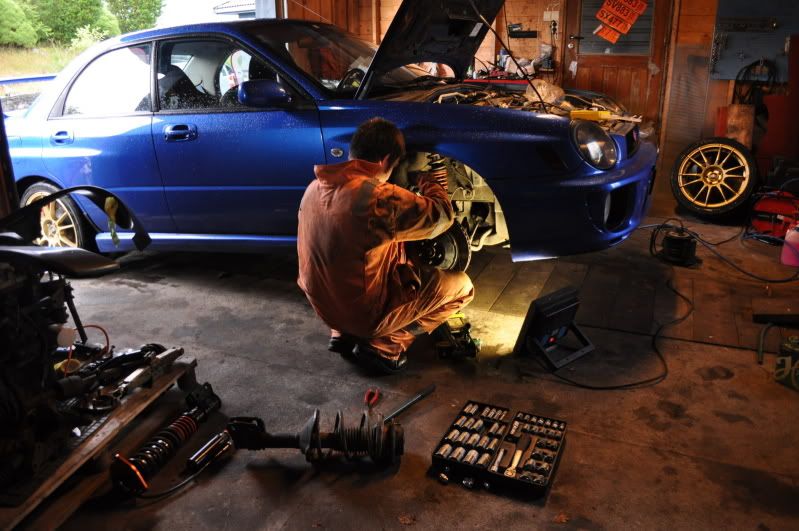
Todays effort
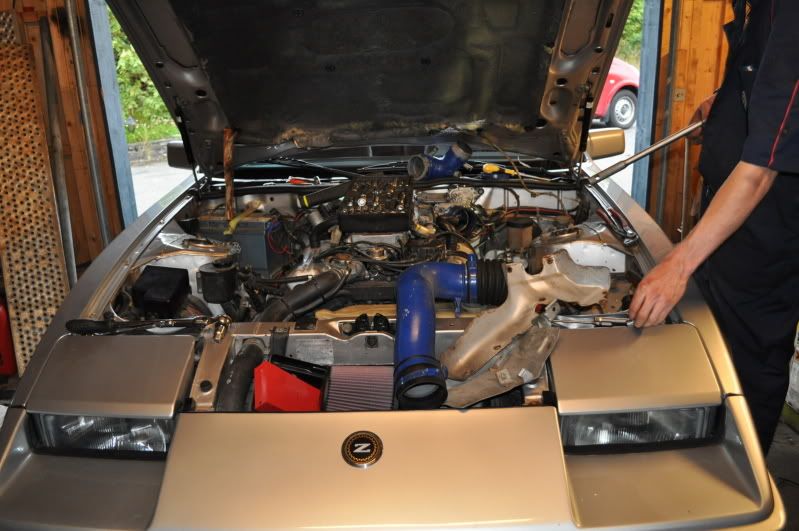
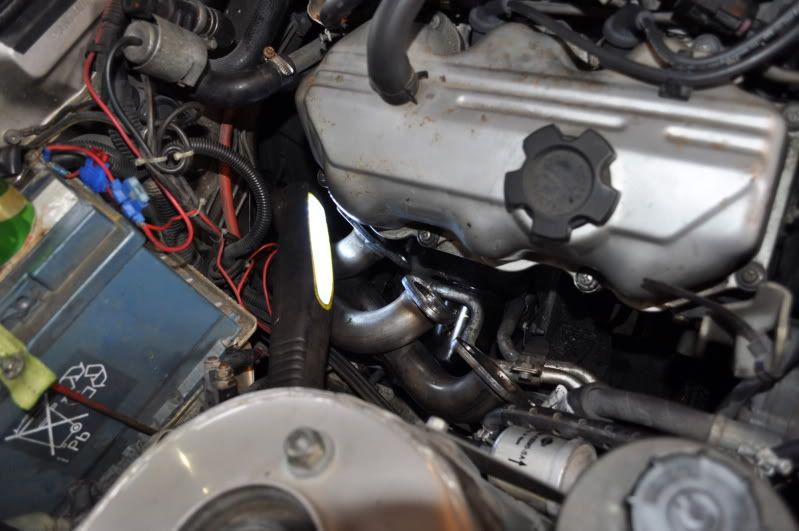
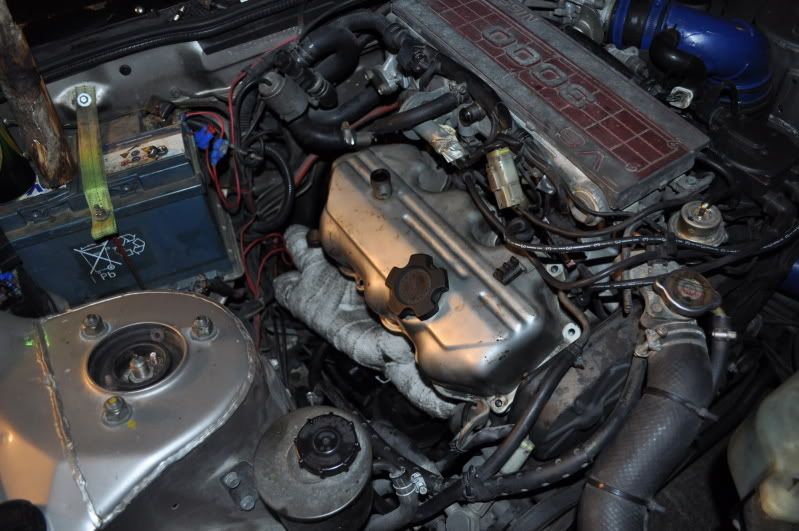
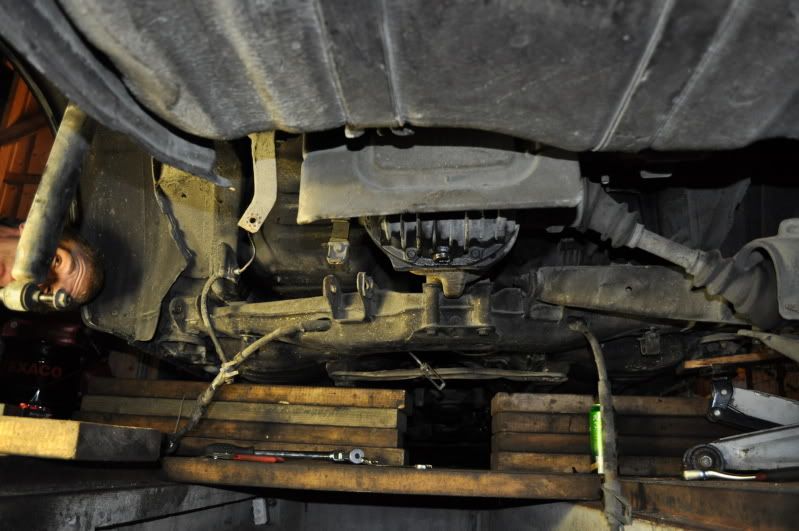
We'll start with a picture of the passenger side of engine bay
Overview
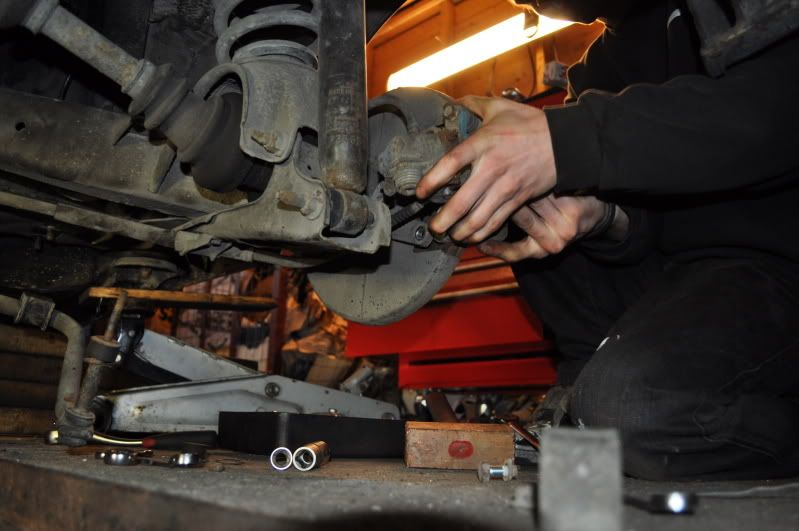
Started, loosening heat shields
Break some bolts
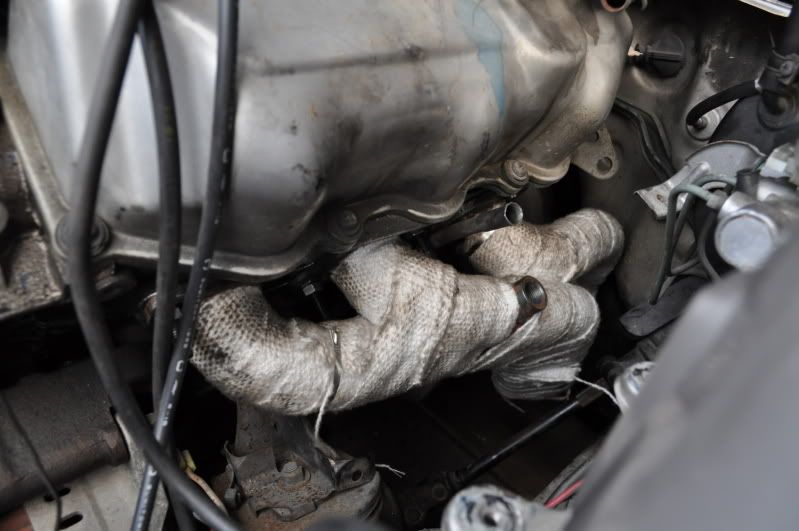
Difference of each port from the original to the new one is 4mm for each port. And im rid of the riddiculous crossover.
Trial mount. Oil cooler lines are in the way of the manifold. Im going to get new hoses made tomorrow and move the entire setup.
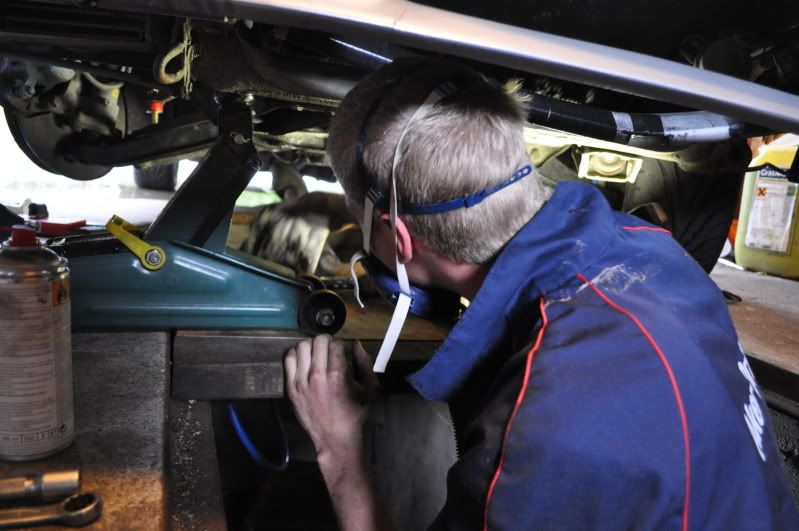
When the manifold halted. We started working on bushings instead.
Fucking aluminium lids.
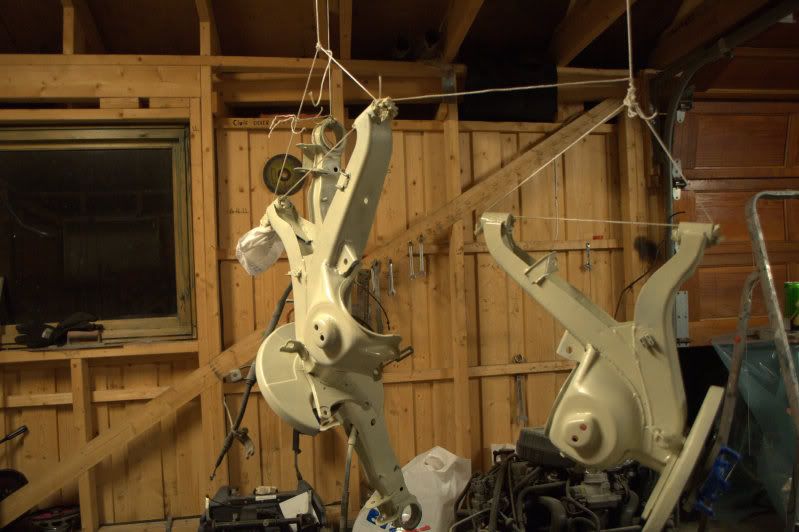
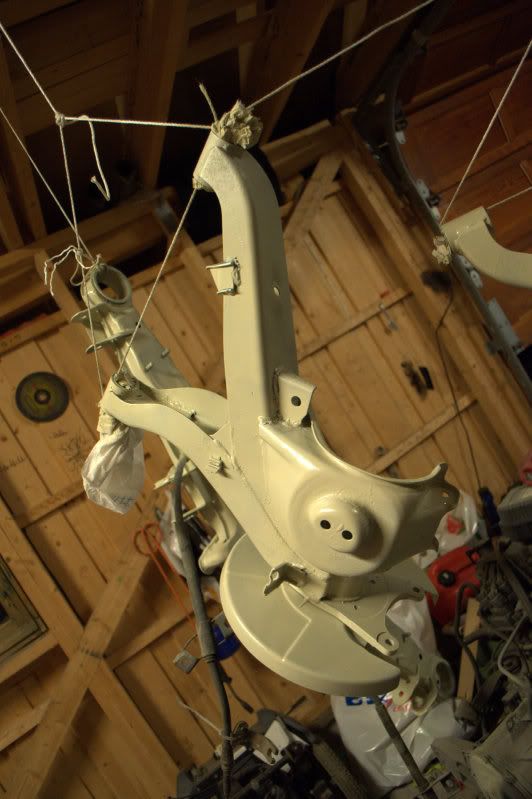
Old swaybar bushings vs new.
Right tools for the job. ^_^
Caster bushings
swaybar bushings
Georg is removing old oil residue so that new leaks would be more visible.
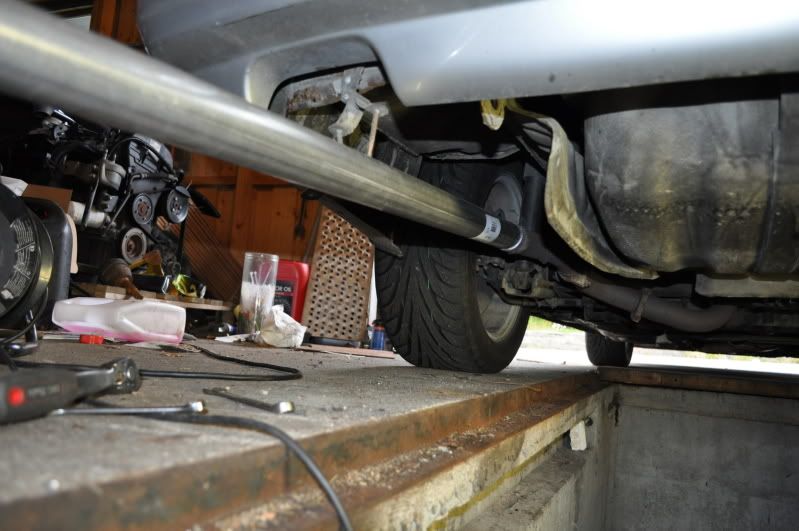
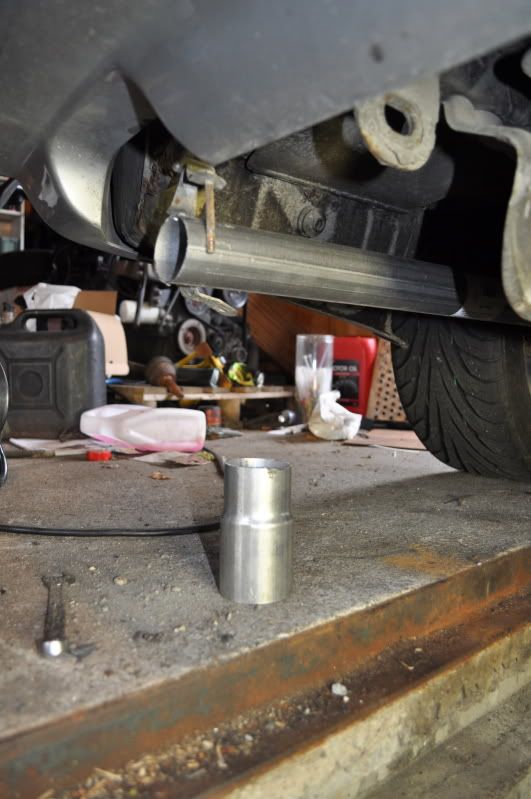
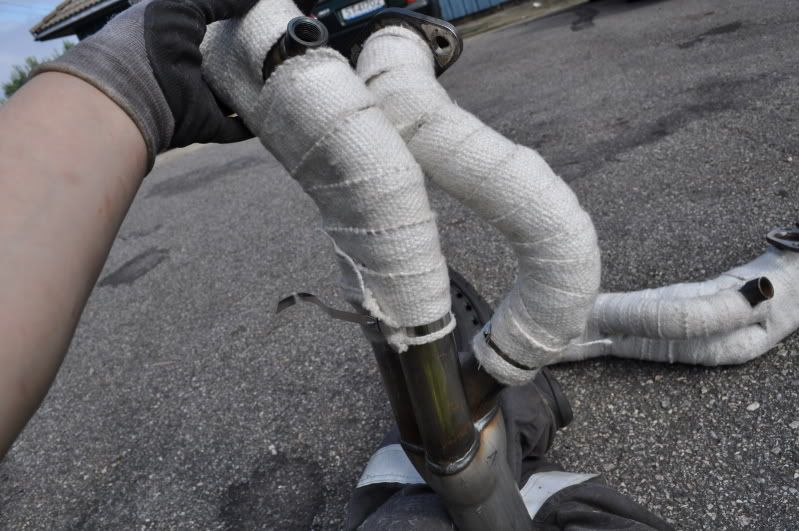
New exhaust. Some of it. ^_^ hirr
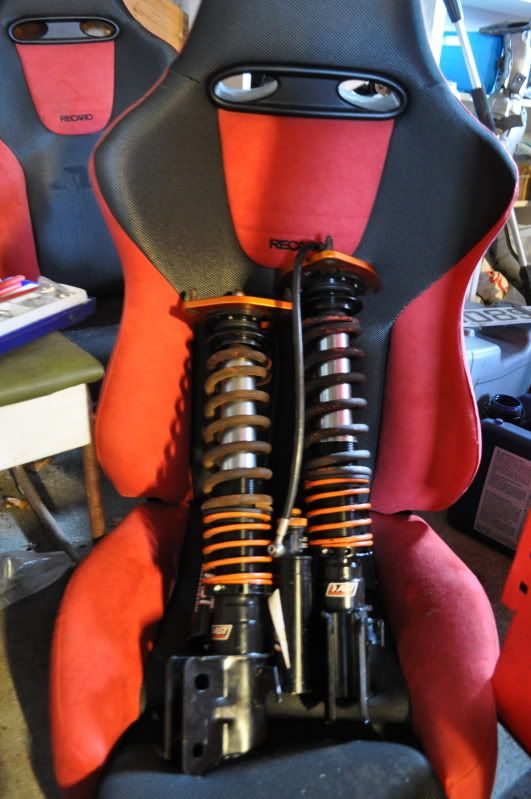
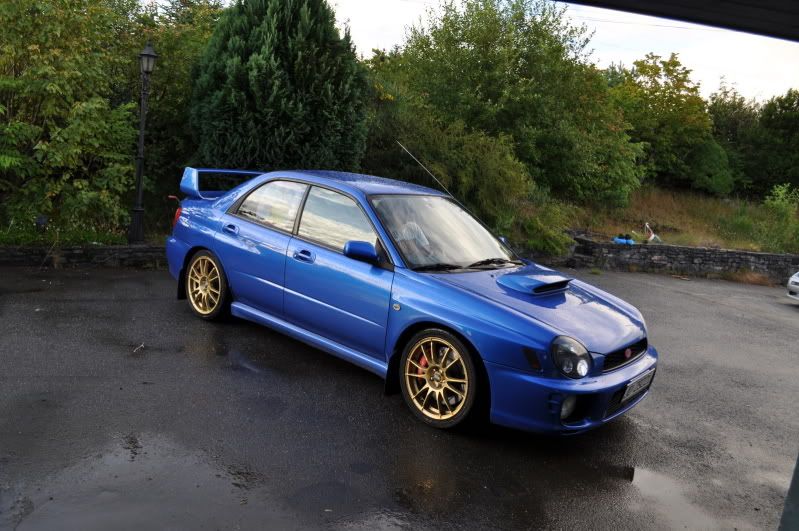
When bushings were complete up front. A buddy appeared with his impreza and wanted to change his front dampers with his newly refurbished coilovers.
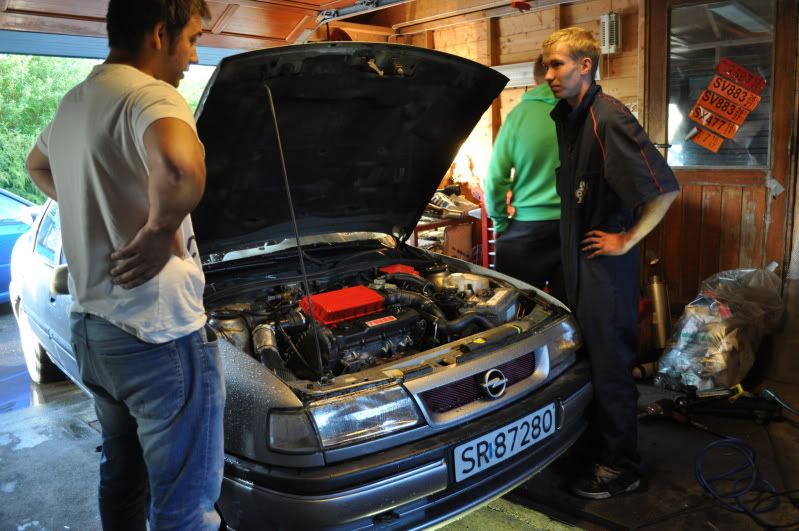
Then we went mad on a turbodiesel vectra.
A nice impreza image.
And a tired Robert. (me)
Thats it for today. ^_^
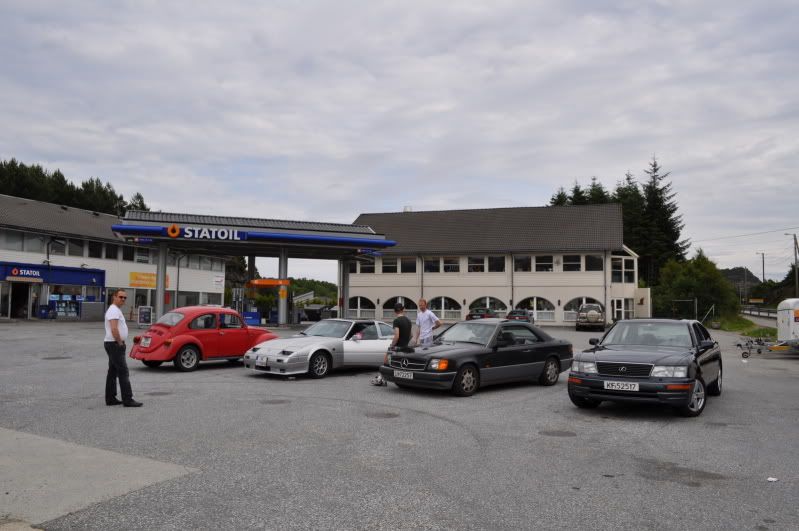
Went shopping today.
Inspected the Vectra wing alittle closer
And he's making a new frame for the chairs i sold him out of aluminium.
Thats it
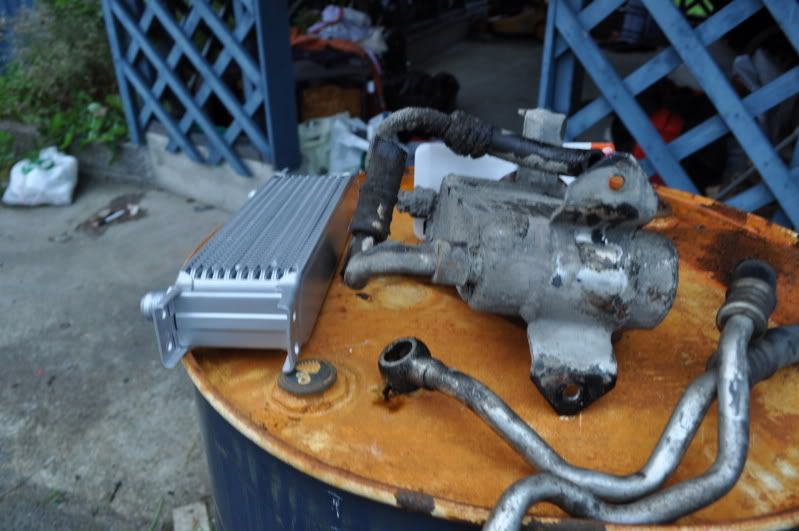
Im unplugging the oil cooler until i can find a hosefitting that goes STRAIGHT out.
Here's the bio prop Sir is so fond of.
What was bought today.
Made myself a non steel connection
Trial mounted it.
But its still in the way of the header.
SO.
Measurements of the "banjo plug"
The dumbshit placement of the oilfeed.
Does anyone have a slightest idea of what i should do here? im all out of ideas.
Guillotine wrote:Your car is coming along really nice.
Where did you buy all that stuff for your z?
Here and there. Wich parts in particular are you thinking of?
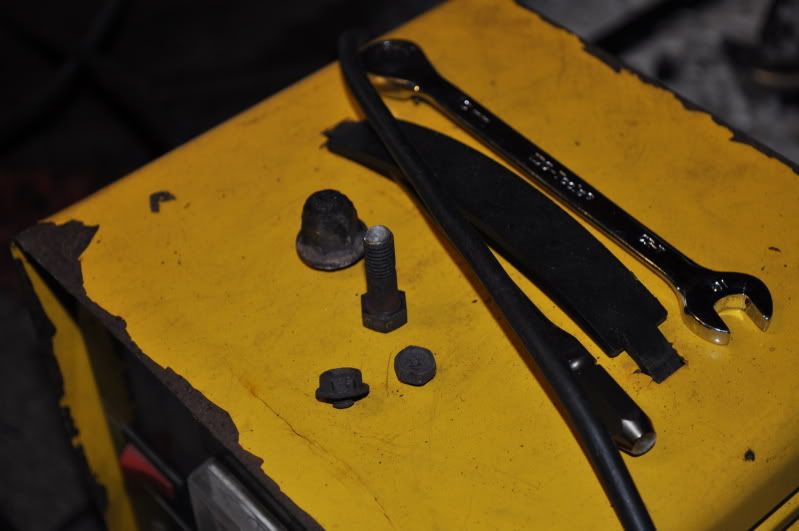
First
I wanted 5 bolts.
This is what i got.
4 bolts piss.
A trip to a local partsdealer fixed this.
Stupid as i am, i forgot to check the cooler side.
Will have to get more fittings like this one. I've already bought the new cooler. So i might
as well change it all.
BUT, the manifoil finally fits as it should.
Rejoice everyone! Just have to solve the oilcooler problem now. And everything should be
just awesome.
With the manifold and oilcooler postponed atleast three days. I went over to other stuff.
Swaybars were changed up front from the original 24mm to 26mm. From Hollow to not so hollow anymore.
Drained the rear differential to exchange its internals.
Gonna leave you here for now. More will follow tomorrow.
Finally got some days off work and enough time to work on my own car.
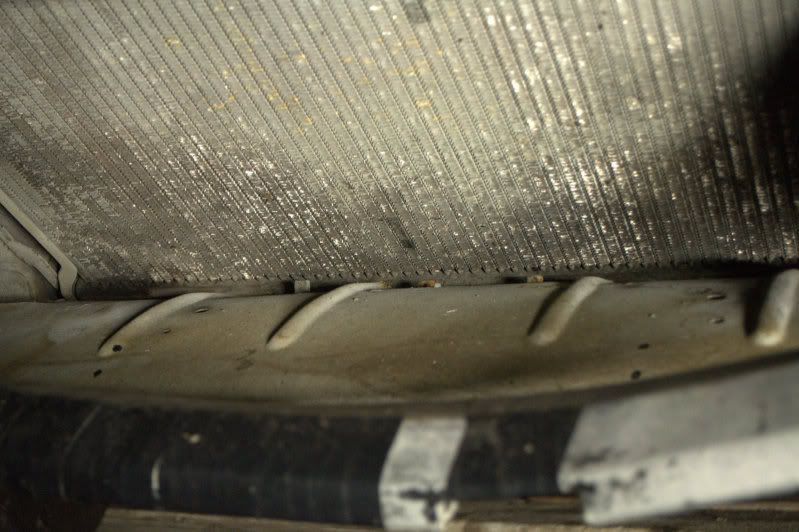
old cooler
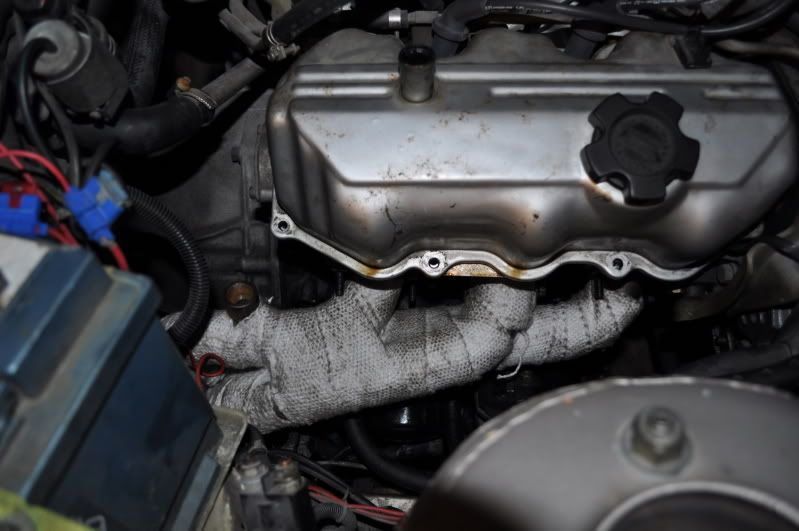
Header on one side. <3
Old vs new. Old leaks, ergo got replaced.
Hoses mounted up. 30 bar clamped ones.
Like a boss.
Gonna let the juice i put on the connectors harden, make a bracket for the new cooler in
front of radiator and change to the LSD. Then i might fire it up tomorrow.
Bracket didnt get finished. (Damn you georg. I need that bracket)
So i went mad on the rear wagon instead.
hate that bluecolor. Gonna paint it some other color while its off.
Swaybar on its way off.
Drain brakefluid.
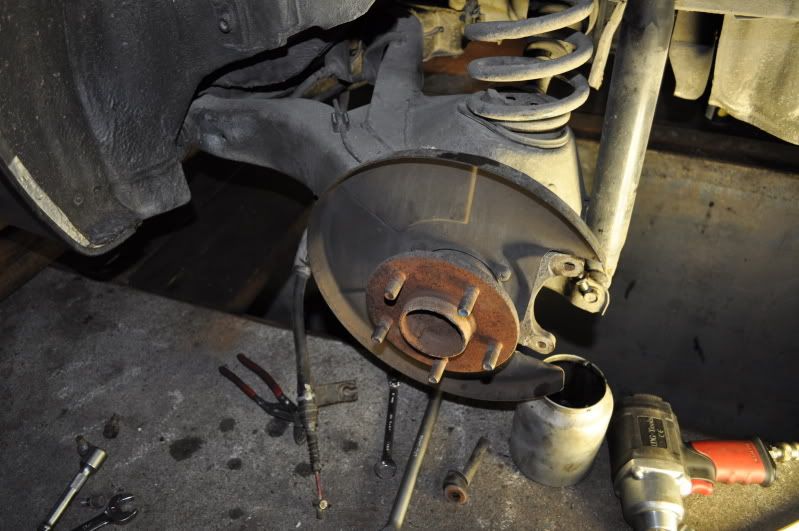
Removing caliper
Rubber strapped on for some reason. XD
Some wire on top of damper as well.
jacking out axle.
one of the sides completely removed.
Found some rust i really dont like at all. Gonna have to weld it up and repair it.
This is what it looks like now.
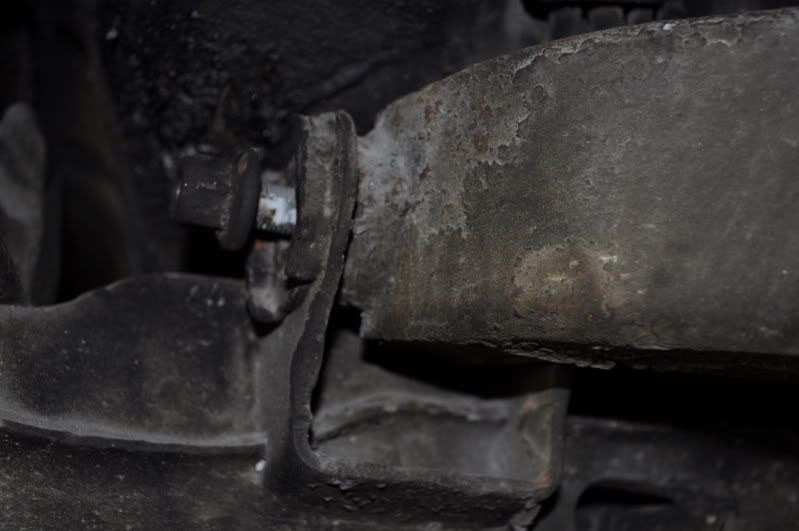
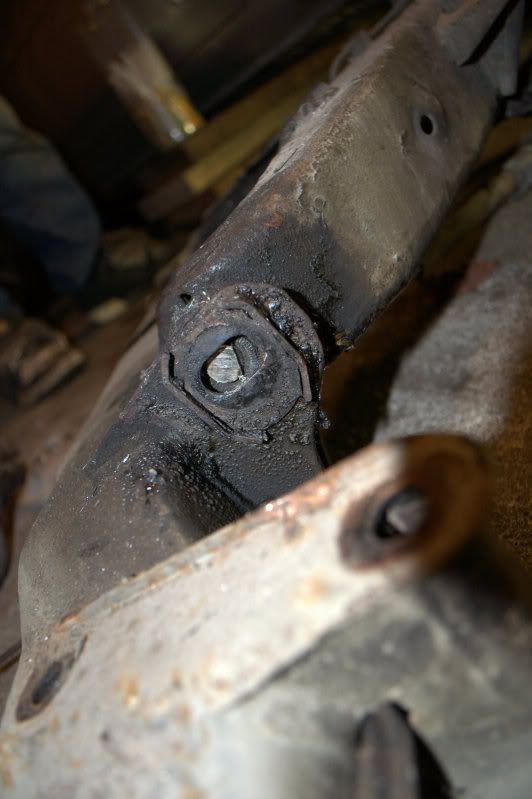
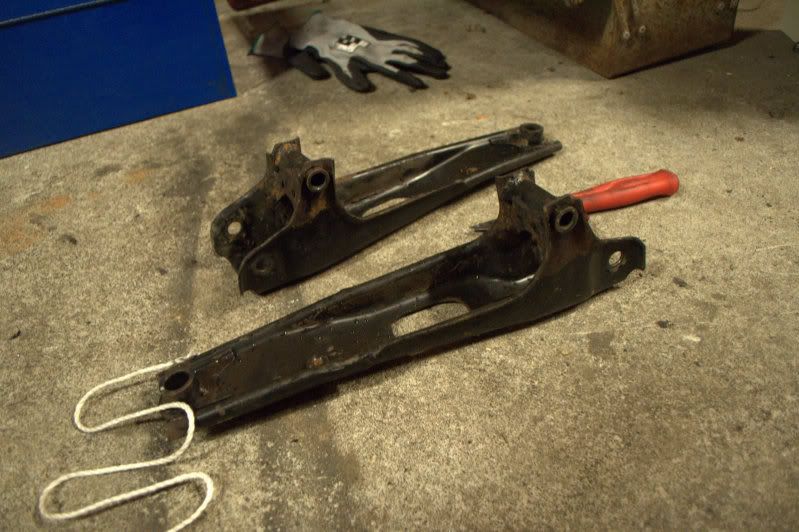
These bolts on the other side gave me some headache. I need the bolts. But i dont care about the bushings. Its near fuel lines so i dont want to
use too much heat nearby there. Any suggestions to get the bolts to loosen from bushing?
really wanna have both sides with me to burn out old bushings, blast everything and repaint it.
If you got tips to get the bushing to loose from the bolt. Post it!
Im seconds from just cutting out the damn bolt.
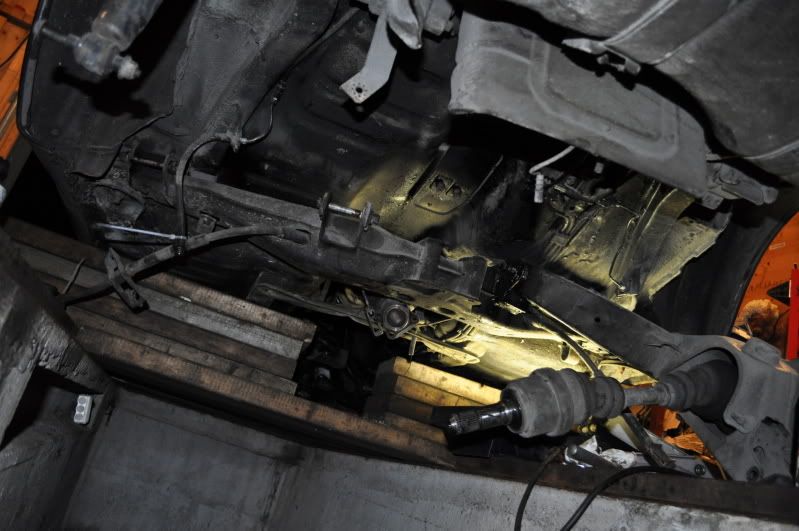
Gonna pull down the entire crossover tomorrow and see if i have more luck then. I'll also be able to use alot more heat that way. Without risking setting the car on fire.
Took down the Diff to get more room to bang on the frackin bolt.
Some observers came.
Finally got sparetime and the health to work on my car again.
Tried putting a heatshield over the bushing to protect the fuellines.
Didnt help.
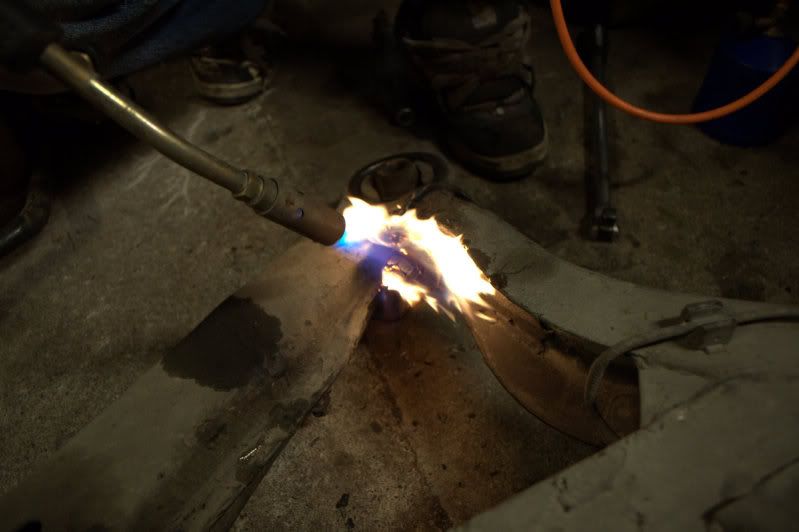
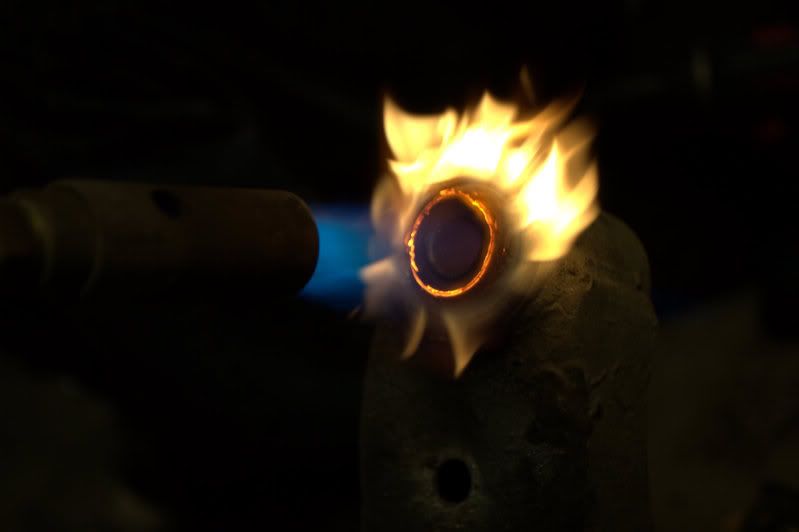
Got pissed and took out the entire crossmember.
Burn mofo, burn!
Bushing looks like it needs to be replaced.
Had to cut some of the bolts.
problem bolt.
Got it off and burned out old bushings.
Properly grinded and measured.
New bushings.
Trial fitted just for fun.
Sendt old sleeves and a set of bushings to get new ones made out of titanium. Making some for Sir420 as well.
Bought some stash for respraying the crossmembers and arms. Two Component epoxy paint. Since its already off.
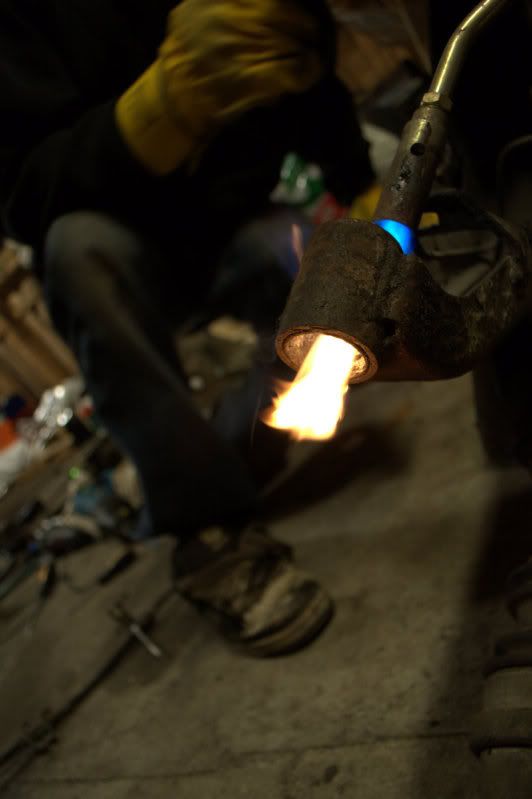
Since one of the bushings were bad here. Im burning out both and replacing them with PolyWhoreIThan
Surprisingly good result with a propane burner
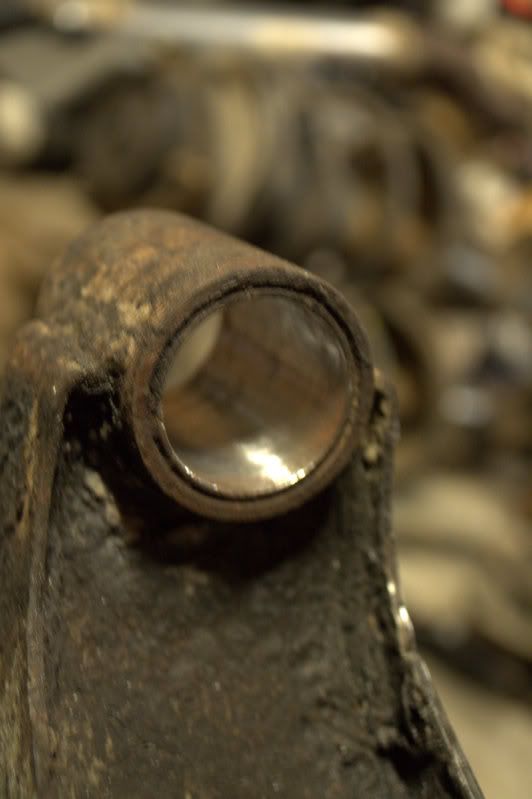
Pulverise!!!
Some grinding, and voila.
Then the other side. KILL IT WITH FIRE!!!!
Moved into the garage.
This one on the other hand looks like shit. Im guessing i need to buy a new bushing, install it, burn it out and then
install a polywhorithan.
Started working on the "finished" arms. taking off brakediscs and axles.
Got new axles lying around.
Lots of music, beer and good spirits.
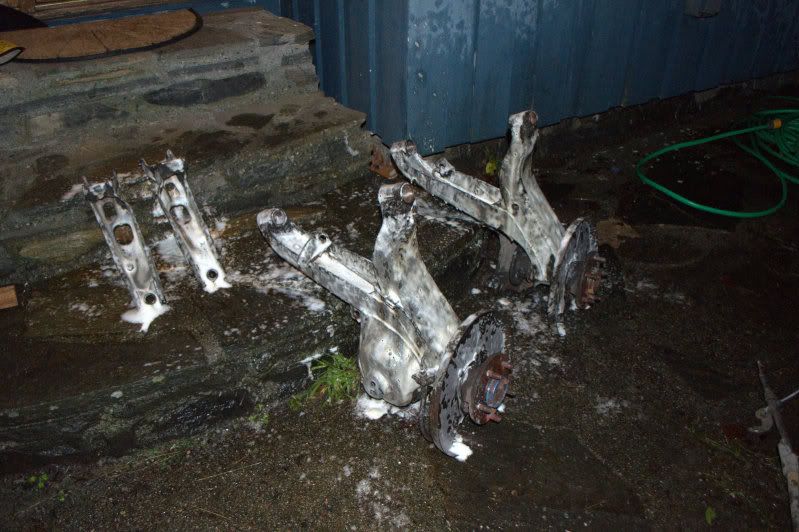
Sprayed the arms with some light acid solution to loosen up the old crap and get it ready for epoxy.
A friend of mines imprez rims
Cleaned out one of the garages today. This is in the middle of the cleanout
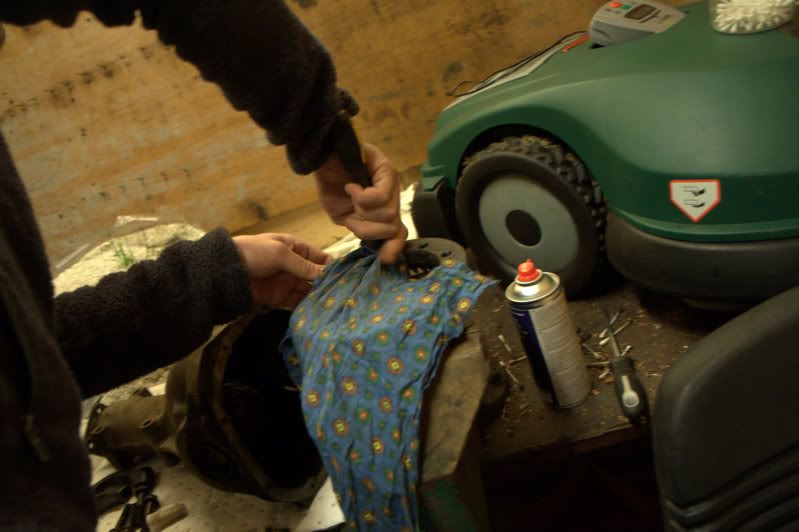
Since its -10 outside. We kept this guy working
Tried scoop on the Z.
Does not approve.
Burned some stuff
Im gonna boil this stuff tomorrow to get it prepped for epoxy paint
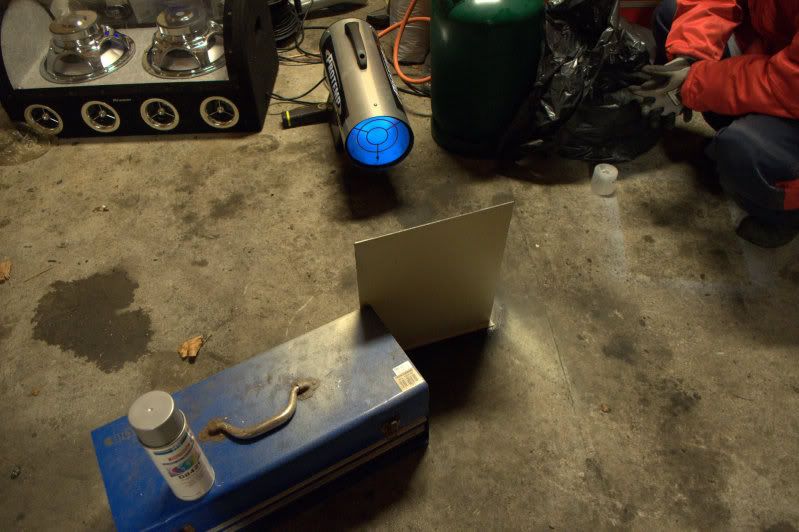
And we started a project.
Me and my buddy started arguing about wich substance prehibits rust the most. Im all for prepping down the metal and painting it with twocomponent epoxy.
He's more about just painting over it with tectyl and let it be.
So we started project RUST
This is a steel plate.
We painted one side with tectyl
And the other side first with acid primer and then epoxy primer. Three layers.
Cheated a bit on the hardening period.
And we painted a transmission like this to eventually after its hardened, check wich is most scratch proof.
The idea behind this test is to submerge the plate into sea water to see wich side rusts first.
Should be interesting enough.
We are giving it 5 days to harden properly.
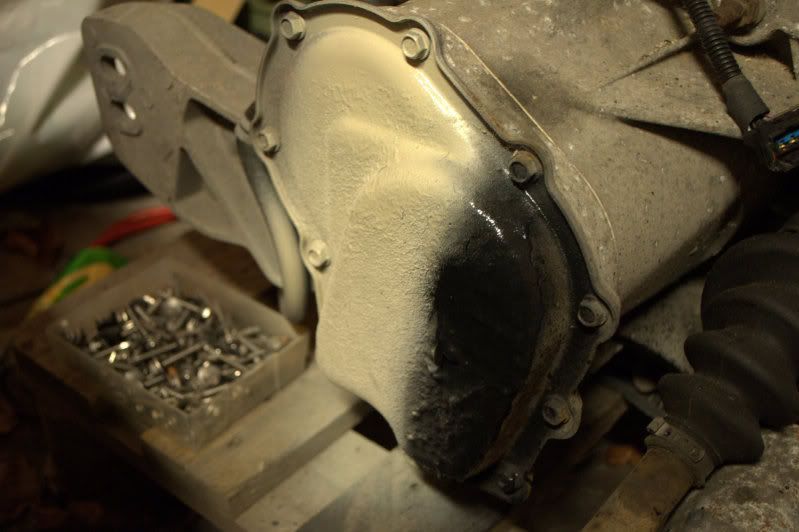
Done this so far.
Some shit left. This has been buffed off and cleaned properly.
This is what it looks like now. 6 layers of epoxy paint. Gonna leave it for 5 days to harden properly.
Frontfanger fjernet
I hate the big regplate
Holes marked
Cooler mounted
Engine is now all done. A buddy dropped by.
Got new inner sleeves made for trail arm bushings.
This is what i got done today.